App Guide
Downloading and using the app
Please download the app via here.
To get started, power on your GL.iNet device and launch the mobile app.
Customize the app's language by accessing Settings (upper-left corner) and choosing from available language options.
Tap the Scan button (upper-right corner) to scan the device in the current mobile network environment. Devices that have not been initialized will be displayed in the Bluetooth scan list. Initialized devices will be displayed in the LAN scan list (the current mobile phone and the device must be in the unified LAN).

Initialize a device
In the Bluetooth scanning device list, select the device you want to initialize to enter the network configuration page. The GL-S20 supports both wired and wireless network configurations. For details about network configuration, see the Internet chapter.
After the network configuration is completed, tap the button at the bottom of the screen to proceed to the administrator password set up page. The administrator password must be set with a minimum of 10 digits and a maximum of 31 digits.
Password requirements: Uppercase letters, lowercase letters, numbers, and symbols. You can enter letters (case-sensitive), numbers, and symbols (!@#$%^&*()_+-=,.><|? /[]{}:;”’ `~). Please submit it when you have set it up. Please adjust your phone to your device's current LAN, tap the scan button in the upper-right corner, find and selectyour device from the list.
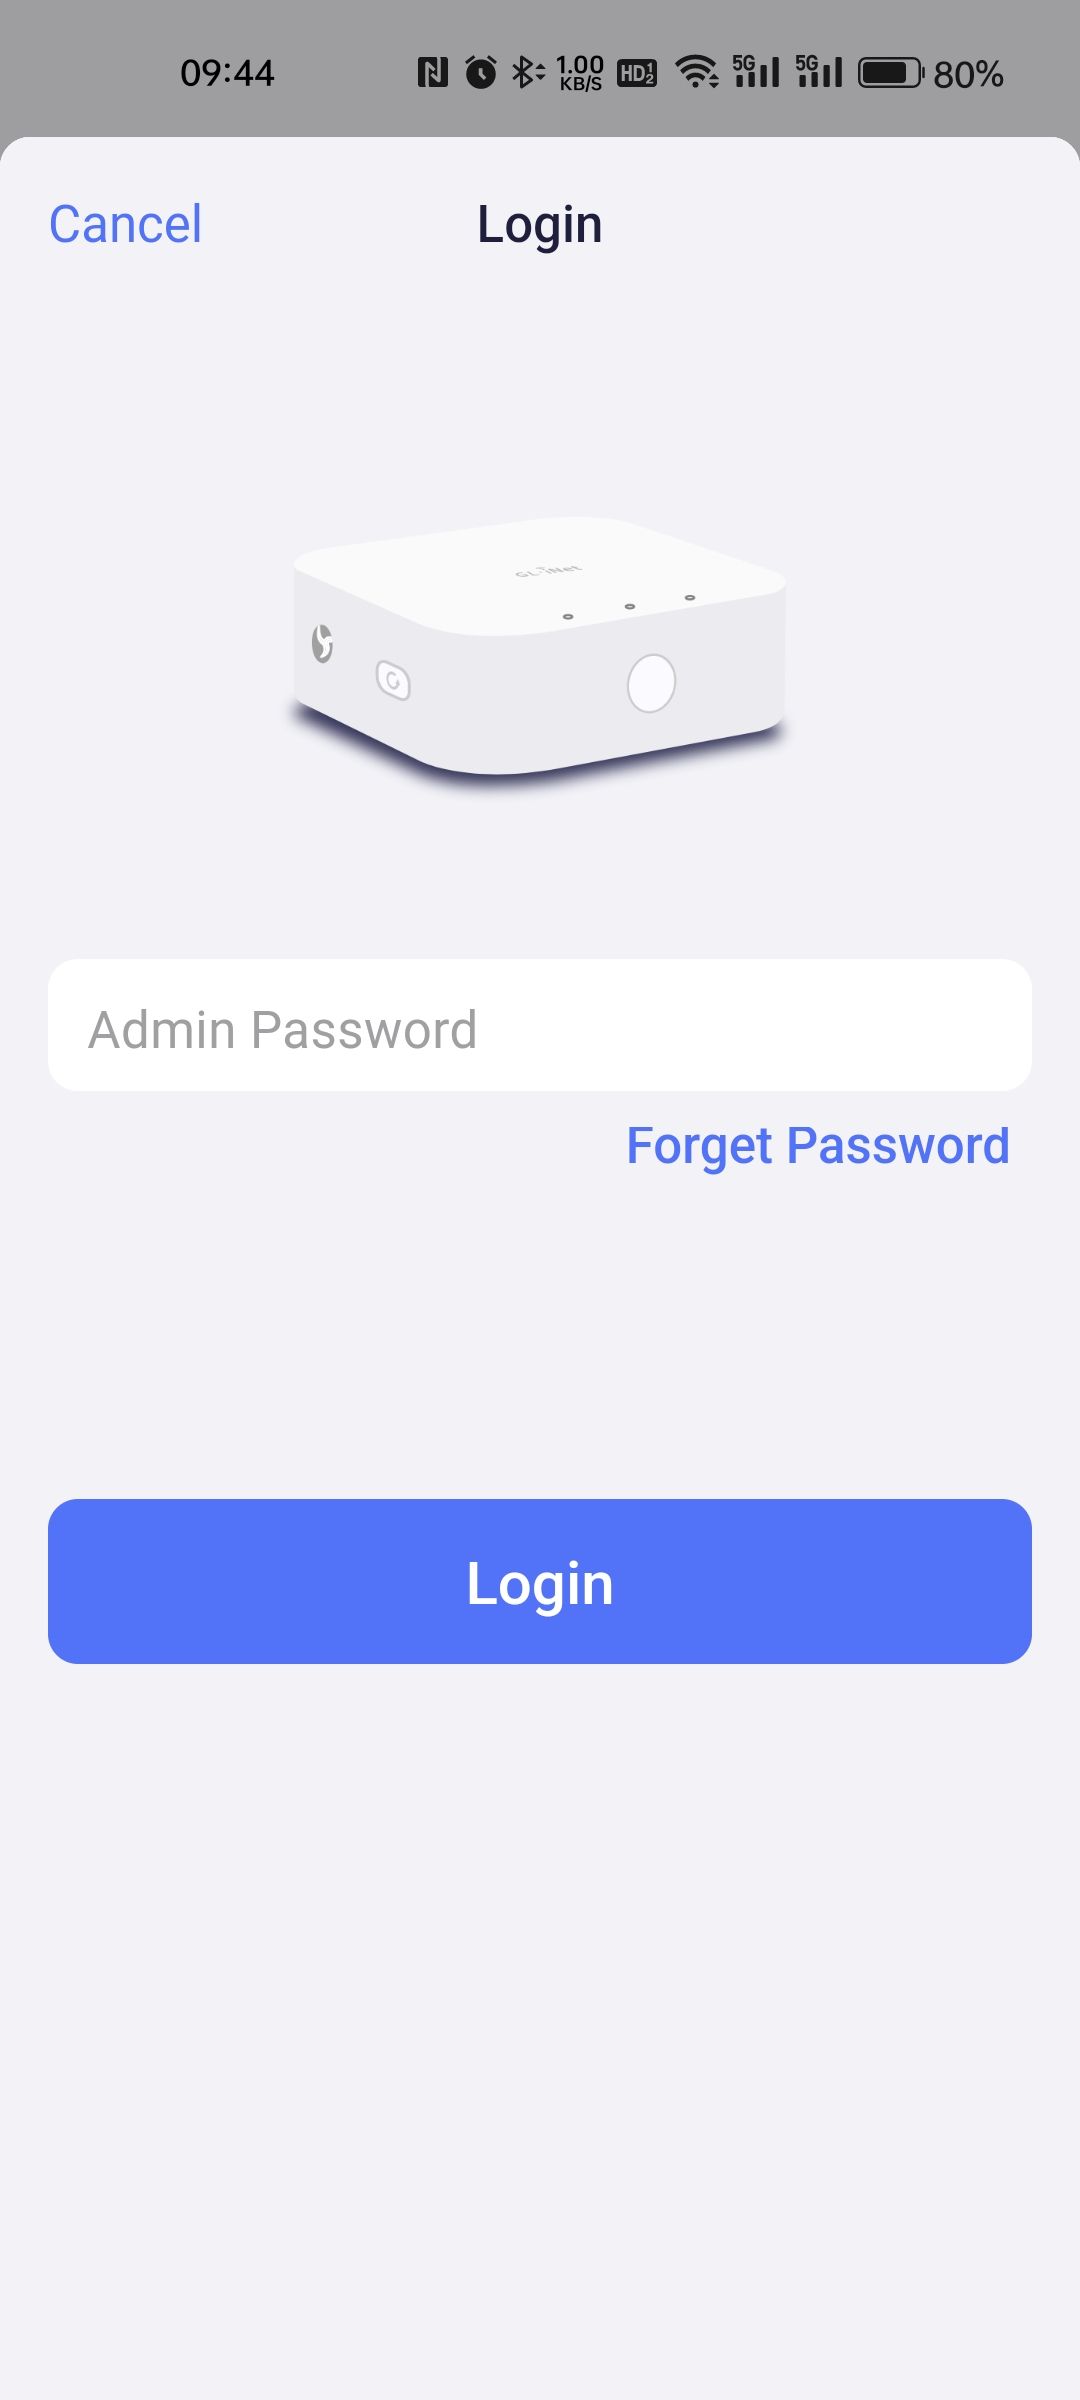
Sign in to the device
Select the device you need from the list of LAN devices. Enter the administrator password that you just set, then tap Login.
Internet
In the bottom navigation bar, tap Network.
After you log in successfully, you can configure network-related settings here.

Failover
Failover is designed to monitor the network situation. It checksthe connection status of the destination IP address to determine whether the network is available.
Select the interface status detection mode to monitor and configure ethernet and repeater Wi-Fi. It supports the setting of IPv4 and IPv6 addresses.
By default, the system gives ethernet the highest priority. If ethernet connectivity is lost, it will automatically switch to an available Wi-Fi network. When Wi-Fi is not available, it automatically switches back to ethernet.
Note: To ensure system stability, when Wi-Fi is in use, the device will not automatically switch back to ethernet even after it is restored.

Ethernet
The Ethernet section displays information about the current network status. You can tap the Modify button to modify the relevant network configuration. DHCP and static IP configurations are supported. If you want to modify the configuration, tap Modify.

-
DHCP: DHCP is the default and most common protocol. It is a network management protocol used on Internet Protocol (IP) networks to automatically assign IP addresses and other communication parameters to devices connected to the network using a client-server architecture.
-
Static: If you need a fixed IP address for connection, or if you want to manually configure network information (such as IP address, gateway, netmask), you need a static IP configuration.
Wi-Fi
Wi-Fi allows you to connect your device to an existing wireless network.
To enable Wi-Fi, toggle Enable to on. The device will automatically search for nearby available Wi-Fi networks. Tap Scan Wi-Fi in the upper-right corner to search again for nearby available Wi-Fi networks.

Tap the Wi-Fi you want to connect to and configure it.Enter the corresponding information in the pop-up window. (If the network you want to connect to isn't listed, or if the network you want to join is hidden, tap Other at the bottom).

Tap the Advanced Settings button. In the Advanced Settings, there are two functions: Lock BSSID and Manually Set static IP.

-
Lock BSSID: If this option is enabled, the device will only connect to the Access Point (AP) corresponding to the BSSID you selected when switching to a network using this SSID.
-
Manually Set a static IP: Set a static IP address to enter the IP address, subnet mask, and gateway in the corresponding input fields.
Note: The device supports saving up to three Wi-Fi configurations. When you save Wi-Fi networks with the same SSID and the same encryption method in the list, only one of them will be retained. If you have three saved Wi-Fi configurations, adding a new one will replace the oldest one in the list.
Bluetooth
Select Bluetooth in the bottom navigation bar. Please make sure that the current device firmware type is BLE version. (To check the firmware version, tap System > Overview).

Bluetooth configuration
Enable the Bluetooth function: Click the Scan Configuration bar. Click the Enable Bluetooth button in the pop-up window.

- Scan Type: Toggle between active or passive scanning.
- Scan interval: The interval between the start time of two successive scan windows, parameter range [4,65535].
- Scan window time: The time width of the scan to be performed, and the parameter range [4,65535].
- PHY: Physical Layer modulation, supporting LE_1M, LE_Coded and LE_1M_and_Coded.
Tap the Submit button to complete the setup of the Bluetooth scan.
Bluetooth scan mode
The S20 offers three scan modes: Legacy Mode, Extended Mode, and Synchronize Mode. You can configure to filter the scanned Bluetooth data.
If you change these configurations, please resubmit the configurationto apply your changes.
Legacy Mode and Extended Mode
To enable the Legacy Mode or Extended Mode, tap the corresponding mode and toggle on the switch. Configure the corresponding parameters as needed in the pop-up window and tap Submit in the upper-right corner.

-
RSSI threshold: If the threshold is set, the gateway will only report data from devices with signal strength greater than the value that you set.
-
MAC filter: If this is enabled, the configuration in the MAC filter will be activated. If the function is turned off, the configuration in the filter will be disabled. A maximum of 20 rules can be added.
-
The MAC filter input rules are as follows:
- Case-insensitive.
- Multiple MAC addresses distinguished by line breaks.
- A single MAC address can be split by the characters ":" and "-".
- Example of a MAC to match: 112233445566
- Prefix matching (needs to start with ^ followed by 1~12 hexadecimal characters) e.g. ^112233
- Suffix matching (needs to end with $ followed by 1~12 hexadecimal characters) For example 445566$
- Match anywhere (1~12 hexadecimal characters only) For example: 334455
- Exact match (supports regular writing format) For example: 112233445566/11:22:33:44:55:66/11-22-33-44-55-66
- Raw data filter: If you tap the settings icon, the configuration of the raw data filter will take effect when the switch is on. If the switch is off, the configuration in the filter will be disabled.
- The raw data filter supports all regular expressions and requires you to enter the data you want to match in hexadecimal format.
- If you need an exact match with the field you want to enter, add "^" and "$" before and after the field, for example, ^616263$.
Note: In extended mode, the size of a single packet is limited to 256 bytes.
Synchronize Mode

-
Skip parameter: This parameter specifies the maximum number of consecutive periodic broadcast events that the receiver can skip after successfully receiving the periodic broadcast packet, in the range [0, 499];
-
Timeout period: This parameter specifies the maximum time allowed between successful receptions. If this time is exceeded, synchronization will be lost, range [10, 16384];
-
Configuration list: Up to 4 periodic broadcast devices can be synchronized on this list. Each synchronized device needs to provide three parameters: the device address type, address, and SID.
-
Address type: Public address and random address can be selected;
-
Address: The MAC address of the device to be synchronized, which is required to be filled in with a 12-character MAC without ":" format;
-
SID: Used to identify periodic broadcasts, range [0, 15];
After completing the configuration and ensuring that the Bluetooth scanning functions are enabled, tap the refresh button at the bottom-right corner to obtain the broadcast packet. The broadcast packet is sorted according to the signal strength. Tap a single broadcast data to view the detailed data of the broadcast packet in the pop-up window.


Bluetooth data reporting
This section provides the configuration function of reporting the data scanned by the device to the server.
Tap the Report Configuration column, configure the corresponding parameters in the pop-up window. Tap Submit in the upper-right corner.

Parameter description:
- Reporting interval: Set the time interval for Bluetooth data to be reported to the cloud service, ranging from [5, 7200] to the second (s);
- Reporting mode: Set Bluetooth data reporting channel, support MQTT and HTTP;
- Data format: Select the format of the reported data, which only supports JSON.
- Report broadcast packet data: If this option is enabled, each piece of data reported will contain the full broadcast packet data. Otherwise, each piece of data reported contains only the device MAC address, RSSI value, and timestamp.
Note: The maximum number of packets to be reported is 500, and the packets are reported in the form of queues.
Server Configuration
We offer two ways to communicate with the server: MQTT and HTTP. In addition to being used as a channel for Bluetooth data reporting, the MQTT service also provides MQTT commands for configuration delivery.
MQTT Configuration

- Host: Server address, which can be a domain name or IP address;
- Port: Server port number;
- Client ID: The client ID used by the gateway to connect to the server, which is the basic mac (WiFi mac) of the device by default.
- Username: Set the username of the MQTT client;
- Password: Set the password of the MQTT client;
- Enable TLS: Whether to enable TLS configuration.
If you need to enable TLS configuration, click the "Enable TLS" button and configure the TLS configuration. There are one-way encryption and two-way encryption.


- Root certificate: After TLS encryption is enabled, a CA root certificate file must be uploaded.
- Client certificate: After TLS two-way encryption is enabled, a client certificate file must be uploaded.
- Client secret: After TLS two-way encryption is enabled, a client secret file must be uploaded.
- Key password: Optional setting, the password of the encrypted client key;
- Reporting: MQTT topic reported by the collected broadcast data;
- Command: The MQTT topic in which the server issues commands to the gateway;
- Response: The MQTT topic that the gateway replies to the command issued by the server;
After the configuration is complete, the connection status of the device to the MQTT server is indicated by different colors of the small circle on the page. Gray circle indicates that the connection has failed, yellow circle indicates that the connection is in progress, and green cicle indicates that the connection is completed.
HTTP configuration


Parameter description:
-
Report URL: The URL of the data report;
-
Authentication mode: Choose the HTTP authentication mode, no authentication or basic authentication;
-
When you select Basic Authentication, you need to enter the following configurations based on the settings of the server.
-
Username: The user ID used for basic authentication;
-
Password: The user password used for basic authentication;
Thread
Thread (in the bottom navigation bar)
Please make sure that the current device firmware type is Thread version. (In the bottom navigation bar, tap System > Summary.)

You can configure and manage your Thread network from this page.
- EUI-64: A unique device identifier with an 8-byte hexadecimal number.
- Extended Mac: A device extension address is a unique identifier in the Thread network and is an 8-byte hexadecimal number. The extension address is randomly generated and will be re-randomized when the system is factory reset.
- Thread version: The current Thread protocol version.
- Transmit power: Transmit power, 0~20dBm, default is 20dBm.
- Network name: The name of the thread network, 1-16 characters in length, which is used to generate PSKc (Pre-Shared Key for the Commissioner), and the defaultformat is - 。
- PAN ID: IEEE 802.15.4 MAC layer unique identifier, the default value is 2 bytes after the hexadecimal MAC address.
- Extended PAN ID: The Thread network extended PAN ID used to generate PSKc.
- Network key: The Thread network key, a hexadecimal number of 16 bytes in length.
- Channel: Thread network channel, 11~26, default value is 26.
- Commissioner Credential: A user-defined string of UTF-8 encoded characters from 6 to 255 to generate PSKc, with the default value being goodlife.
The network name/PAN ID/extended PAN ID/network key is generated based on the MAC address of the device.
How to connect to a Thread network
Create a new network
You can turn on or off Thread networking by clicking the button in the Thread network bar. When turned on, the status of the GL-S20 will change from Detached to Leader. This means the new network has been successfully created.

Note: If your network settings are the same as an existing Thread network in your current environment, the GL-S20 will automatically join that network and the GL-S20 role may change.
Join a network
Join the network with a network key
If you want to connect to a different Thread network, after turning off the Thread network, click the Join Network button to connect to a different Thread network. GL-S20 will scan for available Thread networks.Selects the Thread network you want to join in the pop-up window, enters its network key, and applies it.


Join the network by using the Commissioner
-
Using another GL.iNet GL-S200 as the Commissioner (please refer to the Thread Commissioning page ), enter the Joiner EUI64 and Joiner Credential of the S200 to be connected to the network.
-
Click "Join Network" on the GL-S200 to be connected to the network.
-
Select "Join With Commissioner" in the pop-up window, then enter the Joiner Credential and apply it.
Thread Commissioning
In the bottom navigation bar, tap Thread > Thread Commissioning.

This tab lets you add new devices to your network in bulk import.
Once on the Commissioning page, enable the Commissioner feature. The JOINERS card displays a list of joiners to add to the network. The COMMISSION record displays the network connection records of the joiner.


To add a single device, tap the Add column and enter the relevant parameters.
-
EUI-64: EUI-64 for the Joiner or type * to match all Joiners.
-
Credentials: The device credentials to be added must be a string, uppercase letters and numbers, they must not contain the letters I, O, Q, and Z, and be between 6 and 32 characters long.
-
Timeout period: During this period, the Joiner can access the network with valid credentials. Time out will be calculated from the time the Commissioner is enabled.
-
Batch Add: Toggle it at the top. Select the import bar and choose the appropriate file on your phone to upload.
Once the device is added, the designated device can be added to the network through the specialist credentials you set.
Tap the bottom button Add to see that new data has been added to the JOINERS list. You can tap this piece of data to see information about it.


Backbone routing service
The Backbone Router (BBR) feature is primarily used to receive multicast inbound/outbound requests. The function can be turned on or off via the toggle.

For related content, see Thread Border Router - Thread 1.2 Multicast
System
In the bottom navigation bar, tap System.

This section shows the functions of the current device system module.
Overview
In the bottom navigation bar, tap System -> Overview.

On the summary page, you will see information about the device system, including the device model, firmware type, firmware version, memory usage, Wi-Fi MAC , Bluetooth MAC , and S/N.
Administrator password
In the bottom navigation bar, tap System -> Administrator Password.

You can reset the administrator password on this page by following the on-screen instructions in the app. Enter the original password, the new password, and confirm the new password twice. The password must be set with a minimum of 10 digits and a maximum of 31 digits. It is also required to contain two of uppercase letters, lowercase letters, numbers, and symbols. The administrator password can be entered with letters (case-sensitive), numbers, and symbols (!@#$%^&*()_+-=,.><|? /[]{}:;”’ `~)。
Time zone
In the bottom navigation bar, tap System -> Time zone.
On this page, you can set the NTP server of the device and the time zone in which the device is replaced.

Lights
In the bottom navigation bar, tap System -> lights enabled.

By tapping the button, the device's indicator light can be turned on or off.
Upgrade
In the bottom navigation bar, tap System -> Upgrade.
There are multiple upgrade methods supported in the app: Online upgrades, local upgrades, and URL upgrades.
Online upgrade

Online upgrade allows you to obtain and upgrade official standard firmware.
On this page, the current firmware version and firmware type will be displayed.
Under the Available Firmware column, you will get the official firmware type and version that is currently supported, and you can select the corresponding version and firmware type to upgrade.
At the same time, the reserved system configuration can be upgraded by simply turning on the "reserved configuration" button. However, for upgrade toggles of different firmware types, select "Do not keep the configuration".
Local upgrade

The local upgrade is based on HTTP, and you can manually select the firmware type you want to upgrade.
- If the firmware type is GL-S20-BLE, you need to upload the APP and RCP firmware in the specified file box.
- If the firmware type is GL-S20-OTBR, you need to upload the APP, RCP, and Web firmware in the specified file box.
- Please control the size of the APP firmware within 3M, the size of the RCP firmware within 2M, and the size of the web firmware within 4M.
- The same type of firmware supports reserved configuration upgrades, while different firmware types do not support reserved configuration upgrades.
- Through local upgrade, users can use the firmware written by their own design, but pay attention to the firmware size and partition table division.
URL upgrade
The URL upgrade is used for a custom http server. Place the firmware to be upgraded in the target http server. The firmware storage path must be based on the following rules:
- To upgrade the GL-S20-BLE firmware type without web, make sure that there is no web.bin under the path.
- Assume that the URL path of the HTTP server is
http://gl-s20-ble/ - For app.bin firmware, store the firmware in the
http://gl-s20-ble/app.bin - For rcp.bin firmware, store the firmware in the For rcp.bin firmware, store the firmware in the
- For upgrading the GL-S20-OTBR firmware type with web, make sure that there is a web.bin in the path.
- Assuming that the HTTP server URL path is
http://gl-s20-otbr/ - For app.bin firmware, store the firmware to
http://gl-s20-otbr/app.bin - For rcp.bin firmware, store the firmware to
http://gl-s20-otbr/rcp.bin - For web.bin firmware, store the firmware to
http://gl-s20-otbr/web.bin
- Assume that the URL path of the HTTP server is
URL upgrades also support reserved configuration upgrades, but for upgrade toggles of different firmware types, select Do not retain configuration upgrades. You can use the firmware of your own design and writing by URL upgrade, but pay attention to the size of the firmware and the partition table division. If the designed firmware contains a web page, please store the firmware on the HTTP server as a web strip.

The URL upgrade supports HTTPS. When the URL prefix entered in the input box is HTTPS, the certificate update page will pop up.
There are two ways to update a certificate, one is to upload the certificate file locally, and the other is to obtain the certificate through the URL.
After the certificate is uploaded, you can perform a firmware upgrade over HTTPS.
Log
In the bottom navigation bar, tap System -> Logs.

This is used to obtain the log information of the device from the factory to the current runtime, and the system log level is WARNING.
The log information is cleared only when the device firmware is restored to the factory.
The log is 2MB in total and is divided into 16 copies, so when the log is full, the first flash area will be erased and rewritten, and so on.
Backup & Restore
In the bottom navigation bar, tap System -> Backup & Restore.

This is used for importing and exporting system-related configurations, which is convenient for users to quickly configure and deploy multiple devices.
Configuration files are imported and exported in JSON format. When you restore, the device is restarted to enable the new configuration.
Reset the firmware
In the bottom navigation bar, tap System -> Reset Firmware.

When you reset the firmware, all current configurations are deleted and restored to factory settings.
Still have questions? Visit our Community Forum.