How to bind KVM to the Cloud via dynamic code?
This tutorial will introduce how to easily bind GL.iNet KVM to the Cloud through dynamic code.
Note: Please upgrade your KVM firmware to version 1.7 before using this feature.
-
Log in to your GL.iNet KVM locally using domain or IP address. Click here for details.
-
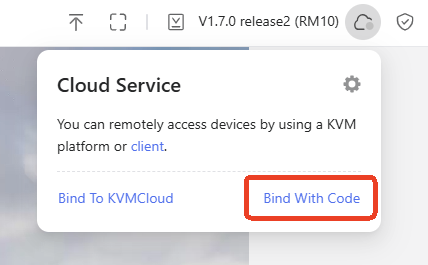
After login, navigate to Cloud Service in the upper right corner, and click Bind With Code.
-
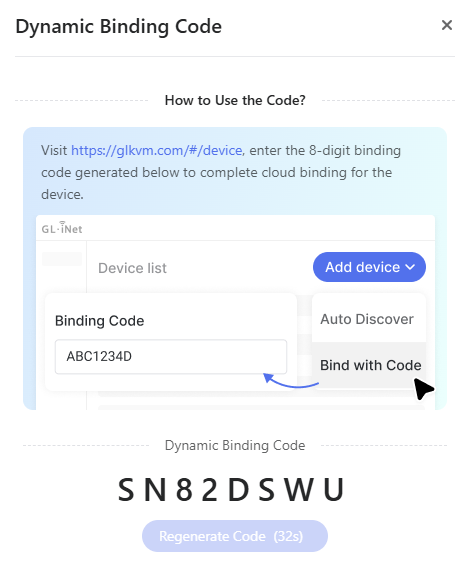
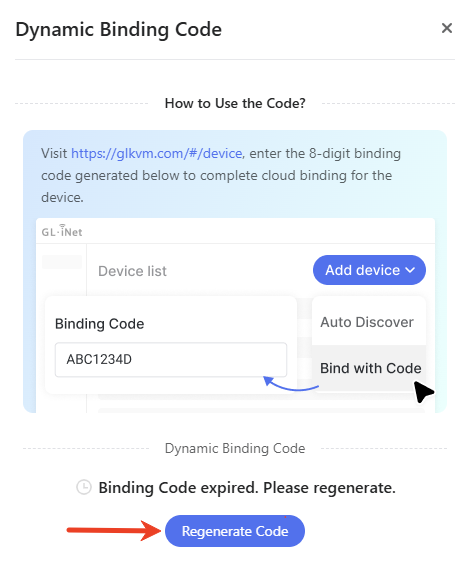
It will generate an 8-digit dynamic code randomly for device binding, valid for 60 seconds. Click the code to copy it.
-
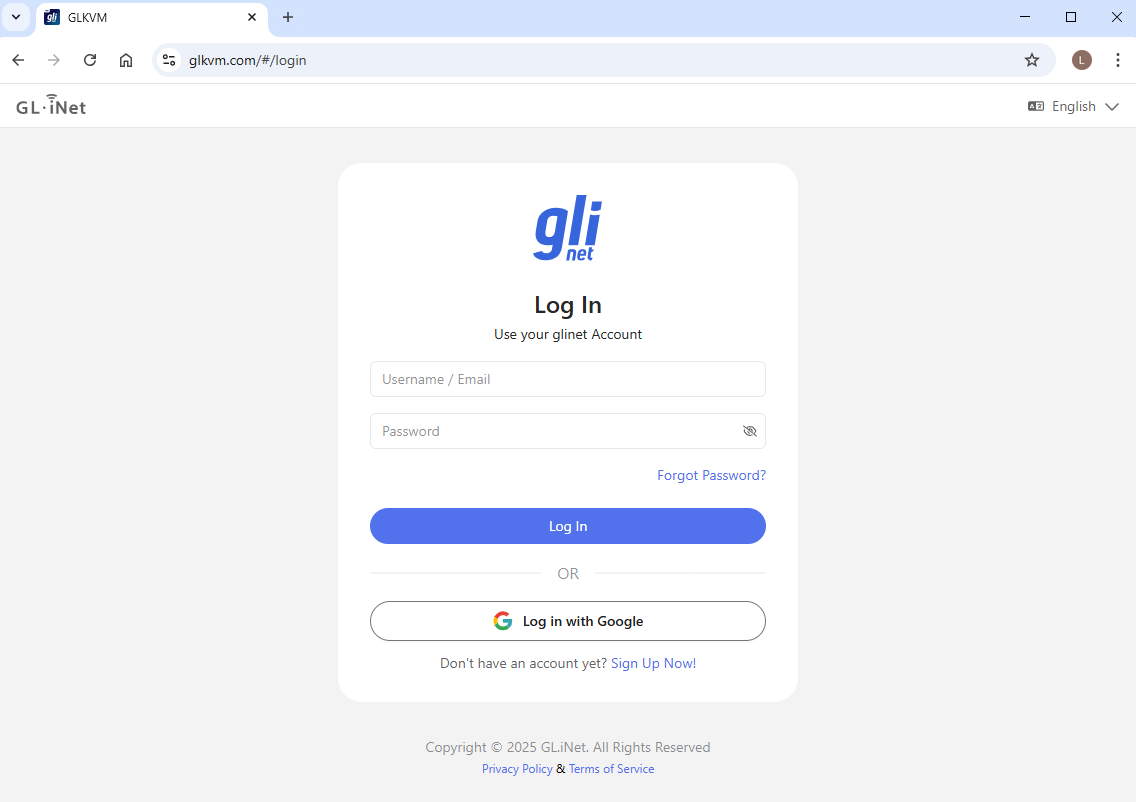
Visit https://glkvm.com/ and log in with your glinet cloud account.
-
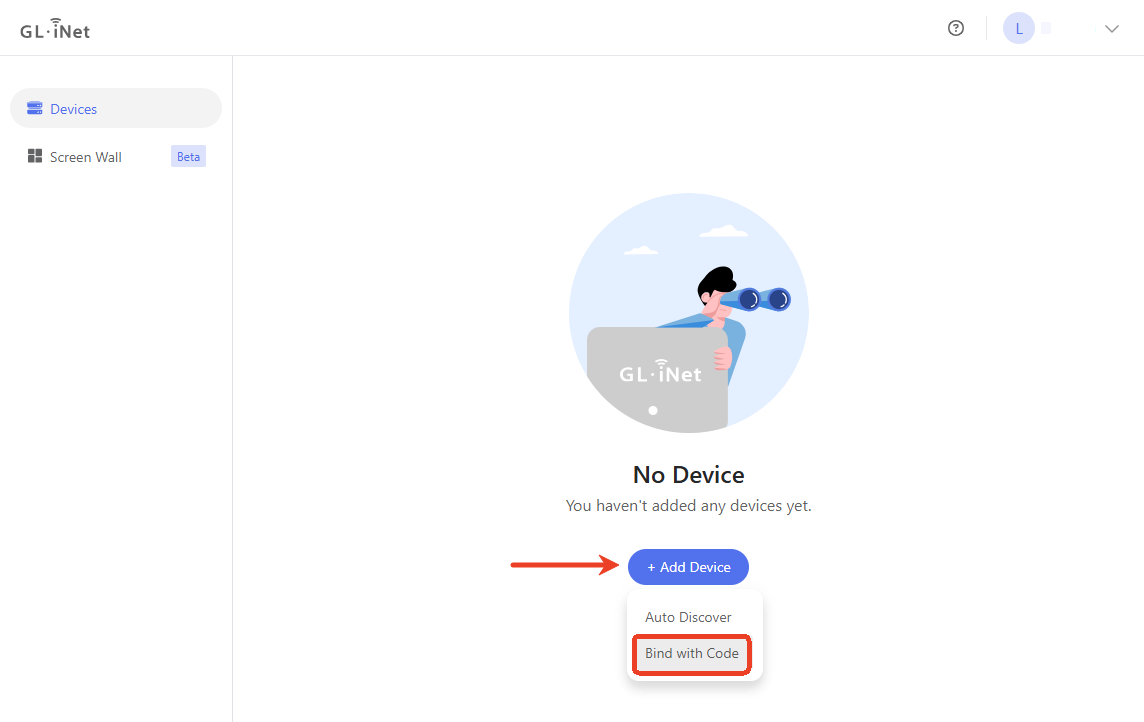
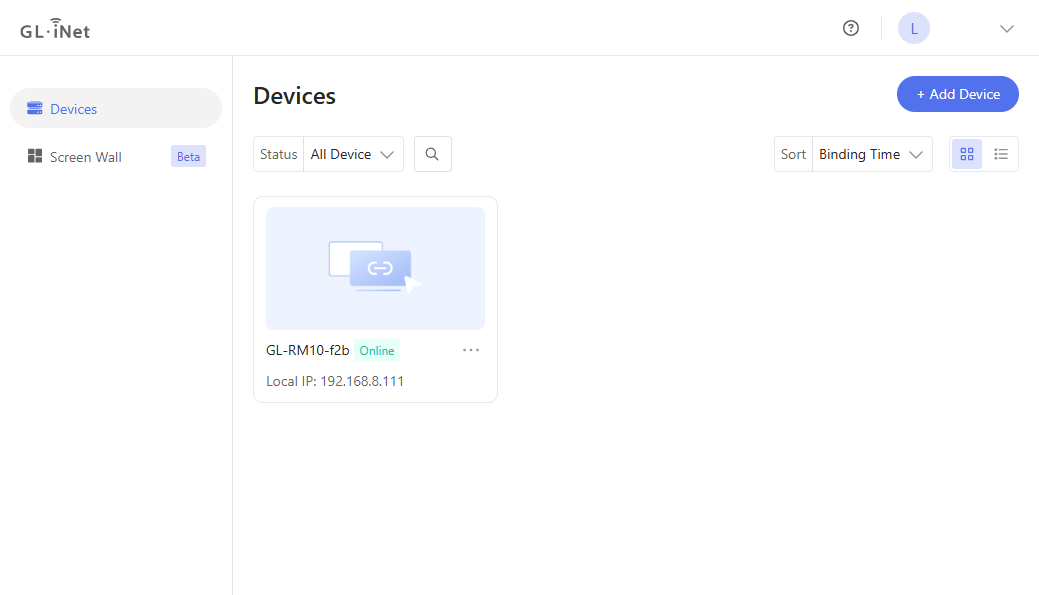
After logging in, the page displays as follows.
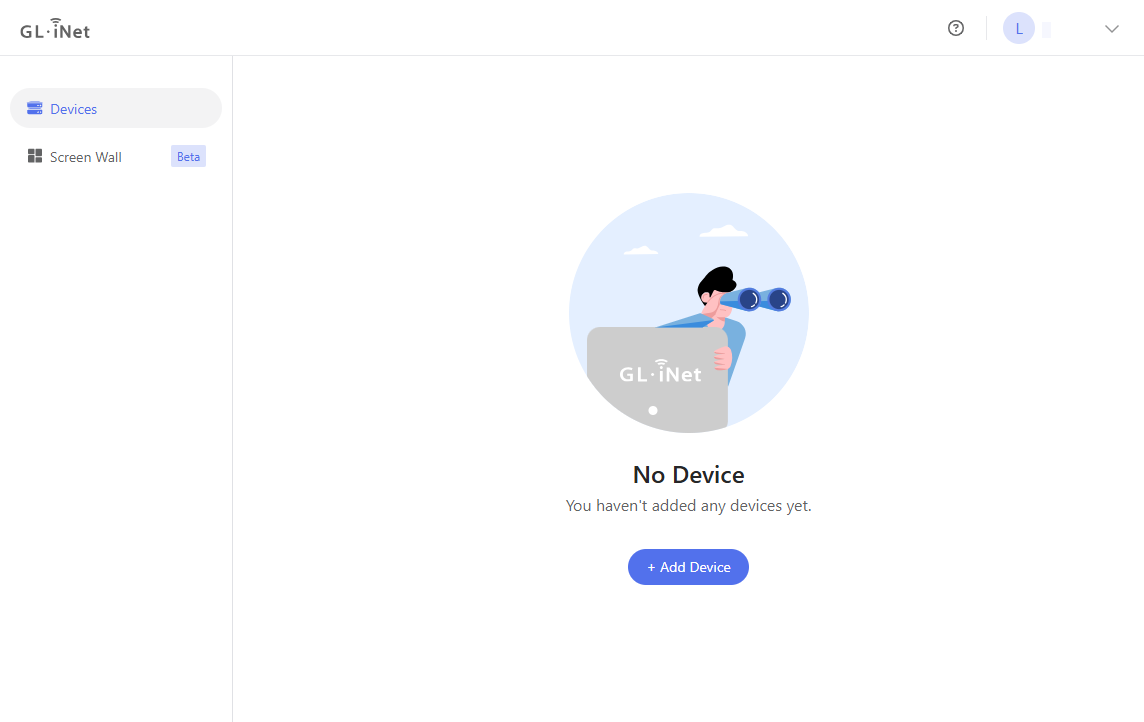
Click Add Device and select Bind with Code.
-
In the pop-up window, enter the 8-digit dynamic code, and click Bind.
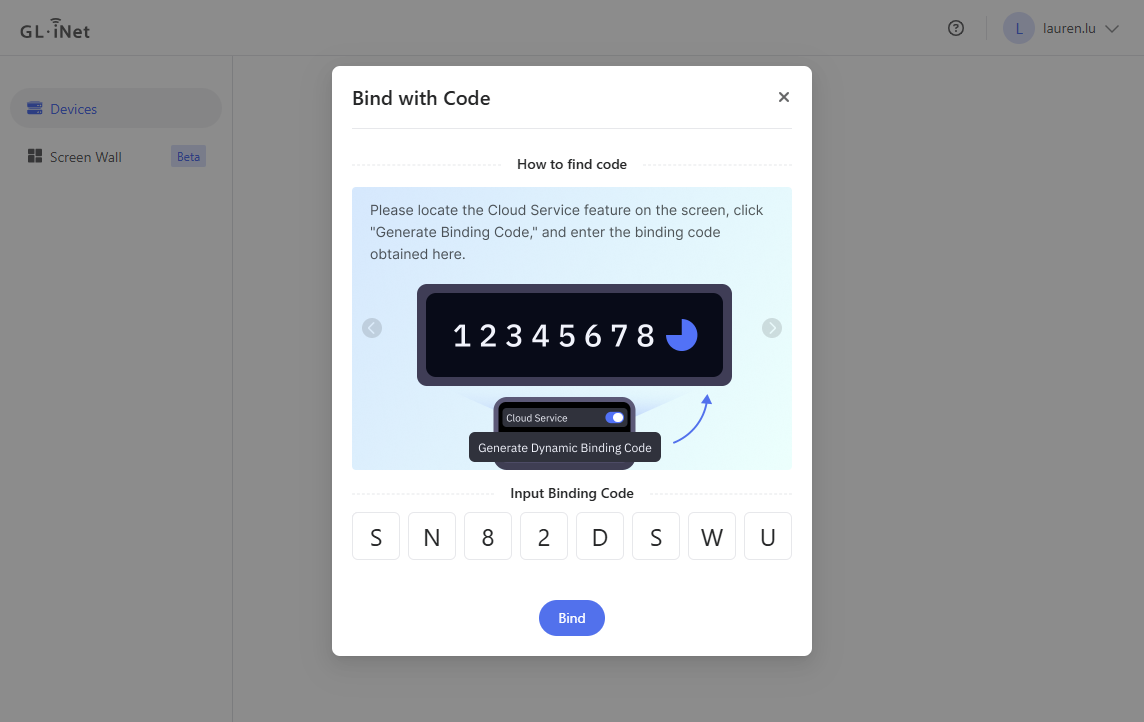
Note: The dynamic code is valid within 60 seconds. If the dynamic code expires, go back to the KVM console, and click Regenerate Code to get a new one.
-
The device will be successfully bound to your cloud account. Click Done.
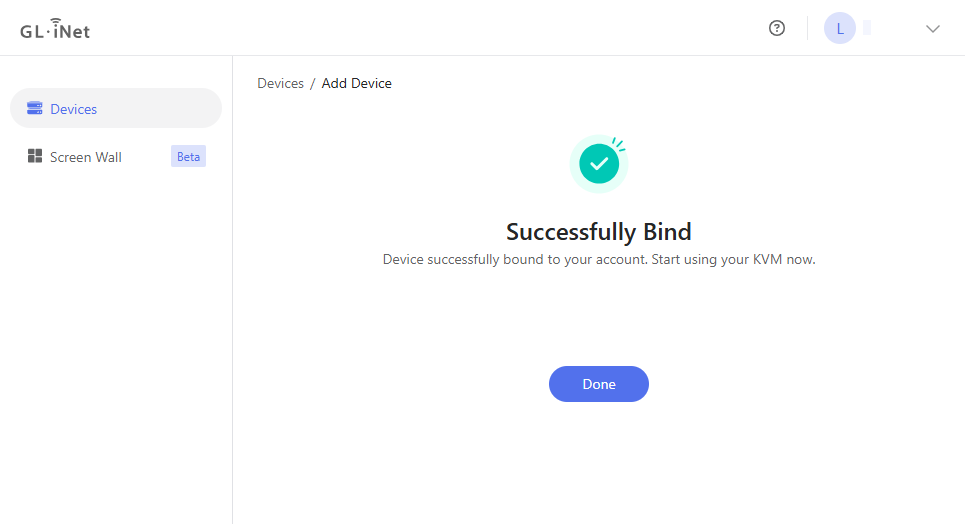
You will see the KVM in the device list. Now you can access it remotely via Cloud Service.
-
Click on the device you want to remotely access.
It will redirect to a new webpage with the domain
glkvm.xyz,glkvm.site, orglkvm.top. These domains are secure and provided by GL.iNet. Enter the admin password to log in.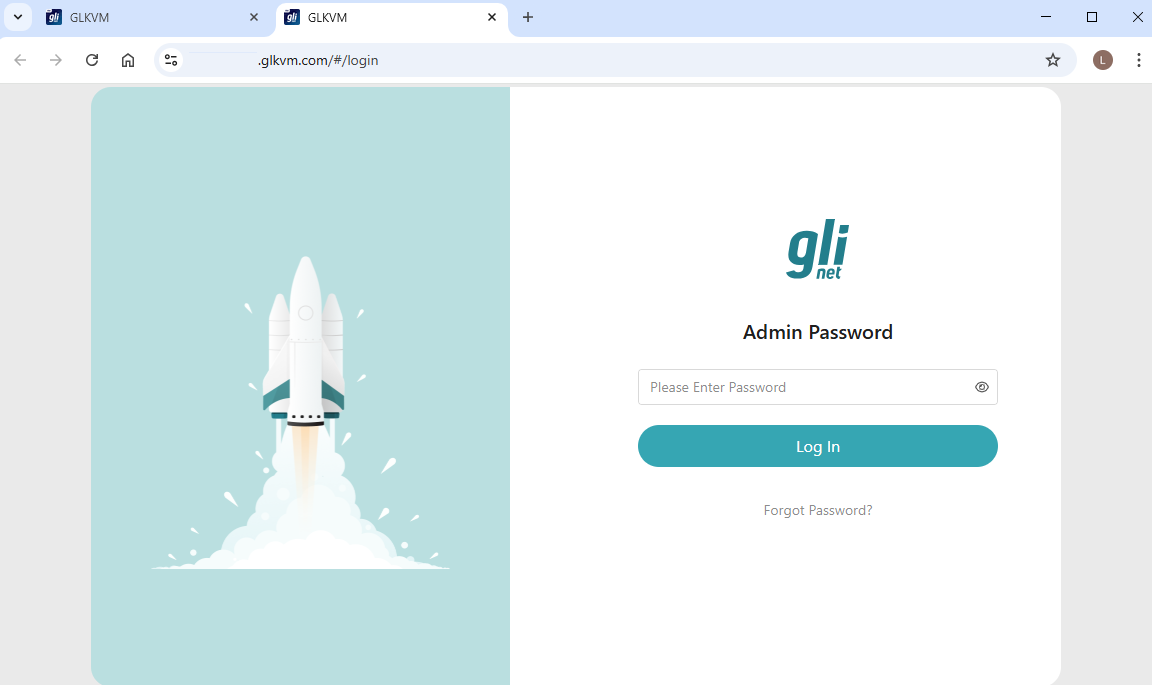
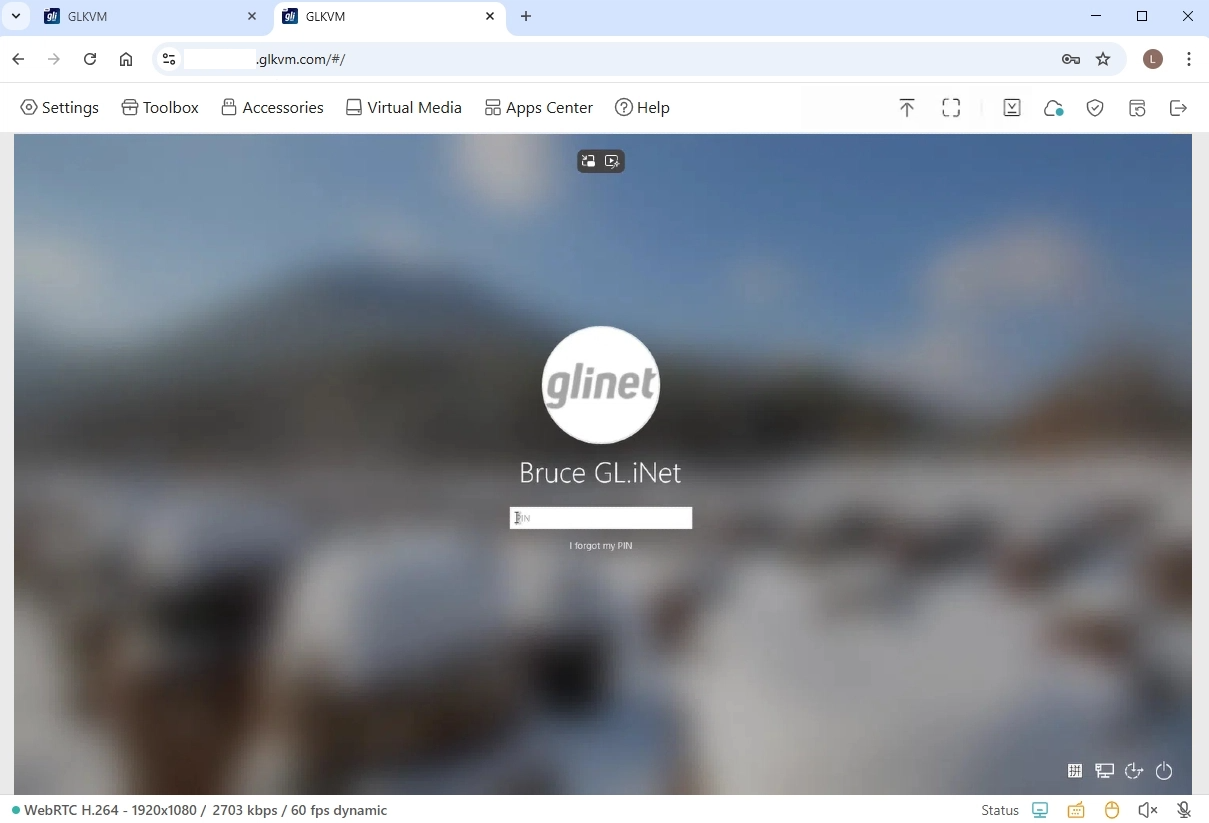
Then you will be able to remotely access the KVM and the controlled device via Cloud.
Still have questions? Visit our Community Forum or Contact us.