How to unbrick KVM via RKDevTool?
This tutorial will introduce how to unbrick GL.iNet KVM using the RKDevTool. It applies to scenarios where the KVM is bricked and cannot be recovered via regular firmware updates or U-Boot failsafe mode.
Preparation
Please prepare the following tools for unbricking.
- A Windows computer
- A USB data cable
- A power adapter (for the KVM device)
Note
Do NOT disconnect the USB cable or power off KVM during the unbricking process, as this may damage the device.
It is recommended to back up important data before starting the unbricking process.
Unbrick steps
To avoid unbrick failure, please follow the steps in order.
-
Power off your KVM device.
-
Download the latest firmware of your KVM device from here to your computer.
-
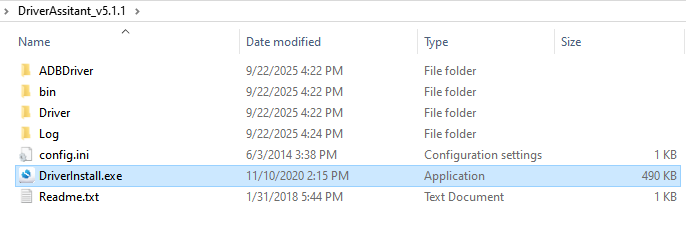
Download the driver package from here to your computer, and extract it to any directory.
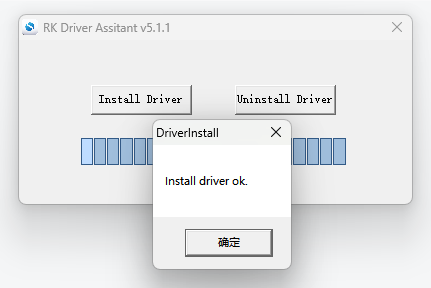
-
Double click the .exe file to complete the driver installation program.
-
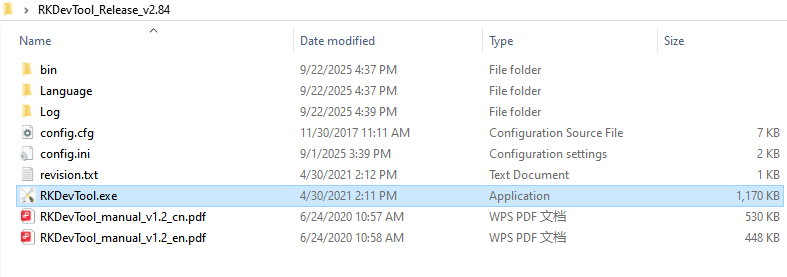
Download the RKDevTool from here to your computer, and extract it to an easily accessible directory.
-
Double click the .exe file to run the flashing tool on your computer.
-
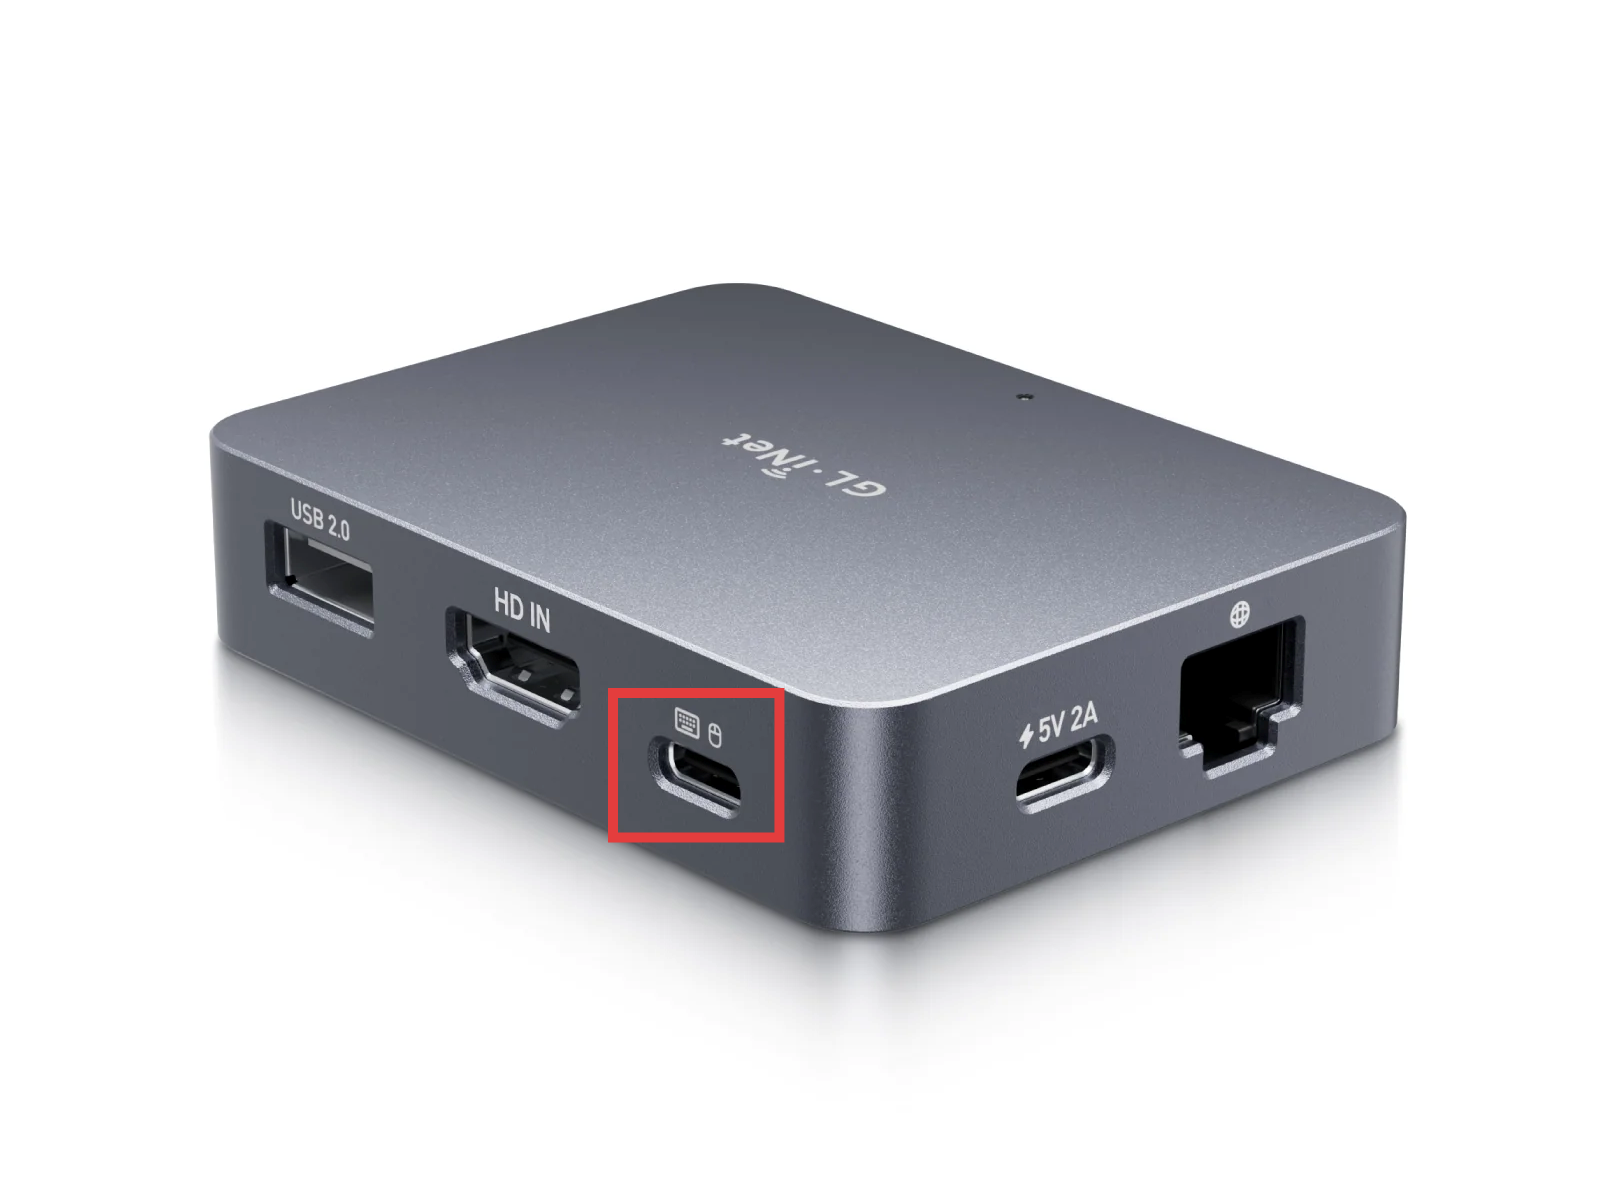
Connect the KVM's Type-C OTG port to the computer's USB port via a USB data cable.
Take Comet (GL-RM1) as an example. The Type-C OTG port is shown below.
-
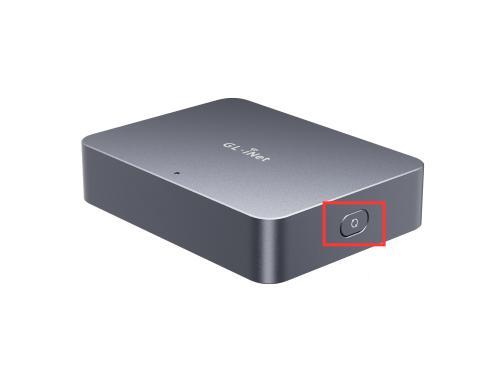
Hold the RESET button for 10 seconds while plugging the power cable into KVM. Then release the button. Your KVM device will enter the Loader mode.
-
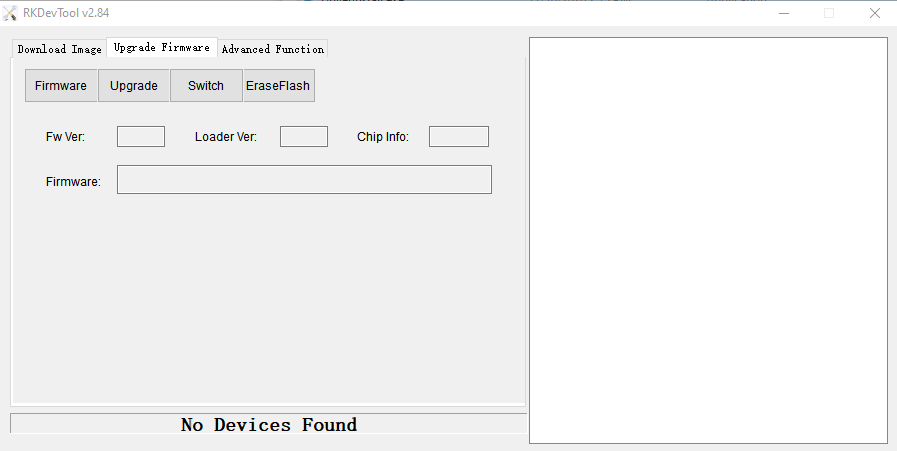
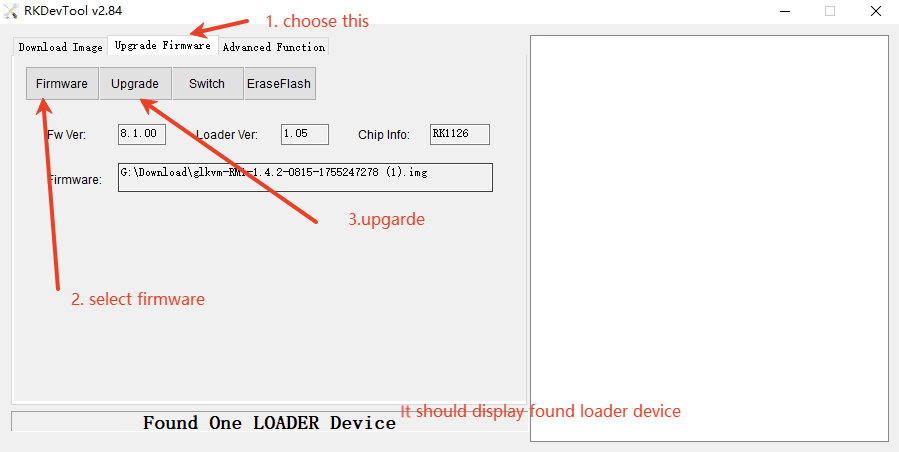
Turn to the RKDevTool panel, go to Upgrade Firmware -> Firmware, select the firmware downloaded in step 2 to upload.

Then turn to the Upgrade tab next to the Firmware tab, it will display "Found Loader Device" and start flashing the firmware.
The KVM device will automatically restart once the upgrade is complete.
Still have questions? Visit our Community Forum or Contact us.