Comet (GL-RM1) V1/V2 User Guide
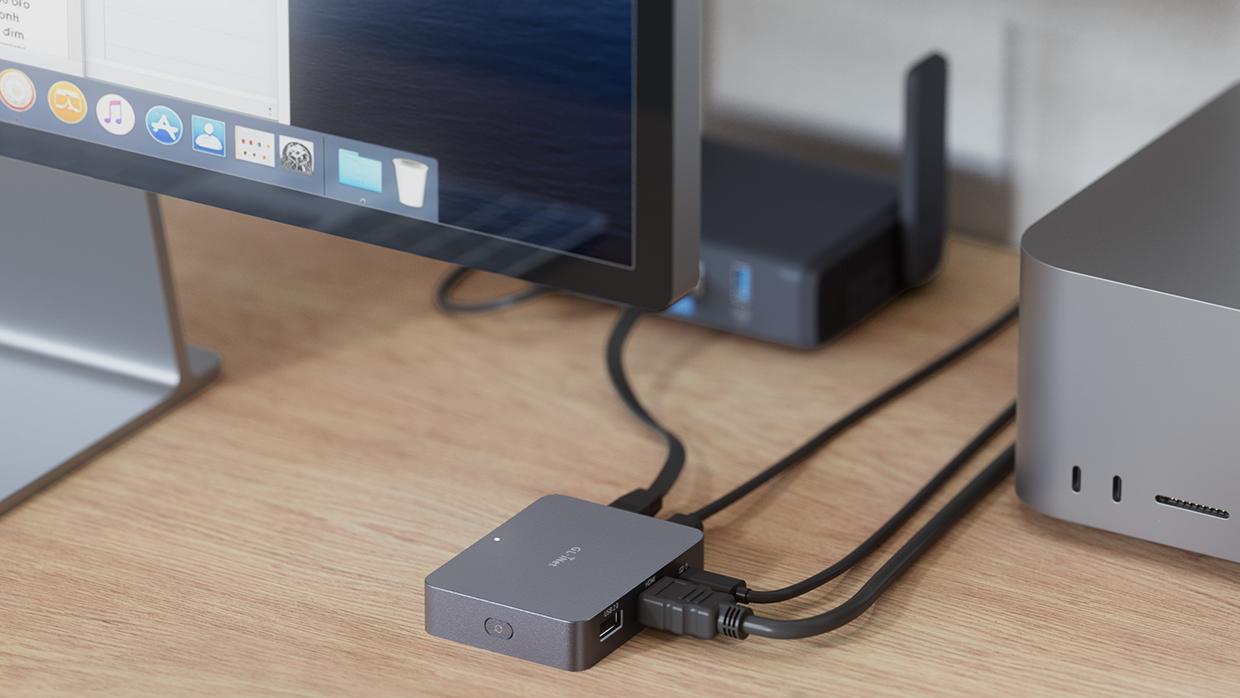
Comet (GL-RM1) V1/V2 is a remote KVM device with a wide range of applications. You can use it to remote control your home computer when away from home, access to local resources, etc. It supports remote control of offline devices, allowing you to handle computer boot failures and adjust BIOS settings. It also has a remote file transfer function, enabling easy data transfer for both online and offline computers. With audio support, it provides a more immersive remote interaction experience. In a word, it is an essential tool for remote work and device management.