Comet Pro (GL-RM10) Overview
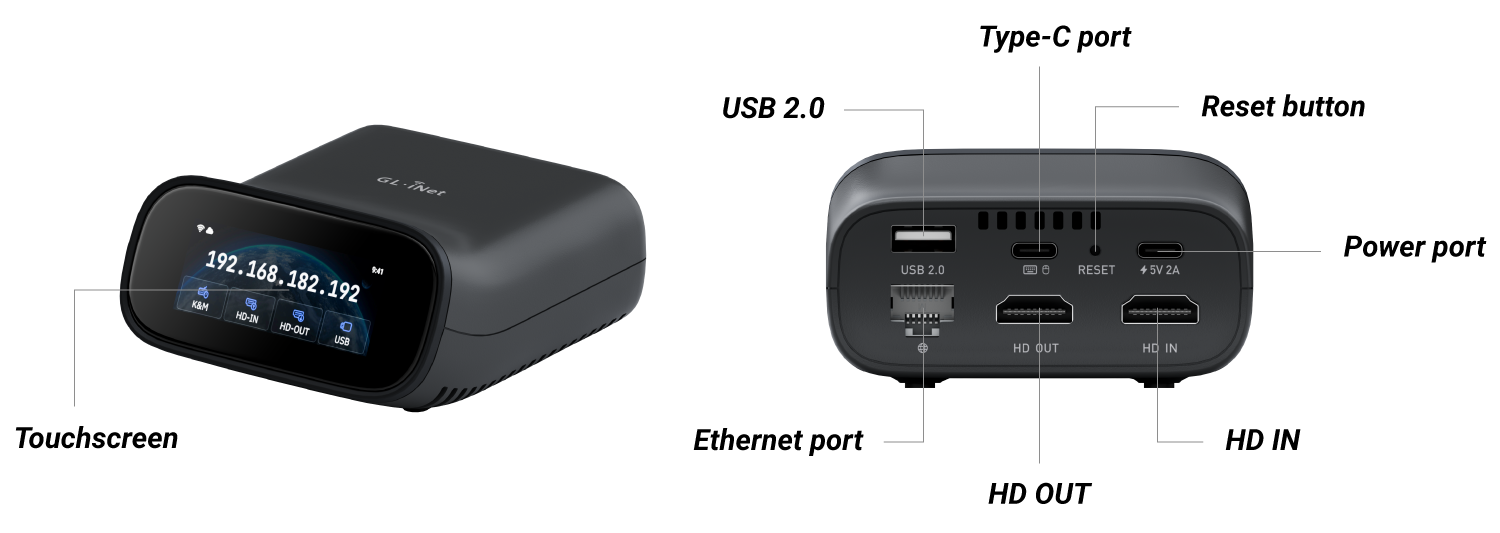
Appearance
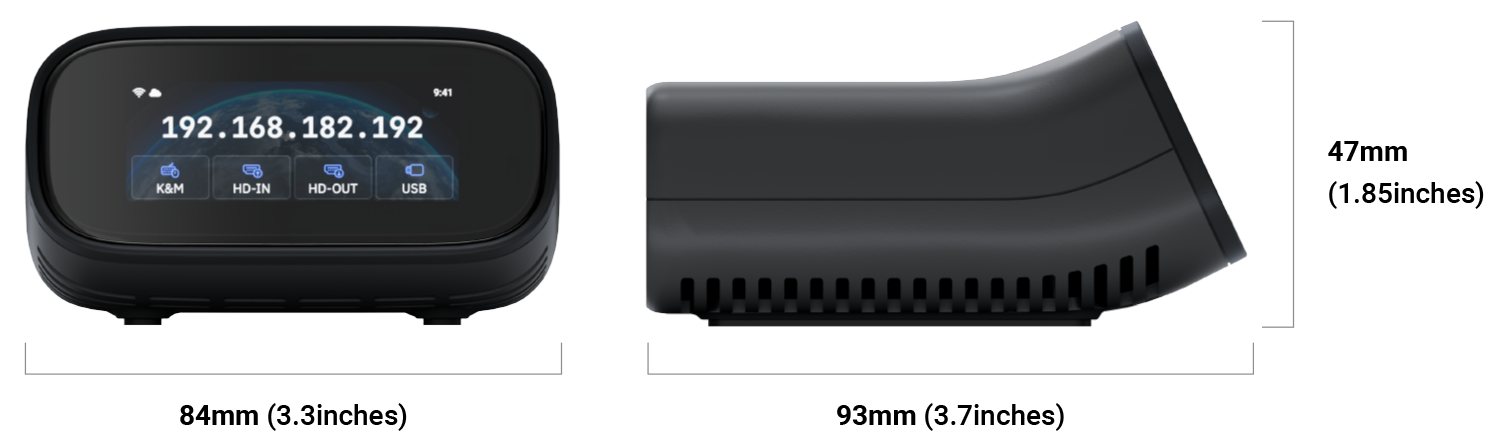
Dimension
Touchscreen
-
Power on
Power on your Comet Pro. The GL.iNet logo will appear on the screen, followed by a startup progress bar. Once the progress bar is fully loaded, the device startup is complete.

-
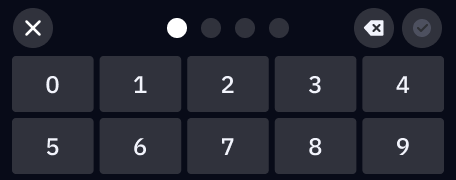
Set up screen password
Set a screen password for your Comet Pro to protect privacy and save battery.
-
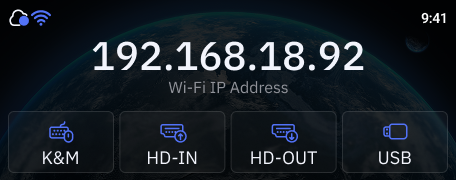
Set up network
Connect Comet Pro to a Wi-Fi network (2.4GHz or 5GHz) wirelessly, or connect it to a network device (such as a router, network switch, or Ethernet wall jack) via an Ethernet cable.

Then the initial setup is completed. The home screen displays the IP address if the device is connected to the Internet.
-
Connect devices
Refer here to connect your Comet Pro to the device you want to remotely control using an HD and a USB cable.
Once connected, the interface icon on the home screen will turn blue, indicating an active connection.
-
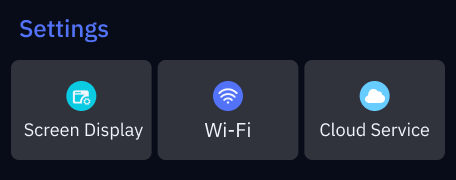
Basic Settings: On the home screen, swipe left from the right to access Basic Settings. Available options include Screen Display, Wi-Fi, and Cloud Service.
-
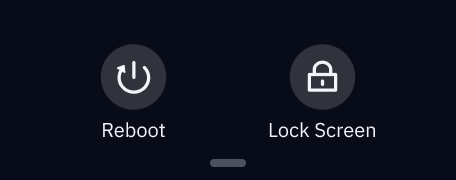
System Menu: On the home screen, swipe down from the top to access System Menu. Two options are available: Reboot and Lock Screen.
-
Device Information: On the home screen, swipe up from the bottom to view device information, including Model Name, KVM Version, MAC Address, and Legal Information.
-
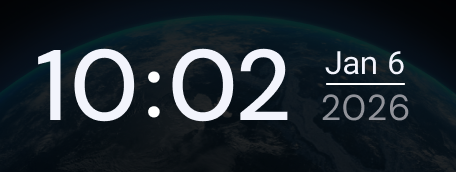
Lock screen: The lock screen displays the time and date.
-
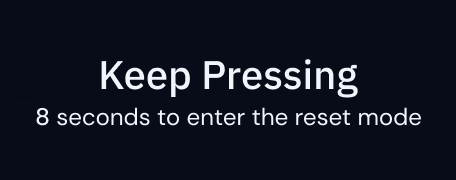
Factory Reset: With the KVM powered on, insert a pin into the reset pinhole and hold for 8 seconds to factory reset your KVM. Release the pin within 8 seconds to cancel the reset.
Package Contents
- 1 x Comet Pro (GL-RM10)
- 1 x User manual
- 1 x Thank you card
- 1 x Ethernet cable
- 2 x HD cable
- 1 x USB cable (Type-A to Type-C)
- 1 x USB cable (Type-C to Type-C)
- 1 x Power adapter
- 1 x Converter (Based on your shipping country)
Check out Comet Pro's unboxing video below.