Comet PoE (GL-RM1PE) User Guide
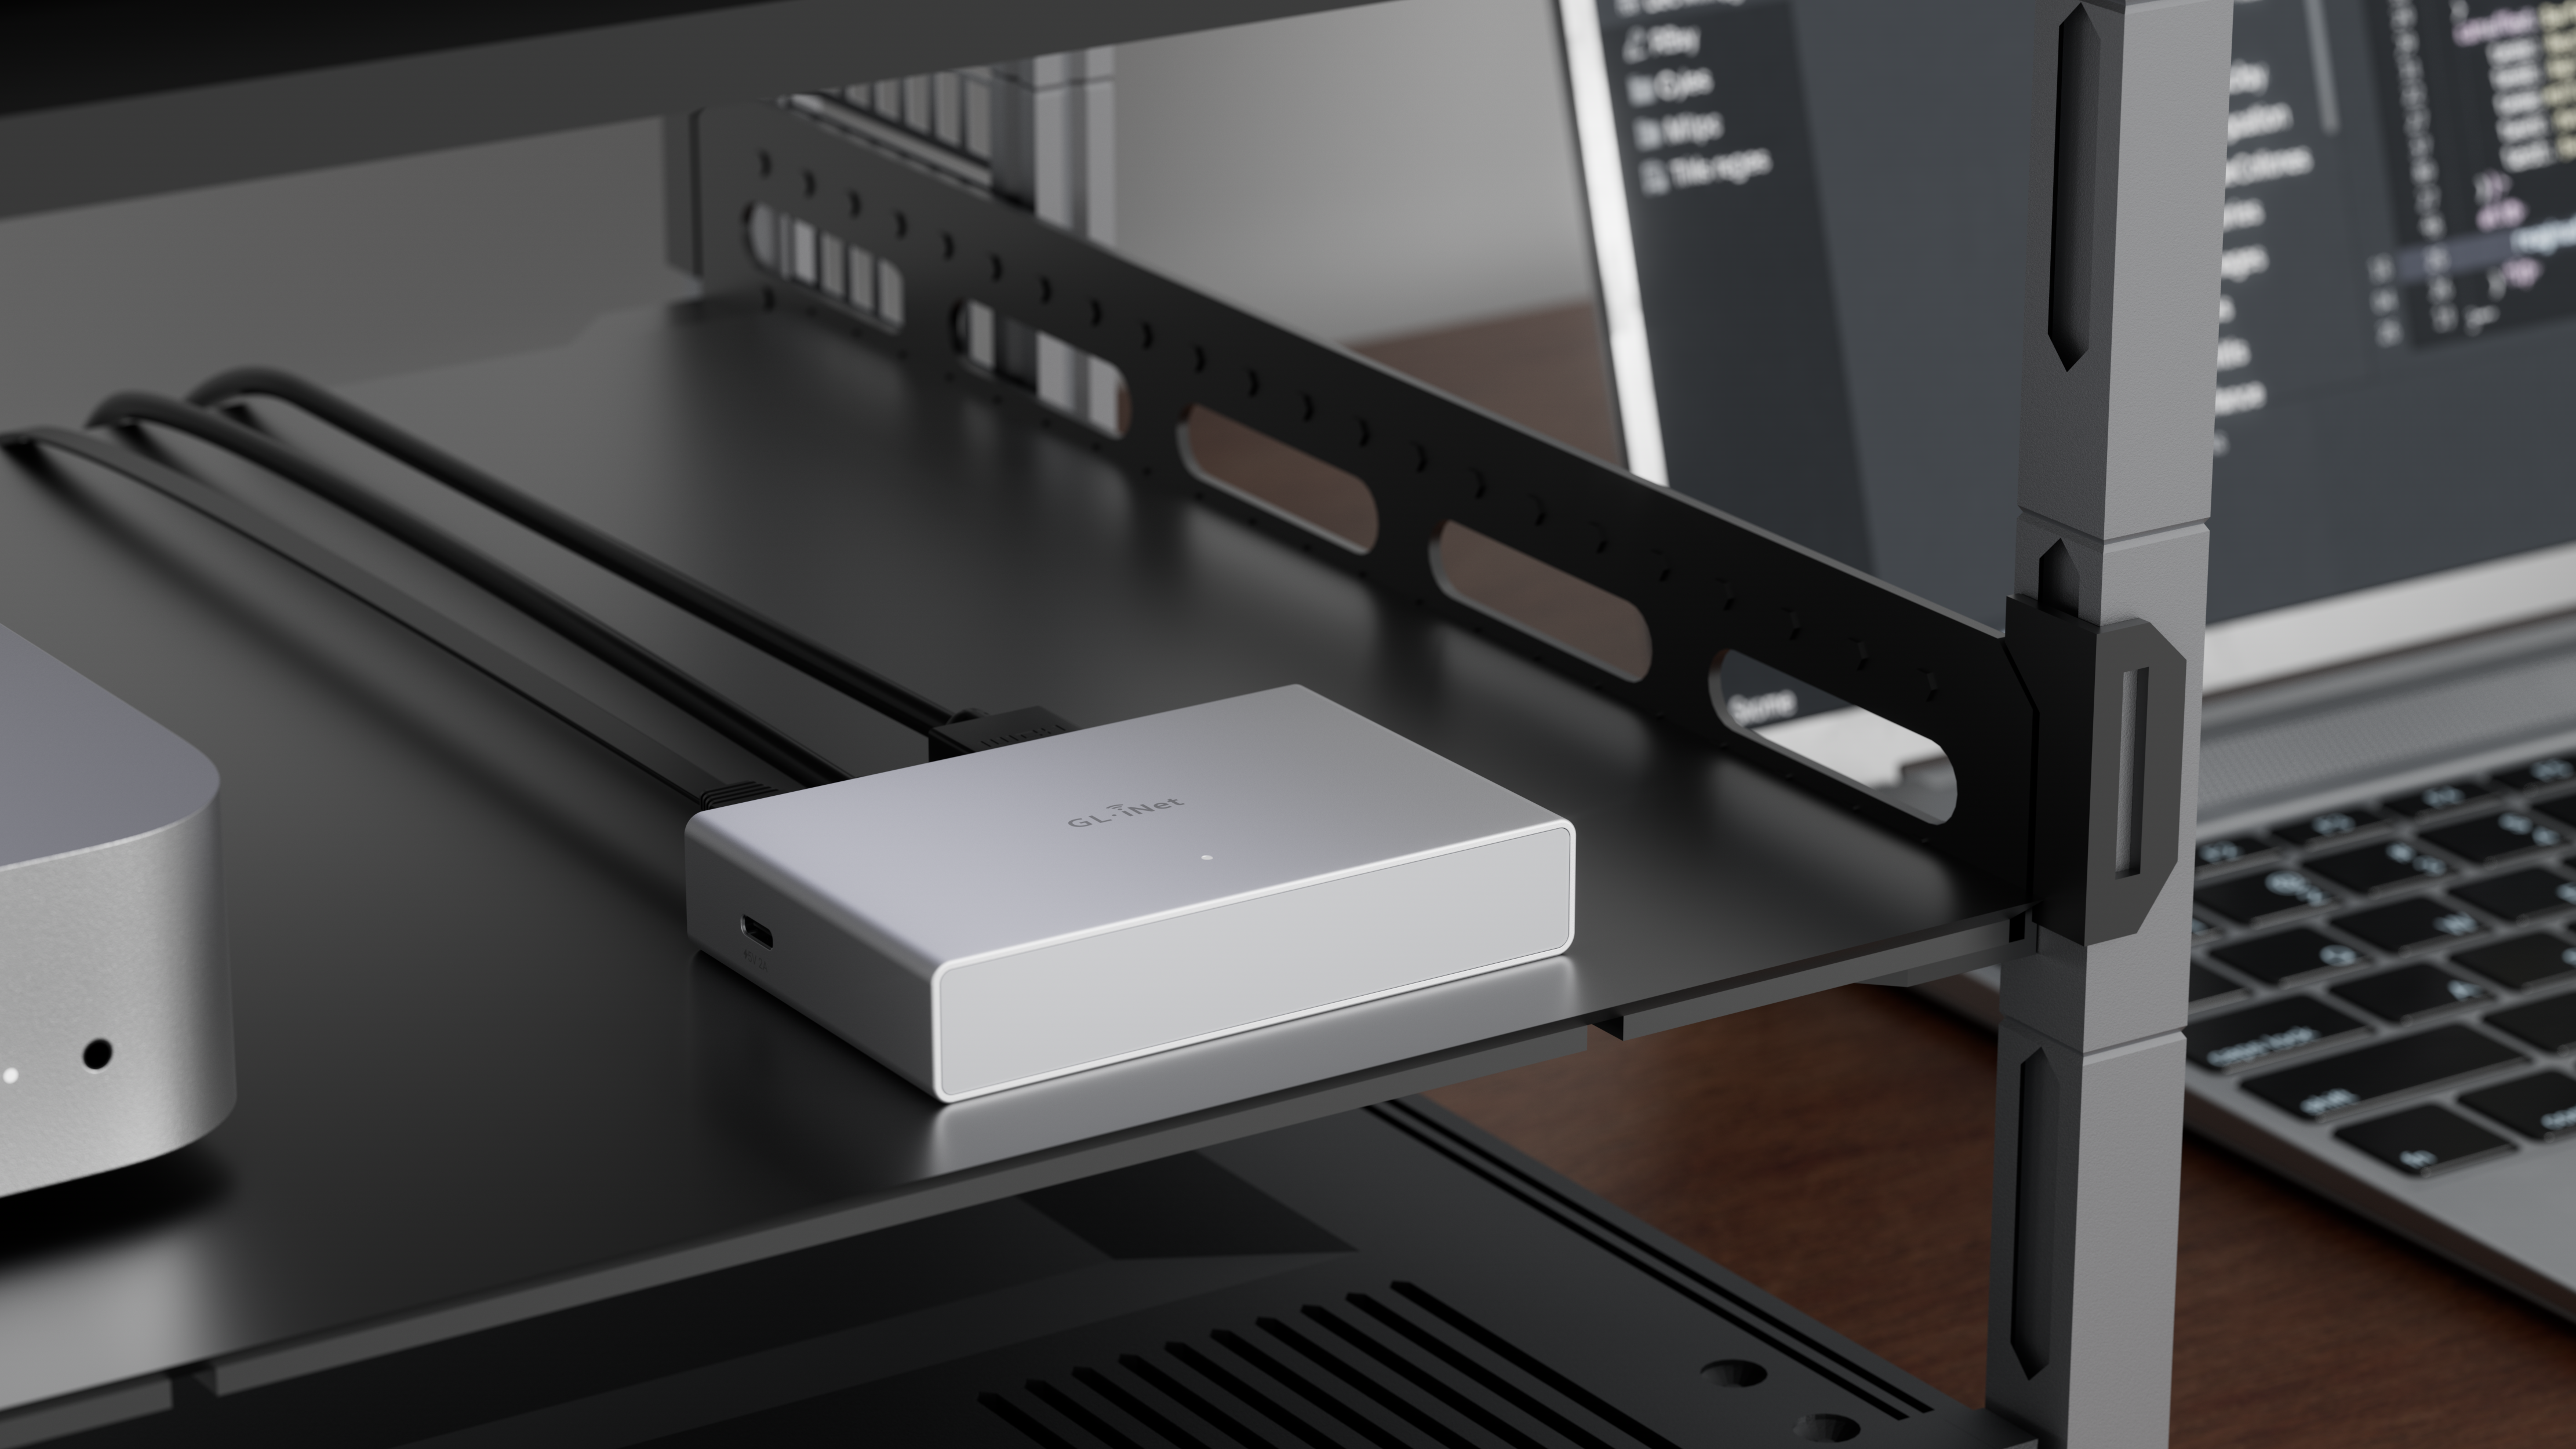
Comet PoE (GL-RM1PE) is the Power-over-Ethernet version of the Comet (GL-RM1), designed for simplified single-cable setups. The PoE model delivers both power and network connectivity via a single Ethernet cable, reducing cable clutter and simplifying installation, especially in hard-to-reach environments.
In addition, this version upgrades the EMMC capacity to 32GB, making it more capable of handling system logs, recordings, or custom firmware.
Product Overview
Appearance
Interface
LED
There is 1x LED on the top panel of Comet PoE.
LED Status | Indication |
---|---|
Solid Blue | Starting up |
Flashing White | Started up but No Internet |
Solid White | Connected to Internet |
Flashing Blue & White | Firmware Upgrading |
Quick Setup Guide
Connect the Devices
For clarity, the controlling device is referred to as Device A, and the controlled device as Device B.
-
Connect the Comet PoE to the PoE Switch with an Ethernet cable.
-
Use an HD cable to connect the Comet PoE's HD IN port to the HD OUT port of the Device B.
-
Connect the Comet PoE's USB port to the USB interface of the Device B using a USB cable.
-
Device connection is complete.
You can now access the Comet PoE control panel locally via a browser on the controlling device, or download the GLKVM app on the controlling device to remotely access it.
Local Access to Comet PoE
Follow the steps below to access Comet PoE via LAN.
Method 1. via Domain Name
Launch a browser on your controlling device, enter glkvm.local
, you will enter the local management page.
Method 2. via IP Address
Find the IP address of Comet PoE in the upper router, enter this IP address in the browser, you will be able to access the Comet PoE locally, thus access the controlled device connected to it.
Take GL-AXT1800 as an example. Here the Comet PoE is connected to the LAN port of GL-AXT1800 router through an Ethernet cable, so GL-AXT1800 is the upper router. Log in to the web admin panel of GL-AXT1800, find the IP address of Comet PoE in the Client list, as shown below.
Then we can use this IP to access Comet PoE locally, thus access the controlled device.
Remote Access to Comet PoE
Method 1. via GLKVM Application
-
Install the GLKVM App on your controlling device.
-
Register an Account.
Register a GL.iNet account. If you already have one, skip this step.
-
Log in to your Account.
Enter the username and password to log in.
-
Bind your device.
There are two methods to bind Comet PoE to your account.
Please ensure that the current Controlling Device is in the same local area network as the Comet PoE.
Click "Add Device", select your Comet PoE.
Click the "+" button in the upper right corner.
Customize device name and input the S/N, which is printed on the label on the back of the device.
You can now start using Comet PoE to remote access the controlled device.
Method 2. via Tailscale
Comet PoE integrates with Tailscale, allowing you to bind it to the Tailscale virtual network for remote access.
In Comet PoE's control panel, navigate to Apps Center -> Tailscale, bind Comet PoE to your Tailscale account, then you can remotely access it by typing its Tailscale virtual IP into a web browser on the controlling device, without installing GLKVM app.
More instructions about Tailscale, please refer to Tailscale documentation.
Control Panel Introduction
Settings
In the control panel, navigate to Settings, you will get a page as below.
Video
You can modify the video quality, orientation and EDID settings of the control page.
-
Quality: Adjust the video quality to low/medium/high according to your network and resolution requirements.
-
Orientation: Adjust the control page rotation degree.
-
EDID: Extended Display Identification Data. It aims to automatically match the display optimal parameters. The default configuration is suitable for most scenarios and usually does not need to be modified. Click here for details.
Remote Device Settings
You can adjust the relevant settings of the controlled device.
-
Audio: Turn on or off the sound of the controlled device.
-
Keyboard: Turn on or off the keyboard of the controlled device.
-
Show Virtual Keyboard: Whether to display and use the virtual keyboard on the control page.
-
Mouse: Turn on or off the mouse of the controlled device.
-
Show Local Cursor: Whether to display the mouse of the current device on the screen.
-
Mouse Jiggle: It is applied to prevent the computer from entering sleep due to prolonged inactivity (e.g., remote meetings, server management).
-
Scroll Rate: It refers to the speed at which the mouse wheel scrolls or the number of lines/units scrolled per wheel rotation, affecting how quickly content moves on the remote.
-
Scroll Direction: It determines whether scrolling the mouse wheel up/down moves content on the remote screen in the same direction (natural scrolling) or the opposite direction (traditional scrolling).
Four direction modes are available: Standard, Vertical Invert, Horizontal Invert, and Both Invert.
-
Mouse Mode: Including Absolute Mode and Relative Mode.
-
Relative Sensitivity: It is available when the Mouse Mode is Relative.
System
-
Language: Switch the language of control panel.
-
Color Mode: Switch the theme color, including dark and light modes.
-
Reset KVM
Toolbox
In the control panel, navigate to Toolbox.
Clipboard
The clipboard allows you to easily paste text from the controlling device to the controlled device, without the need to transfer files.
Shortcut
It shows some common shortcut key options. Click "ALL" to show all options.
Wake On Lan
Wake on LAN (WOL) is a technology that allows the controlled device to be remotely powered on or awakened from a low-power state.
Click Add Device to set it up.
Terminal
Access Terminal: You can access the terminal of Comet through this function.
Accessories
GL.iNet offers optional accessories for KVM devices to provide additional convenience for remote management.
Firstly, connect the accessories to the controlled device. For Fingerbot, please click here. For ATX board, please click here.
Then log in to the control panel, navigate to Accessories.
Note: Accessory settings are only displayed after installation.
Fingerbot
The Fingerbot is adhered to the physical power button of the controlled device, to achieve remote control of the controlled device's power supply.
It works as per the following settings.
-
Time: The duration for which the Fingerbot presses.
-
Strength: Two levels of pressing strength are provided.
ATX Power
The ATX Board is installed in the computer host box to achieve remote control of the controlled device's power on/off/reboot.
It works as per the following settings.
-
Power: Provides short press and long press functions.
-
Restart: Restart the device.
Virtual Media
Comet PoE allows you to transfer files between the host controlling device and the controlled device.
In the control panel, navigate to Virtual Media.
Drag or click the box to upload files from host, or upload from URL.
As an example, two images have been uploaded from the controlling device to the Comet PoE here.
Click Mount To Remote, two options are provided: File Sharing and Image Mounting.
File Sharing
It Emulates a read-write USB drive. Upload the files from the host to the Comet PoE and transfer to the controlled device.
Click on File Sharing, and a window will pop up in the upper-right corner of the control panel to display file sharing steps. Click "Don't remind me" to hide this prompt.
Then turn to the Comet PoE's control panel, go to This PC of your controlled device, find a Drive named GLKVM.
Now you can view, move or delete the files in this drive.
Image Mounting
It emulates a read-only CD-Rom, supports BIOS/UEFI boot, for system reinstallation or ISO-based software installation.
Comet PoE can simulate a read-only virtual CD/DVD or disk drive on the target host. You can access this drive during the BIOS or UEFI startup process.
This function can help you reinstall the operating system or mount an ISO to install applications on the target host and other tasks.
Click on Image Mounting, in the pop-up Mount Settings, select the file and ensure this file can be mounted as an iso format, then click Mount Image.
Then you can use this file on the controlled end.
Apps Center
In the control panel, navigate to Apps Center, the integrated applications can be found here.
Tailscale
Comet PoE integrates with Tailscale, allowing you to bind it to the Tailscale virtual network for remote access.
In the control panel, navigate to Apps Center -> Tailscale, bind Comet PoE to your Tailscale account, then you can remotely access it by typing its Tailscale virtual IP into a web browser on the controlling device, without installing GLKVM app.
More instructions about Tailscale, please refer to Tailscale documentation.
Help
Here you can find more information about GL.iNet KVM and help documentation, as well as export logs for troubleshooting.
System Settings
In the control panel, navigate to the upper-right corner to access the following system functions and options:
- Collapse Toolbar
- Full-Screen
- Upgrade Firmware
- Cloud Service
- Security (including Change Admin Password and 2FA Auth)
- Reboot
- Logout
Upgrade
Local and Online Upgrades are supported.
Cloud Service
GL.iNet KVM panel can be accessed locally, so as to manage the controlled device under local network. Click here for more details.
If you want to access the controlled device remotely, we suggest you download the App to use Cloud service.
Security
-
Change Admin Password.
-
2FA Auth: Enable two-factor authentication to protect your account.
Accessory Guide
GL.iNet offers optional accessories for KVM devices to provide additional convenience for remote management.
FingerBot
The FingerBot, acting as a physical button emulator, is designed to enable remote control of physical power button on the controlled device.
Remove the cover above the FingerBot to find a USB wireless receiver, and insert it into the USB port of Comet PoE.
Attach the Fingerbot to the controlled device, ensure that the robotic arm of the Fingerbot can reach the physical power button of the controlled device when pressed downward, so as to achieve control of the power supply of the controlled device.
Then log in to the Comet PoE's control panel, go to Accessories to set the FingerBot.
Note: This product is not available yet.
ATX Board
The ATX Board, acting as a smart power management module, enables remote control of the controlled device's power supply by simulating physical power button operations (power on/off/reboot).
Unlike the FingerBot, which controls device through physical button presses, the ATX main board will be directly installed in the controlled device's host box, providing more concealed and stable power management.
Please refer to GL-ATX Board User Guide for details.
Still have questions? Visit our Community Forum.