Change WAN to LAN
You can change the WAN port of your router to be a LAN port. This is particularly useful when using the router in repeater mode, where the WAN port is unnecessary. By changing the WAN port to a LAN port, you will have an additional LAN port for expanded connectivity.
Follow the steps below to change WAN to LAN.
For Firmware 4.7 and above
-
Leave the WAN port unconnected.
-
Connect a device to the router and access the router's web admin panel.
-
In the web admin panel, navigate to INTERNET -> Ethernet section, and click on the gear icon at the upper right corner.
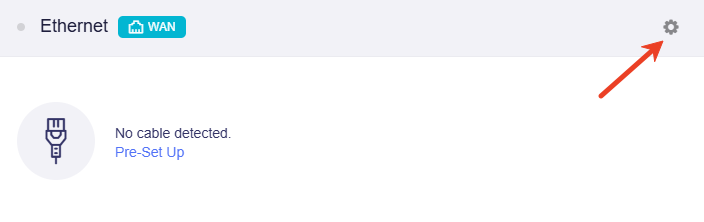
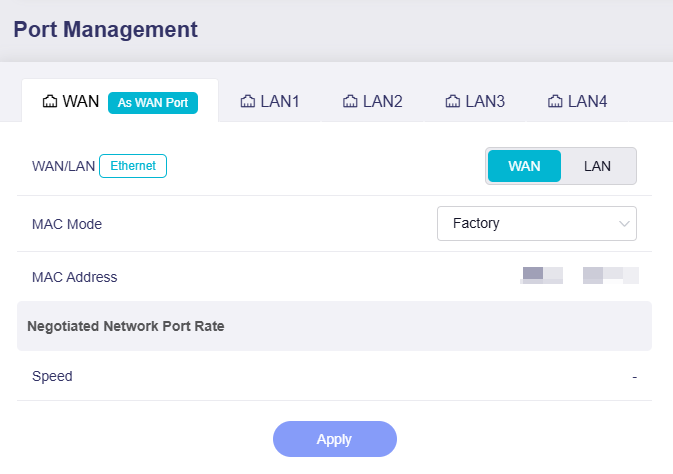
You will be directed to the Port Management page, where the WAN port status is displayed as being used for WAN.
-
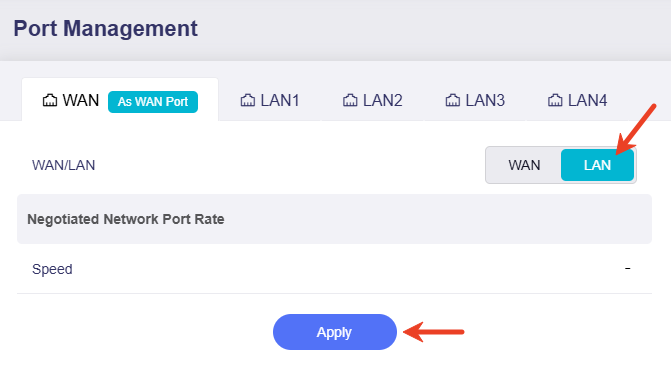
Click on LAN to change the Ethernet port properties, and click Apply.
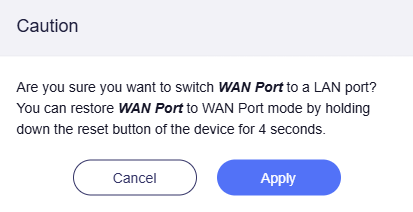
In the pop-up caution window, click Apply to confirm.
Note: Wi-Fi may disconnect temporarily during this process. Please re-connect to the router once completed.
-
Back in the Ethernet section, it will show that the WAN port is now used as a LAN port.
You can switch it back to WAN in Port Management page, or press the RESET button for 4 seconds to restart the WAN interface.
For Firmware 4.6 and earlier
-
Leave the WAN port unconnected.
-
Connect a device to the router and access the web admin panel.
-
In the web admin panel, navigate to INTERNET -> Ethernet section, where it displays the WAN port status is Using as WAN. Click Change to LAN.

-
Click Apply to confirm.

Note: Wi-Fi may disconnect temporarily during this process. Please re-connect to the router once completed.
-
Back in the Ethernet section, it displays
Using as LAN.
You can simply revert the setting by repeating the above procedures.
Still have questions? Visit our Community Forum or Contact us.