Connect to the Internet via an Ethernet cable
Connect the router to a broadband network via an Ethernet cable plugged into the WAN port. It usually automatically acquires an IP address (DHCP). Users can also configure static IP or PPPoE manually. This method offers high stability and fast speed, making it ideal for home and office environments with fixed broadband access.
Follow the steps below to connect your router to the Internet via an Ethernet cable.
-
Connect the WAN port of your router to the upstream device (e.g., an ISP modem, router, network switch or an Ethernet jack) via an Ethernet cable.
-
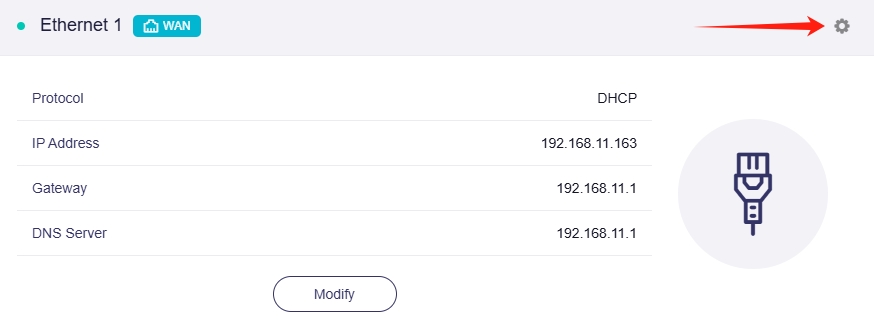
Log in to the router's web admin panel, navigate to INTERNET -> Ethernet section.
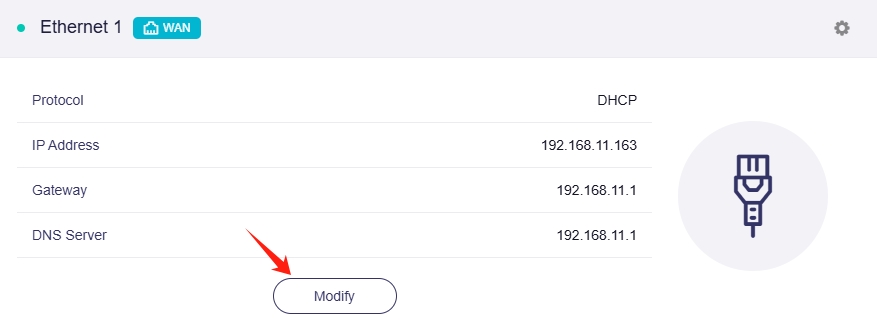
If the connection is successful, the Ethernet section will display network details, including Protocol, IP Address, Gateway and DNS Server.

Tips: Before plugging the Ethernet cable into the WAN port of the router, you can click Change to LAN to set the WAN port as a LAN port. That is useful when you are using the router as a repeater since the physical WAN port is idle. Therefore, you can repurpose the unused WAN port as a LAN port and then you will have one more LAN port.
Protocol
There are 3 types of protocols, DHCP, Static, PPPoE. Click Modify to change.
-
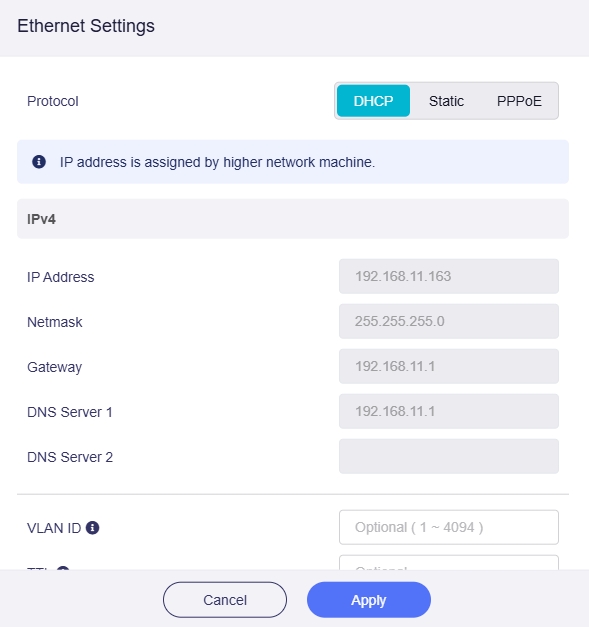
DHCP
DHCP is the default and most common protocol, automatically assigning IP addresses and other communication parameters to network devices via a client-server architecture on IP networks.
-
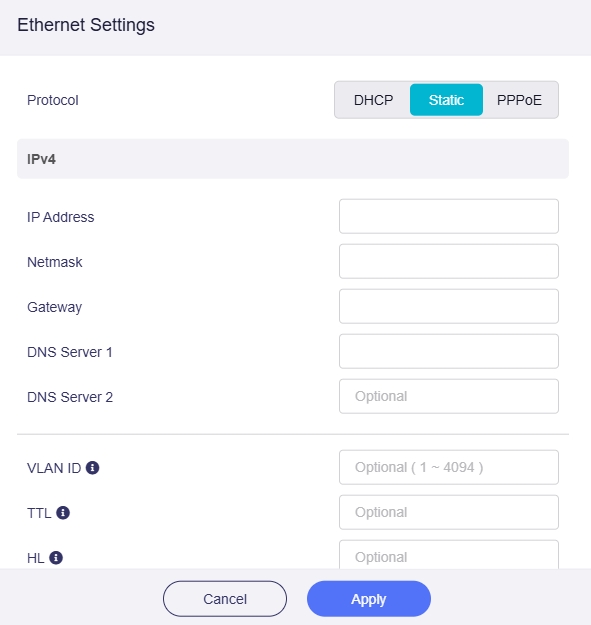
Static
Static is needed if your ISP (Internet Service Provider) provides a fixed IP address, or you want to manually configure network information, such as IP address, Gateway, Netmask.
-
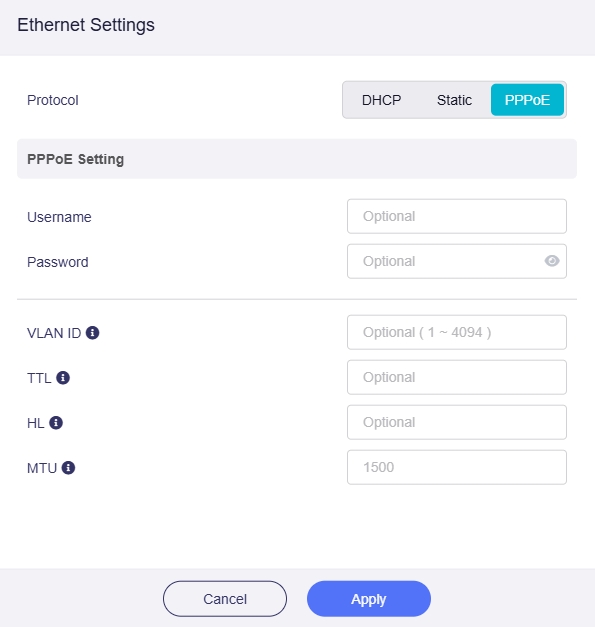
PPPoE
PPPoE is a protocol used by most ISPs. Typically, they provide a modem and a username & password, which are needed for Internet setup.
Advanced
In addition to the essential settings, there are also some optional advanced settings for the above three protocols
-
VLAN ID: This setting entry is required only if the provider's server requires the interface to use a specific tagged VLAN ID.
-
TTL: TTL (Time To Live) defines the maximum time packets can survive in the network. By default, the router decrements the TTL of incoming packets from client devices by 1 before forwarding them. If you need to override it, you can set a fixed value here. The TTL setting is valid only for IPv4.
-
HL: In IPv6, the HL (Hop Limit) field limits the number of transmission hops for data packets in the network, serving as the equivalent of TTL in IPv4.
-
MTU: The default MTU value is 1500 bytes.
Ethernet Port
Click the gear icon in the upper right corner to enter Ethernet Port.
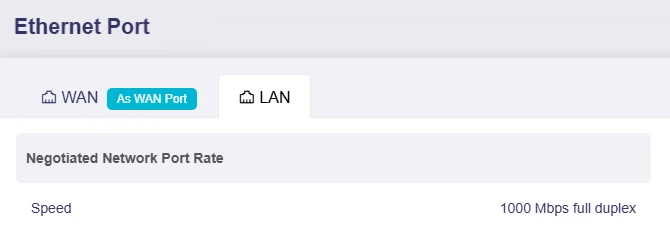
The WAN page displays the port role (i.e., using as WAN or LAN), MAC mode & MAC address, and the negotiated network port rate.

The LAN page displays the port role and negotiated network port rate.
Please refer to this link for details.
Troubleshooting
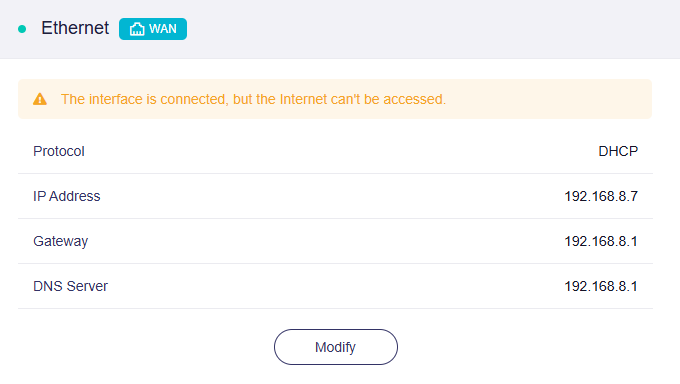
If an ethernet cable is plugged into the WAN port but the Internet is unavailable, a yellow message will be displayed as shown below.
"The interface is connected, but the Internet can't be accessed."
To fix this issue:
-
Check if the upstream device has Internet access.
-
Go to Multi-WAN page to check the Ethernet interface status.
Related Articles
- Internet page
- How to set the priority of each Internet access method?
- How to set the load balance when multiple Internet access methods are used at the same time?
Still have questions? Visit our Community Forum or Contact us.