Tailscale
Tailscale is a VPN service that makes the devices and applications you own accessible anywhere in the world, securely and effortlessly. For more information about Tailscale, please visit Tailscale official website.
The Tailscale feature on GL.iNet routers, available since firmware V4.2, allows the router to join a Tailscale virtual network. Once connected, you can access the router remotely, including its WAN and LAN resources.
Note:
-
Since Tailscale is based on WireGuard, it is not recommended to use Tailscale simultaneously with any of the following features or services, as this may cause routing conflicts: OpenVPN Client, WireGuard Client, GoodCloud Site to Site, ZeroTier, AstroWarp.
-
This feature is currently in beta, and may have some bugs.
-
GL.iNet routers are not yet available as exit nodes.
Supported Models
Supported Models
- GL-E5800 (Mudi 7)
- GL-MT5000 (Brume 3)
- GL-MT3600BE (Beryl 7)
- GL-BE6500 (Flint 3e)
- GL-BE9300 (Flint 3)
- GL-BE3600 (Slate 7)
- GL-X2000 (Spitz Plus)
- GL-B3000 (Marble)
- GL-MT6000 (Flint2)
- GL-X3000 (Spitz AX)
- GL-XE3000 (Puli AX)
- GL-AX1800 (Flint)
- GL-MT2500/GL-MT2500A (Brume 2)
- GL-MT3000 (Beryl AX)
- GL-AXT1800 (Slate AX)
- GL-A1300 (Slate Plus)
Unsupported Models
- GL-SFT1200 (Opal)
- GL-MT1300 (Beryl)
- GL-E750/E750V2 (Mudi)
- GL-X750/GL-X750V2 (Spitz)
- GL-AR750S (Slate)
- GL-XE300 (Puli)
- GL-MT300N-V2 (Mango)
- GL-AR300M Series (Shadow)
- GL-B1300 (Convexa-B)
- GL-AP1300 (Cirrus)
- GL-S1300 (Convexa-S)
- GL-X300B (Collie)
Set up Tailscale network
The following is an example of the GL-MT2500.
-
Bind your devices.
Please register a Tailscale account first, then bind one or two devices (e.g., smartphone, laptop) to your Tailscale account for testing purposes.
After binding, you will be able to see your devices and their status in the Tailscale Admin console.

-
Enable Tailscale on GL.iNet router.
Log in to your router's web Admin Panel, and navigate to APPLICATIONS -> Tailscale.

Toggle to enable Tailscale, then click Apply.

-
After a short while, the interface will show a Device Bind Link. Click the Device Bind Link.

It will show a Tailscale link in the pop-up window. Click the link to redirect to the Tailscale website and log in.

Once logged in, you will be asked to confirm the device you want to connect to. Click Connect.

When the connection is successful, you will be automatically redirected to the Tailscale admin console. You can see that the IP address of the GL-MT2500 is
100.88.54.21. Now you can use this IP to access the router.
-
Test connectivity.
On devices connected to the same Tailscale network, you can test the connectivity in the following three ways.
-
Use the ping command

-
SSH into the router

-
Access web Admin Panel

-
Allow Remote Access WAN
If this option is enabled, resources on the device's WAN side can be accessed through the Tailscale virtual network.
For example, as shown in the topology below, if this function is enabled, you can access the GL-AXT1800 via its IP address (192.168.29.1) from leo-phone. This is because the GL-AXT1800 is the upper-layer device of the GL-MT2500, and the latter is connected to the same Tailscale network as leo-phone.

The operation steps are as follows.
-
Log in to your router's web Admin Panel, and navigate to APPLICATIONS -> Tailscale.
Enable Allow Remote Access WAN, and click Apply.

-
Go to Tailscale admin console, and it will display an alert that GL-MT2500 has subnets.
Click the three-dot icon on the right of GL-MT2500 and select Edit route settings.

-
Enable the subnet routes.

-
Now you can access the GL-AXT1800 via its IP address (
192.168.29.1) on other devices. In fact, you can access all devices within the192.168.29.0/24subnet.
Allow Remote Access LAN
If this option is enabled, resources on the device's LAN side can be accessed through the Tailscale virtual network.
For example, as shown in the topology below, if this function is enabled, you can SSH log in to Ubuntu via its IP address (192.168.8.110) from leo-phone. This is because Ubuntu is the lower-layer device of the GL-MT2500, and the latter is connected to the same Tailscale network as leo-phone.

The operation steps are as follows.
-
Log in to your router's web Admin Panel, and navigate to APPLICATIONS -> Tailscale.
Enable Allow Remote Access LAN, and click Apply.

-
Go to Tailscale admin console, and it will display an alert that GL-MT2500 has subnets.
Click the three-dot icon on the right of GL-MT2500 and select Edit route settings.

-
Enable the subnet routes.

-
Now you can ping or SSH log in to the Ubuntu by its IP address (
192.168.8.110) on other devices. In fact, you can access all devices within the192.168.8.0/24subnet.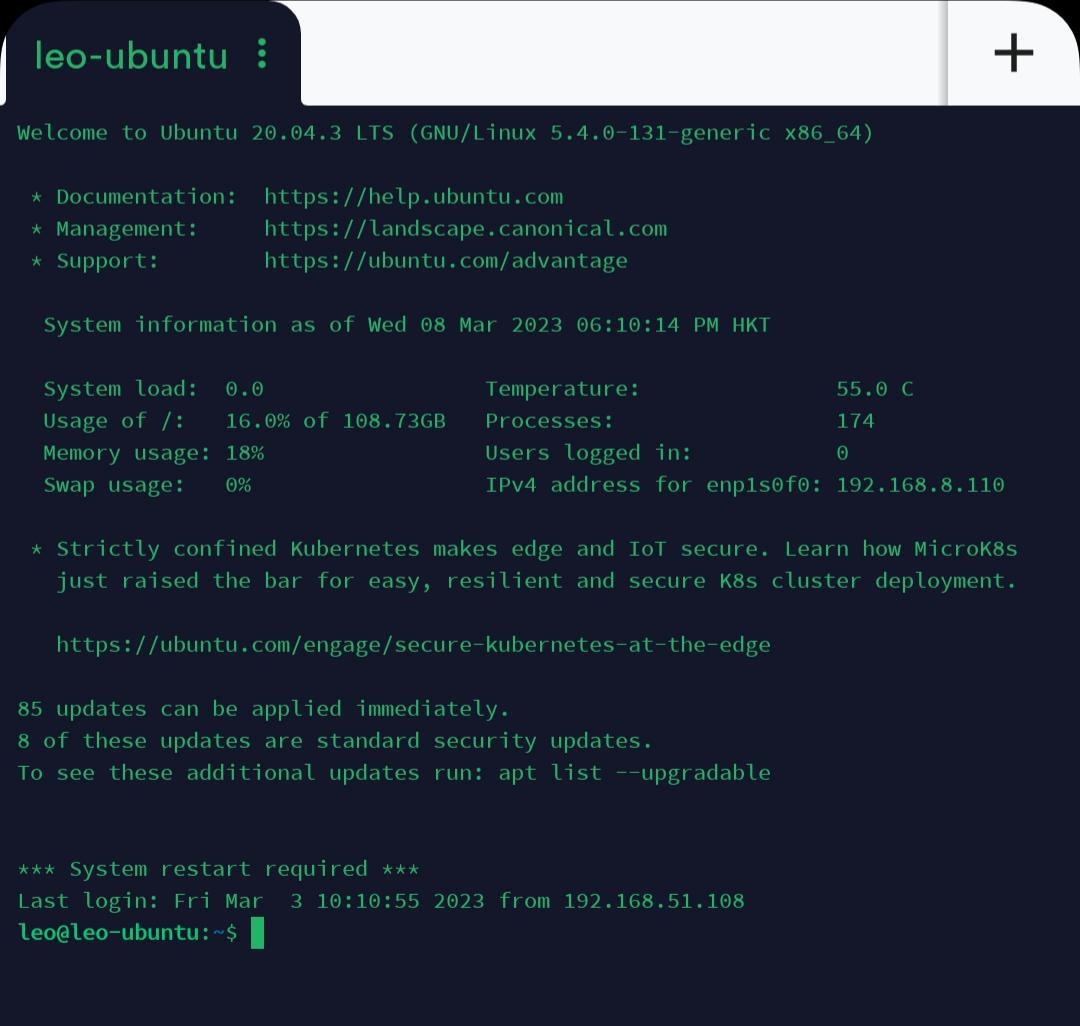
Custom Exit Nodes
The exit node feature lets you route all non-Tailscale internet traffic through a specific device on your network. The device routing your traffic is called an “exit node”.

Note: If the router's DNS Server is a private IP address that can be accessed only in the local network, you may lose the Internet access when running the exit nodes. Please go to Network > DNS menu and set a manual public DNS server such as 8.8.8.8 as the solution.
Setup Steps:
-
On the device you wish to use as an exit node, select Run exit node. On Windows, follow the steps below.

Click Yes.

-
Set up the device as an exit node in the Admin console.


-
Enable Custom Exit Nodes in your GL-router, click the refresh button, and select the IP of the device that has been set up as an exit node from the drop-down menu, then click Apply. That is it.

-
The devices under that GL-router will use the home IP of the Exit Node .
Refer link: Exit Nodes (route all traffic)
Still have questions? Visit our Community Forum or Contact us.