How to allow access to WAN when VPN client is enabled?
When VPN client is enabled on GL.iNet routers, in the default global mode, LAN devices cannot access the local WAN devices or services, because all traffic from LAN is routed through the VPN tunnel rather than its upstream network (WAN) to avoid DNS leaks.
This tutorial introduces the steps to make the local WAN services (e.g. printer, NAS, etc.) accessible to the VPN client's LAN devices.

For firmware v4.7 and earlier
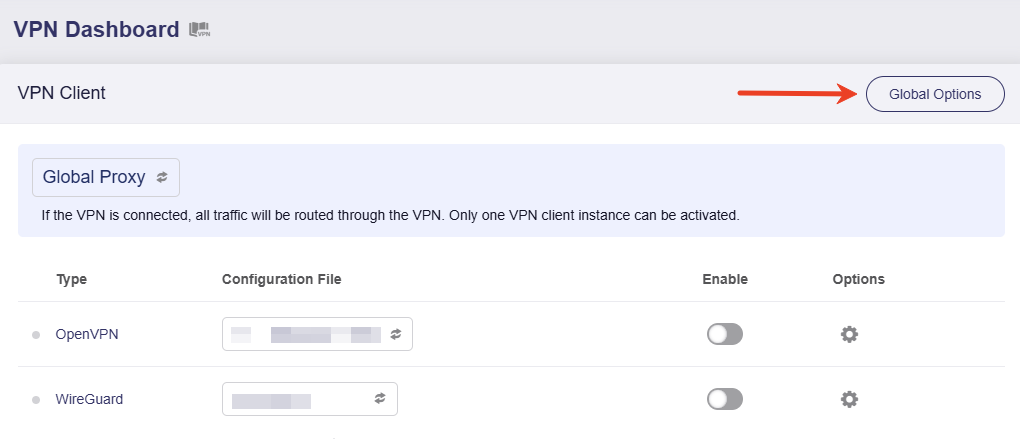
Log in to the web admin panel of your VPN client, and go to VPN -> VPN Dashboard -> VPN Client. Click the Global Options in the upper right corner.
Enable Allow Access WAN and click Apply.
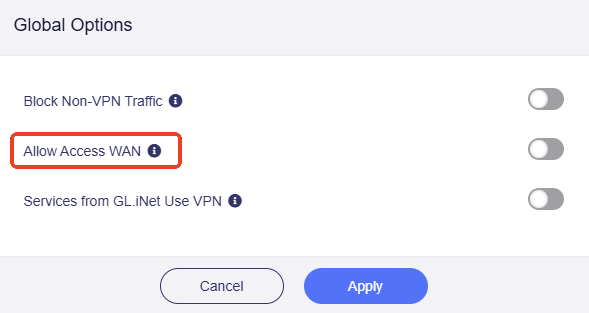
If this option is enabled, while the VPN is connected, client devices will still be able to access WAN services in the upper subnet, e.g. your printer, NAS, etc.
For firmware v4.8 and higher
The option Allow Access WAN has been removed from VPN Dashboard in firmware v4.8. But you can achieve local WAN access by VPN policy.
Follow the steps below.
-
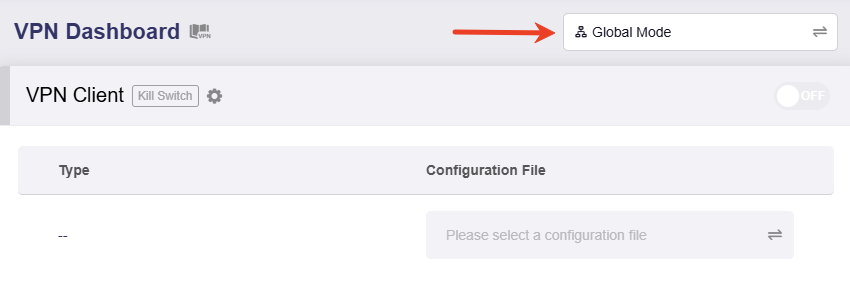
Log in to the web admin panel of your VPN client, and go to VPN -> VPN Dashboard.
Click the mode in the upper right corner.
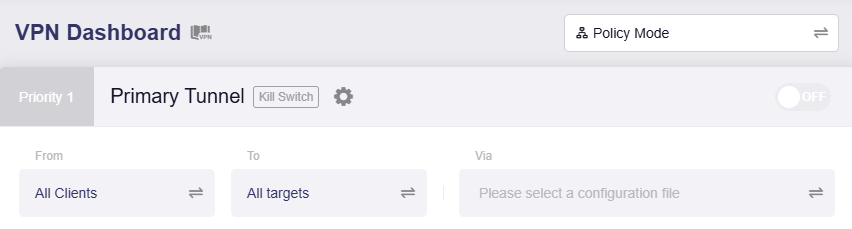
Switch to Policy Mode, and click Apply.
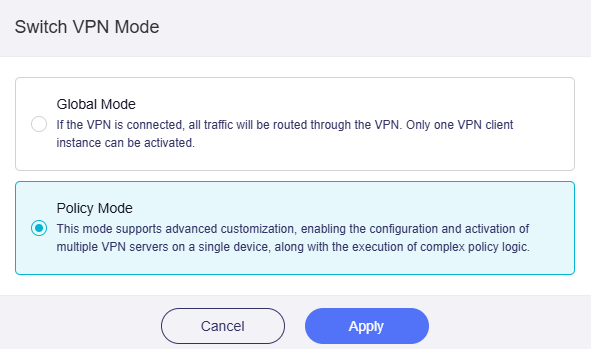
The page will be refreshed and displayed as below.
-
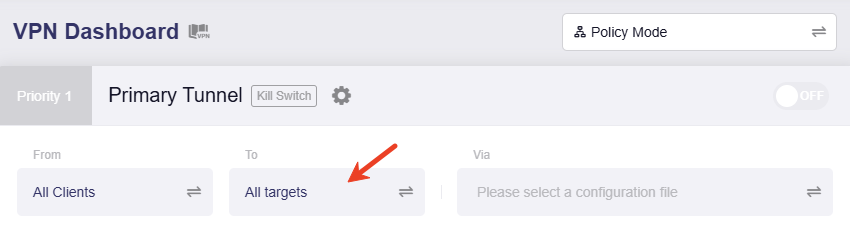
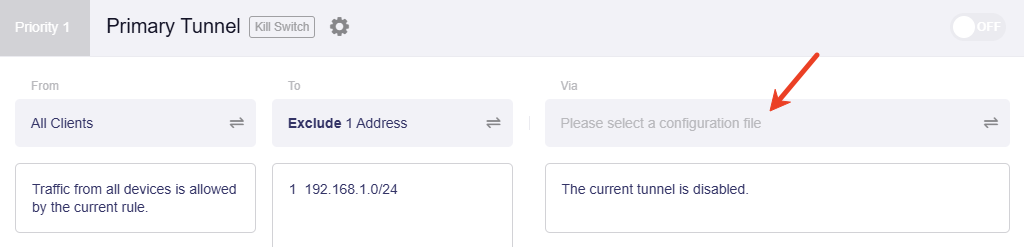
Click the middle box to set the tunnel target.
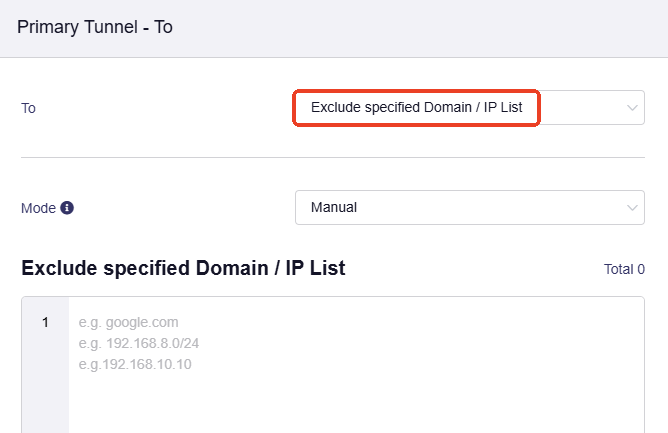
Select Exclude Speficied Domain / IP, input the WAN subnet of your router, then click Apply.
This ensures all traffic to the WAN subnet is routed through the local WAN rather than the VPN tunnel.
Here we take the subnet 192.168.0.1/24 as an example. Input this subnet and apply, and the VPN tunnel will be displayed as below.

How do I know the WAN subnet of my GL.iNet router?
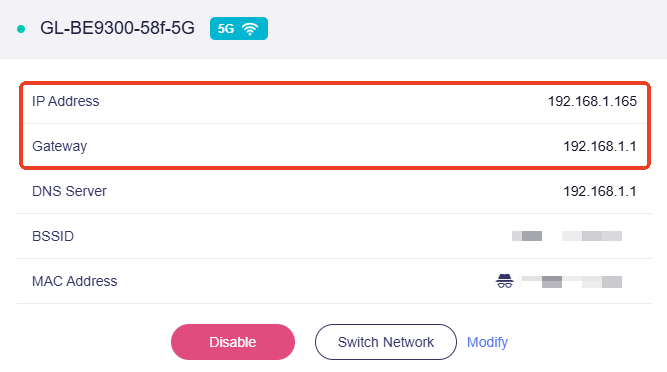
GL.iNet router's WAN subnet usually can be found on the INTERNET page. It is determined by the upstream device that the router's WAN interface connects to (e.g., an ISP modem or upstream gateway).
For example, if your router works as a secondary router (where its WAN port is connected to another local network, such as an ISP modem or a main router's LAN port), and the router's WAN IP is 192.168.1.165, Gateway is 192.168.1.1, and Subnet Mask is 255.255.255.0 (a common mask for small networks), then the corresponding WAN subnet is 192.168.1.0/24. This is also the LAN subnet of the upstream device.
Note: The prefix length of 192.168.1.0/24 is 24, which corresponds to the subnet mask 255.255.255.0. If your router's WAN Subnet Mask is not 255.255.255.0, the prefix length of your WAN subnet is not "/24". Please confirm the WAN subnet based on the actual WAN configuration.
-
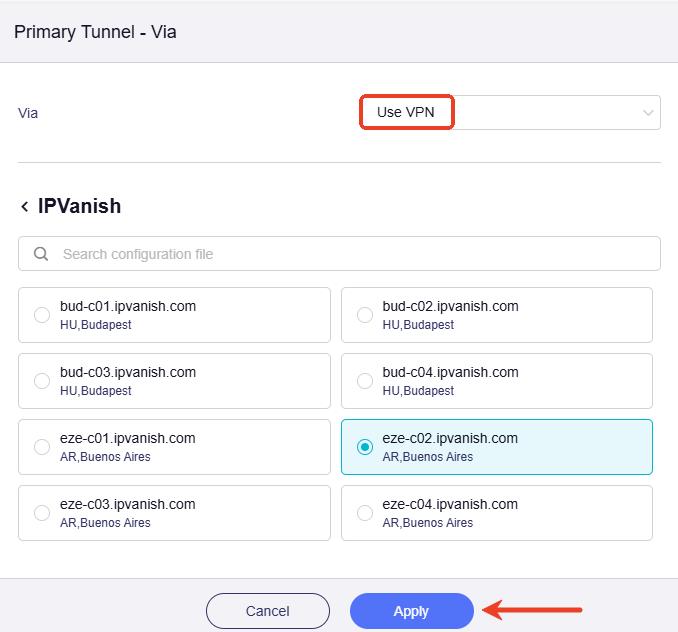
Click the right box to set the tunnel action (i.e. use VPN or not use VPN).
Select Use VPN and choose a VPN configuration file. Then click Apply.
If there's no available configuration, upload one first to set your router as a VPN client. Then turn to this page, select Use VPN and choose a VPN configuration file. Then click Apply.
-
Toggle the switch at the upper right corner to enable this VPN tunnel. It will start connecting.
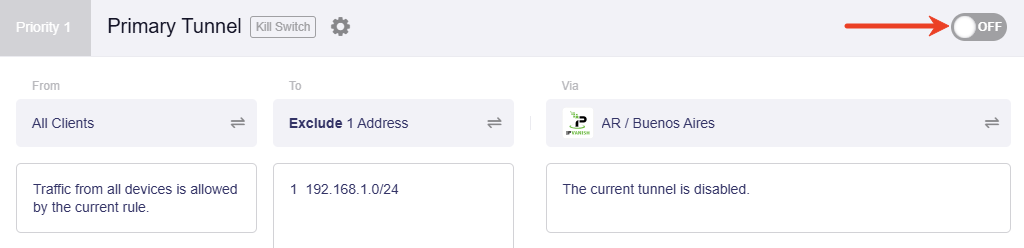
Wait a few minutes. Once connected successfully, it will turn to green.
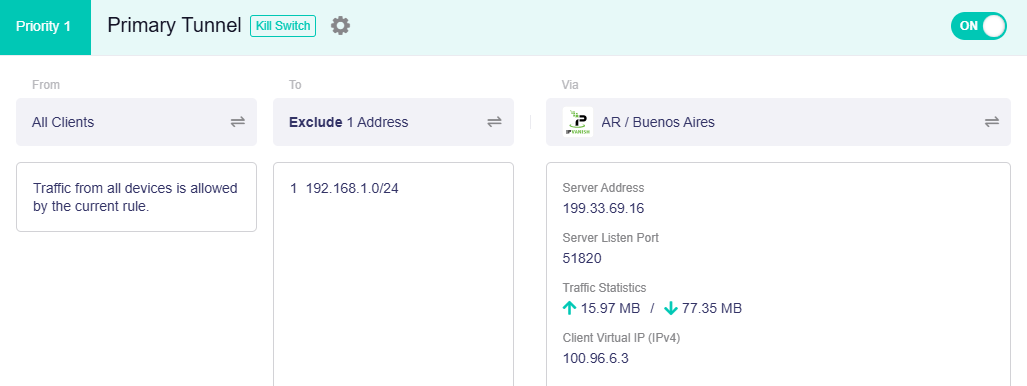
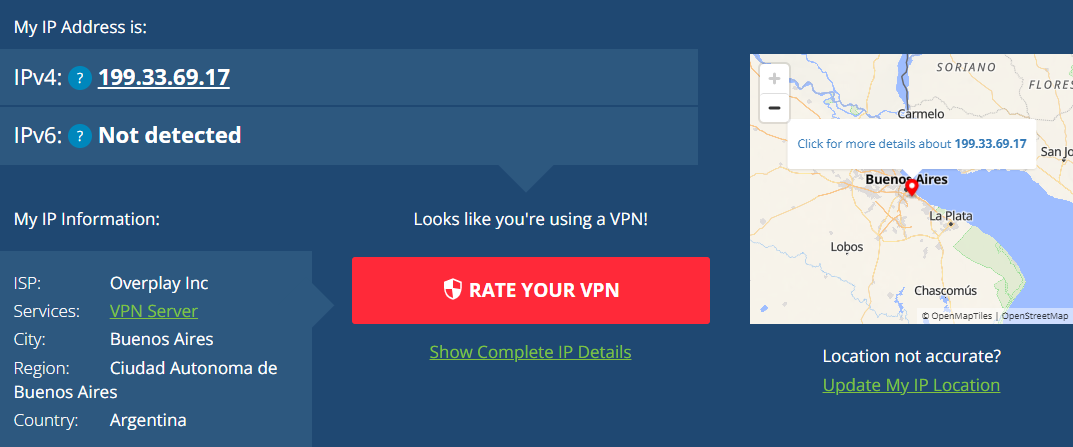
Search your public IP to test the VPN connection. For example, open a browser and visit whatismyip. It will show your public IP address and location, as shown below.
-
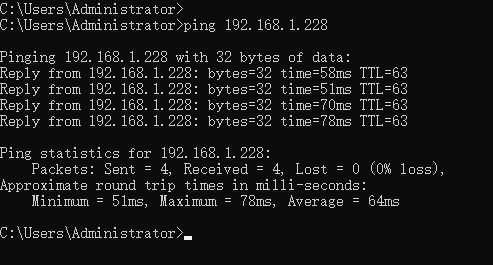
Access devices or services on the WAN subnet and check if you can access successfully.
You can use ping command to test the connectivity.
Still have questions? Visit our Community Forum or Contact us.