How to access OpenVPN client LAN side from Server
This tutorial introduces the steps to access the LAN subnet of OpenVPN client (such as NAS, IP camera, etc.) from your OpenVPN server side.
Topology
As shown below, the GL-AXT1800 is an OpenVPN server and the GL-MT2500 is an OpenVPN client connected to it. You can access the devices on the GL-MT2500's LAN side (such as NAS or GL-MT3000, a sub-router) from the server side.

1. Add route rule on server
For firmware v4.7 and earlier
Log in to the web admin panel of your OpenVPN server, and go to VPN -> VPN Dashboard -> VPN Server.
Click on the route icon on the right to enter the route rule.

In the pop-up window, click on Add Route Rule button on the right side, and input the subnet you want to access.
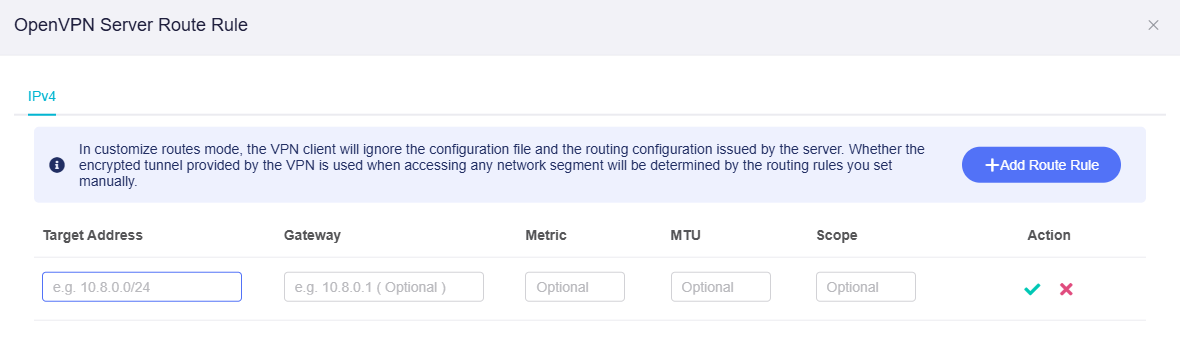
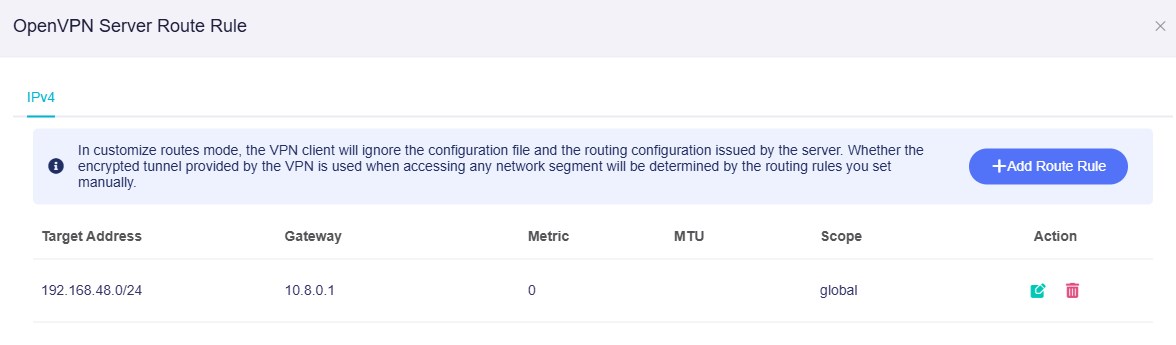
For example, the LAN subnet of the OpenVPN client GL-MT2500 is 192.168.48.0/24, so the Target Address is 192.168.48.0/24.
Gateway is the Client IP that your OpenVPN server generated for this OpenVPN client. Here we set the Gateway as 10.8.0.1, then click Apply.
Note: If you have multiple OpenVPN clients whose LAN subnets need to be accessed, please refer to this link to reserve a Client IP for each OpenVPN client before setting the route rules.
For firmware v4.8 and higher
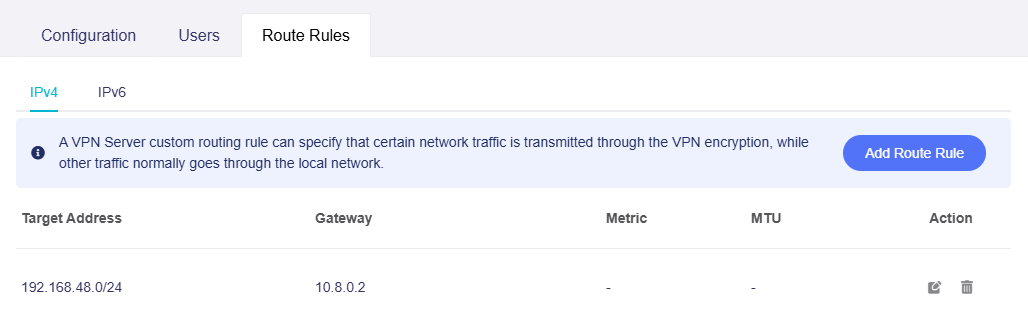
Log in to the web admin panel of your OpenVPN server, and go to VPN -> OpenVPN Server.
Click the Route Rules tab, then click on Add Route Rule button on the right side.

In the pop-up window, input the subnet you want to access.
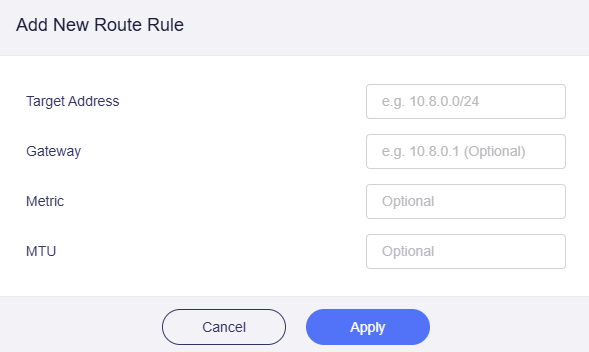
For example, the LAN subnet of the OpenVPN client GL-MT2500 is 192.168.48.0/24, so the Target Address is 192.168.48.0/24.
Gateway is the Client IP that your OpenVPN server generated for this OpenVPN client. Here we set the Gateway as 10.8.0.2, then click Apply.
Note: If you have multiple OpenVPN clients whose LAN subnets need to be accessed, please refer to this link to reserve a Client IP for each OpenVPN client before setting the route rules.
2. Allow remote access to client LAN
For firmware v4.7 and earlier
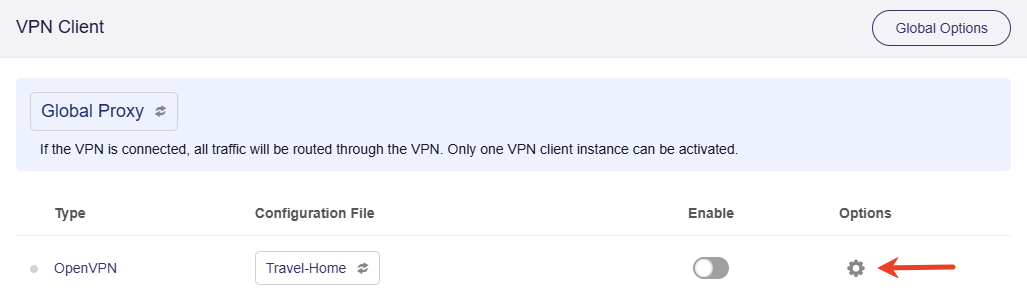
Log in to the web admin panel of your OpenVPN client, and go to VPN -> VPN Dashboard -> VPN Client.
Click on the gear icon to enter the client options.
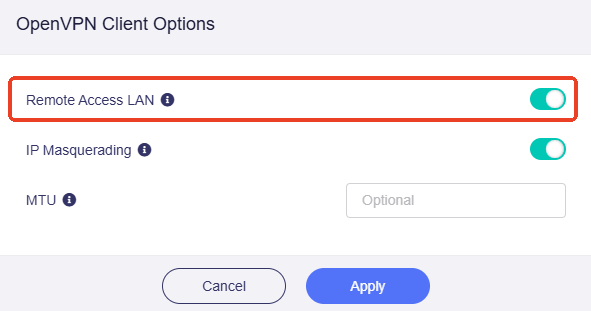
In the pop-up window, enable Remote Access LAN, then click Apply.
For firmware v4.8 and higher
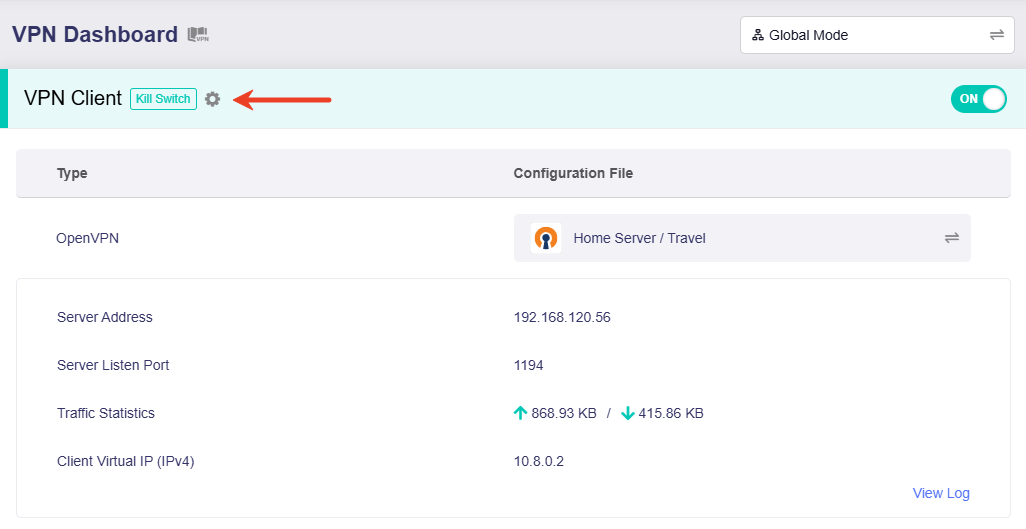
Log in to the web admin panel of your OpenVPN client, and go to VPN -> VPN Dashboard.
On the top-left corner of your VPN tunnel, click the gear icon to enter the tunnel options.
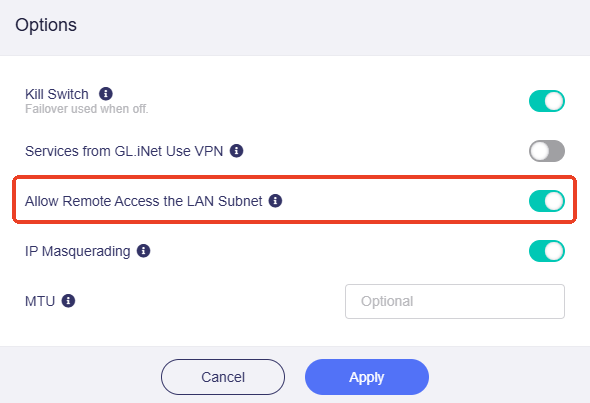
In the pop-up window, enable Allow Remote Access the LAN Subnet, then click Apply.
3. Test connection
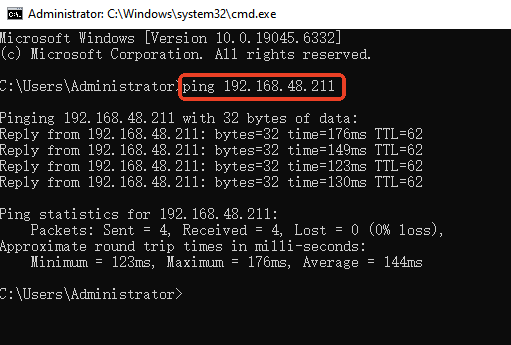
Here is an example of accessing the GL-MT3000 (a device in OpenVPN client's LAN) with IP 192.168.48.211.
On a device connected to your OpenVPN server, ping GL-MT3000's IP address 192.168.48.211. This is the IP address that OpenVPN client (GL-MT2500) assigns to the GL-MT3000 in its LAN.
If you can ping it successfully, it means the settings are correct. You will be able to access all other devices within the OpenVPN client LAN subnet through their IP addresses.
Still have questions? Visit our Community Forum or Contact us.