Parental Control
This guide applies to firmware v4.8 and earlier. For newer versions, please click here.
On the left side of the web Admin Panel, go to APPLICATIONS -> Parental Control.
Parental control is a way to keep children safe online by blocking inappropriate websites and limiting how long they use devices. It helps prevent access to harmful content, manage screen time, and ensure children use the internet responsibly.
Note: Some models do not support Parental Control due to insufficient memory, such as Mango (GL-MT300N-V2) and Shadow (GL-AR300M series).
Watch this video or follow the steps below to set up Parental Control on GL.iNet routers.
Local Version
The local version is provided by GL.iNet. It is currently in beta and has no additional cost. In this version, if you need to filter requests by application, you need to enter the domain manually.
Supported Models
Supported Models
- GL-E5800 (Mudi 7)
- GL-MT5000 (Brume 3)
- GL-MT3600BE (Beryl 7)
- GL-BE6500 (Flint 3e)
- GL-BE9300 (Flint 3)
- GL-BE3600 (Slate 7)
- GL-X2000 (Spitz Plus)
- GL-B3000 (Marble)
- GL-MT6000 (Flint2)
- GL-AX1800 (Flint)
- GL-X3000 (Spitz AX)
- GL-XE3000 (Puli AX)
- GL-MT2500/GL-MT2500A (Brume 2)
- GL-MT3000 (Beryl AX)
- GL-AXT1800 (Slate AX)
- GL-A1300 (Slate Plus)
Unsupported Models
- GL-SFT1200 (Opal)
- GL-MT1300 (Beryl)
- GL-E750/E750V2 (Mudi)
- GL-X750/GL-X750V2 (Spitz)
- GL-AR750S (Slate)
- GL-XE300 (Puli)
- GL-MT300N-V2 (Mango)
- GL-AR300M Series (Shadow)
- GL-B1300 (Convexa-B)
- GL-AP1300 (Cirrus)
- GL-X300B (Collie)
Setup Steps
Log in to the router's web Admin Panel and go to APPLICATIONS -> Parental Control.
Ensure the router time is accurate. If not, go to SYSTEM -> Time Zone to synchronize it first.

Enable Parental Control and click Apply.

- Block WAN for Unmanaged Devices: Blocks internet access for all devices that are not on the Parental Control list.
Then follow the setup wizard to set up Parental Control.
Here is a use case for your reference. You can adjust the settings according to your need.
Scenario: Devices in the profile are only allowed to access the Internet for study from 8 AM to 11 AM on weekdays, and for gaming from 6 PM to 8 PM on weekends. Internet access is blocked by default at all other times.
Follow the steps below to set up Parental Control.
-
Create a profile and customize a name.
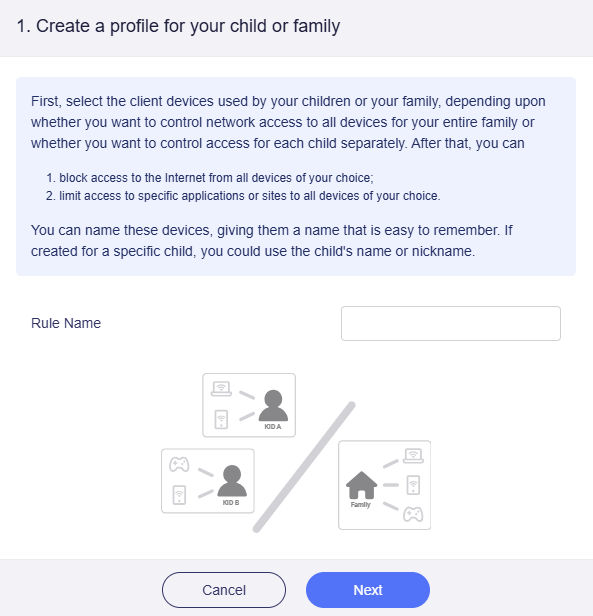
-
Select the devices you want to manage. Connect them to the router first. If they have not been connected to the router, add them manually by entering their MAC addresses.
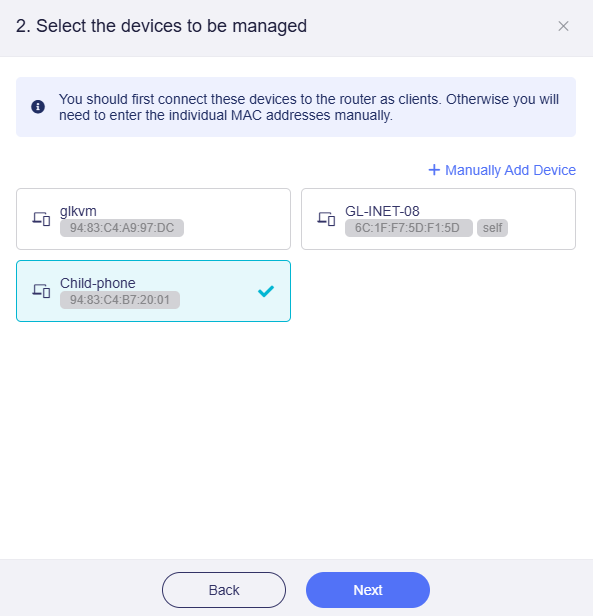
-
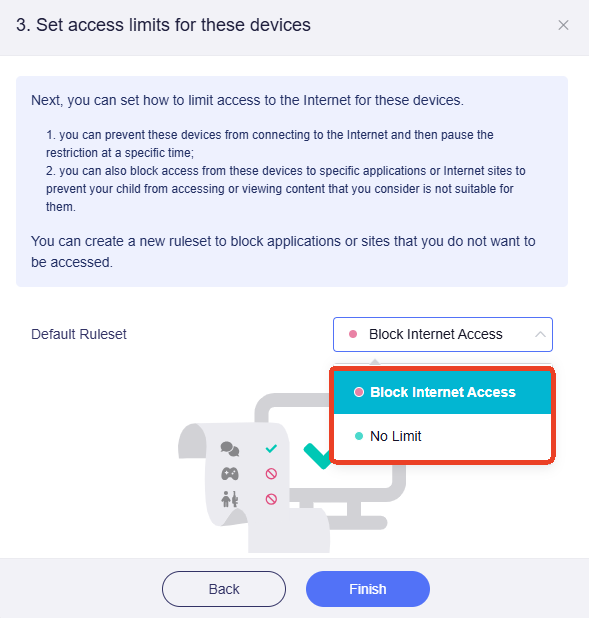
Set access limit.
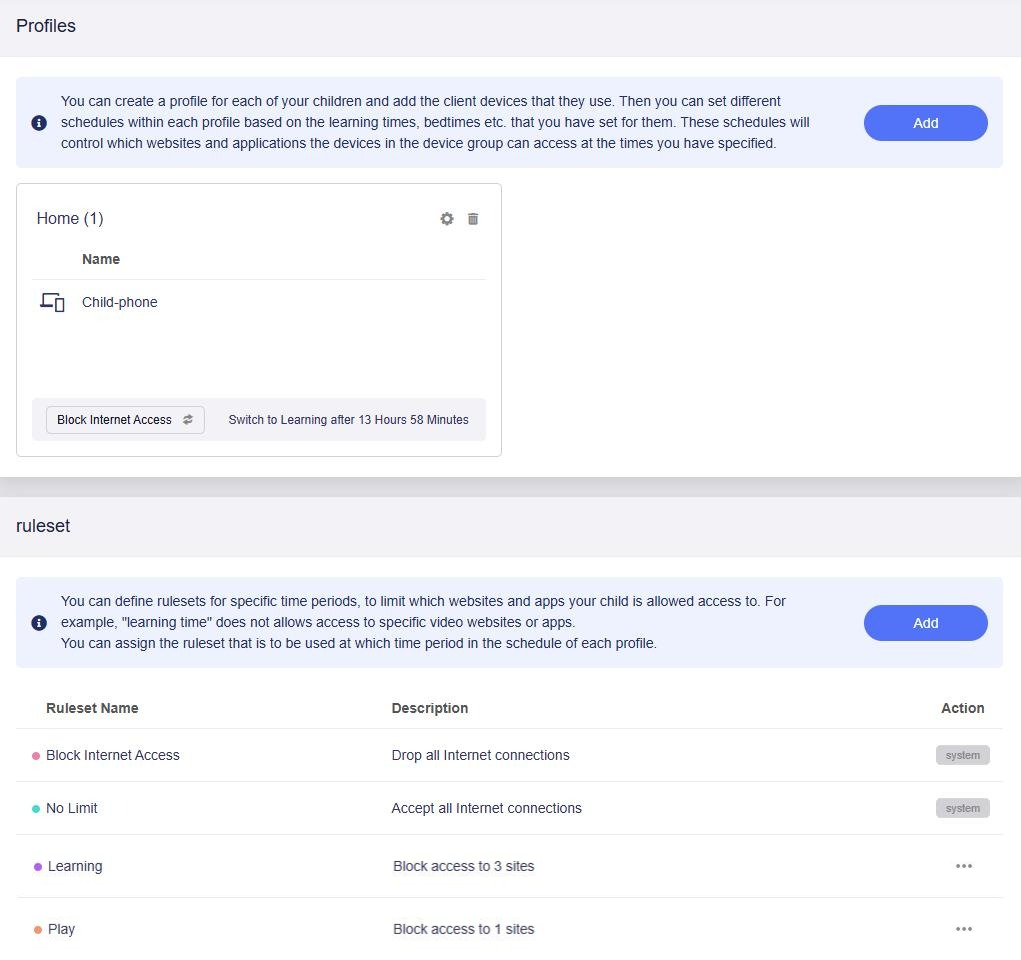
There are two default rulesets: Block Internet Access and No Limit.
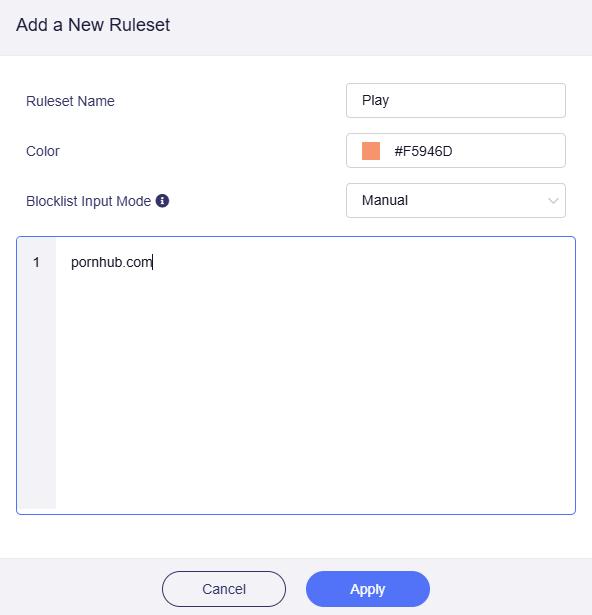
Click Add a New Ruleset to create two more rulesets for later use: Learning and Play.

Specify the ruleset name (e.g., Learning) and color, enter the websites to block, then click Apply.
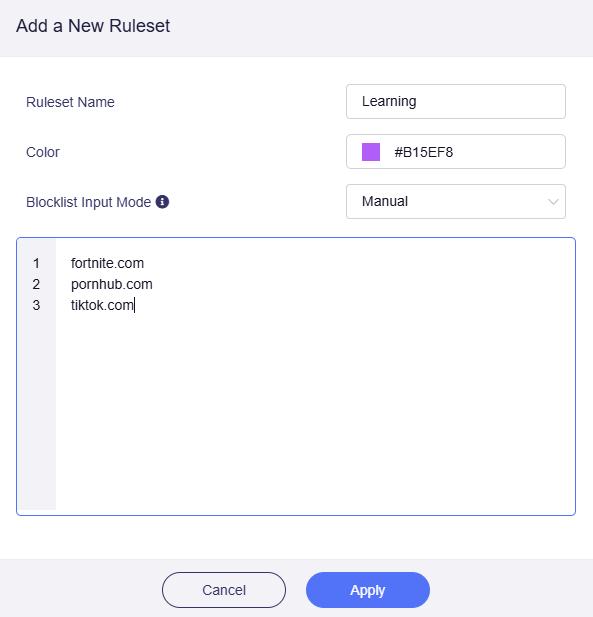
Note: The domain names entered in the blocklist should include their subdomains. For example, if "example.com" is entered, it also includes any subdomain, such as "subdomain.example.com".
Similarly, create another ruleset. Specify the ruleset name (e.g., Play) and color, enter the websites to block, then click Apply.
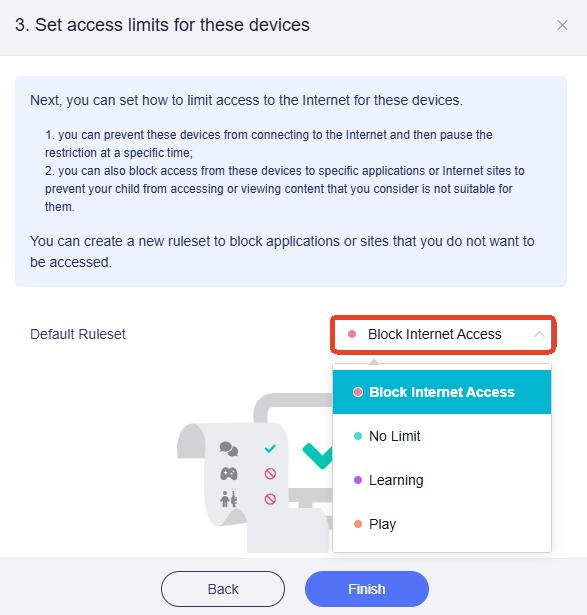
Upon applied, there will be a total of four rulesets. Select Block Internet Access as the Default Ruleset, and click Finish.
-
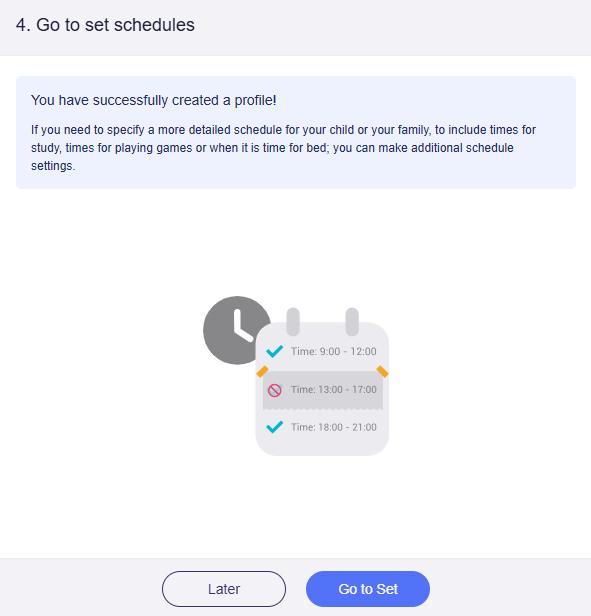
Next, set schedule for your profile. Click Go to Set.
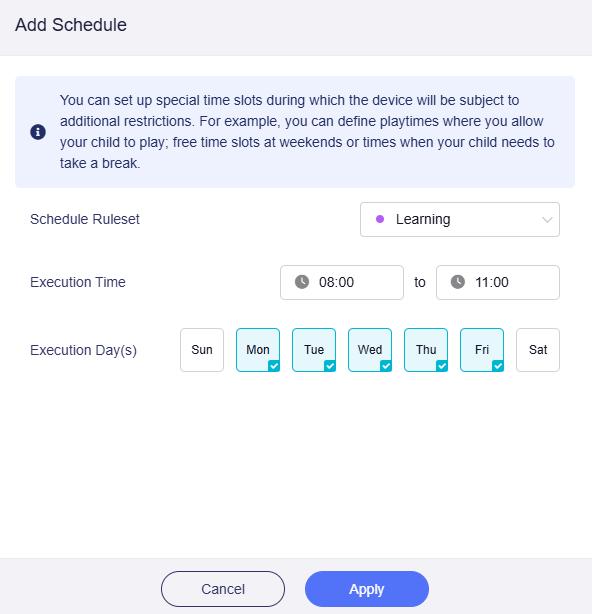
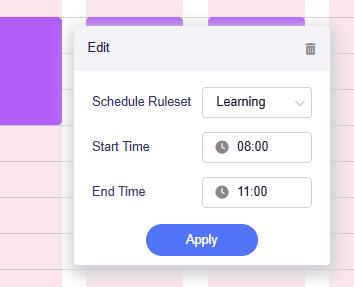
Add the Learning ruleset to the schedule. Set the Execution Time from 8 AM to 11 AM on weekdays, then click Apply.
-
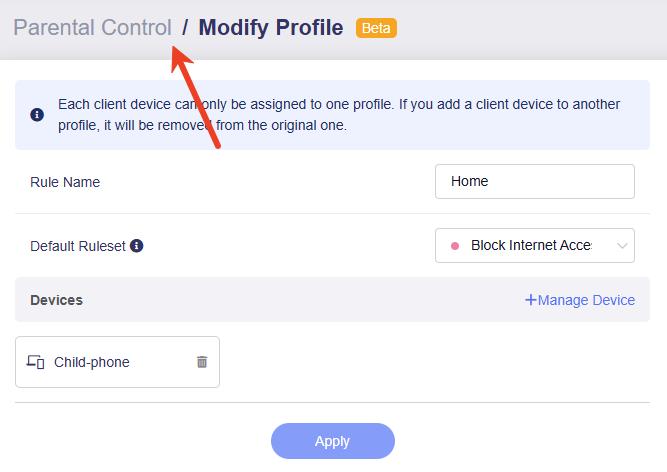
You will then redirected to the edit page of the newly created profile.
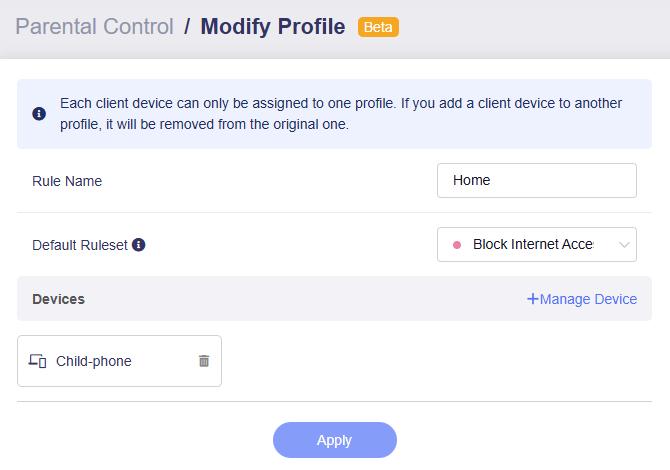
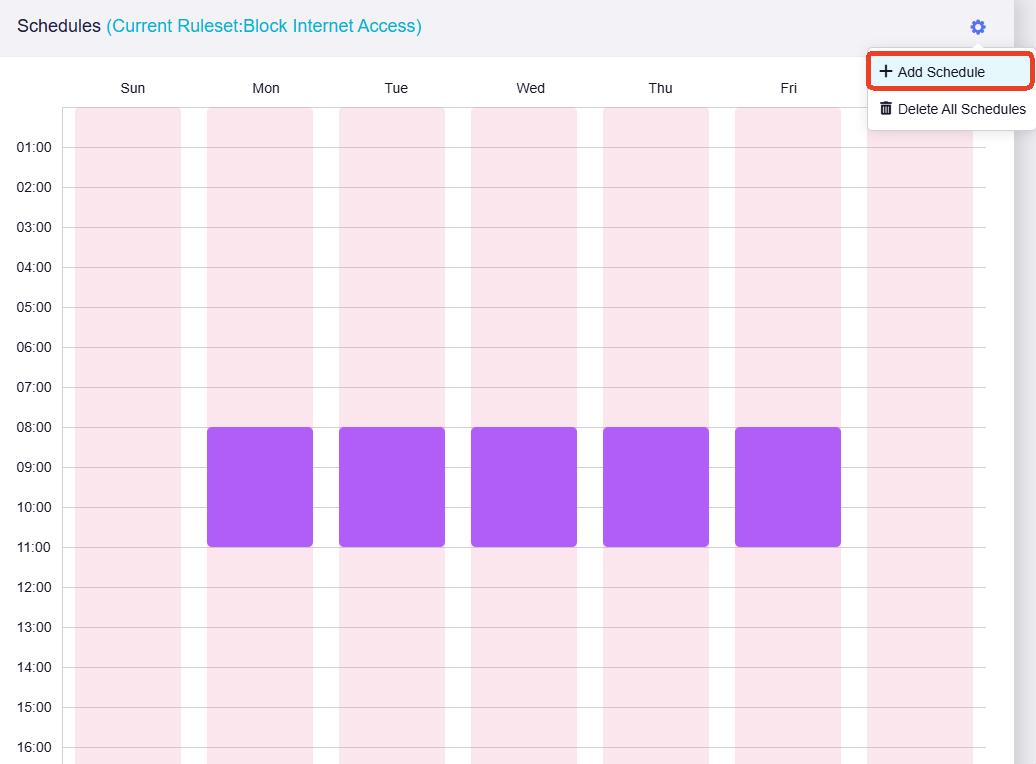
Move to the bottom, and you will see that a schedule has been created. Click the gear icon in the upper right and select Add Schedule.
-
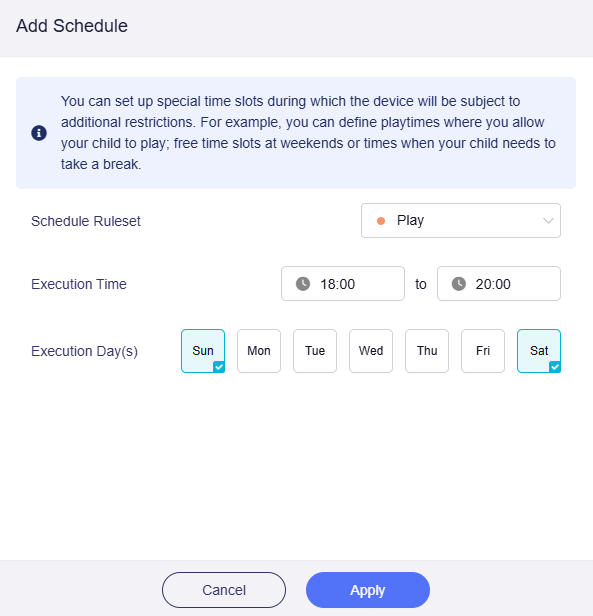
Add another ruleset Play to the schedule. Set the Execution Time from 6 PM to 8 PM on weekends, then click Apply.
The Play ruleset will then be added into the schedule.
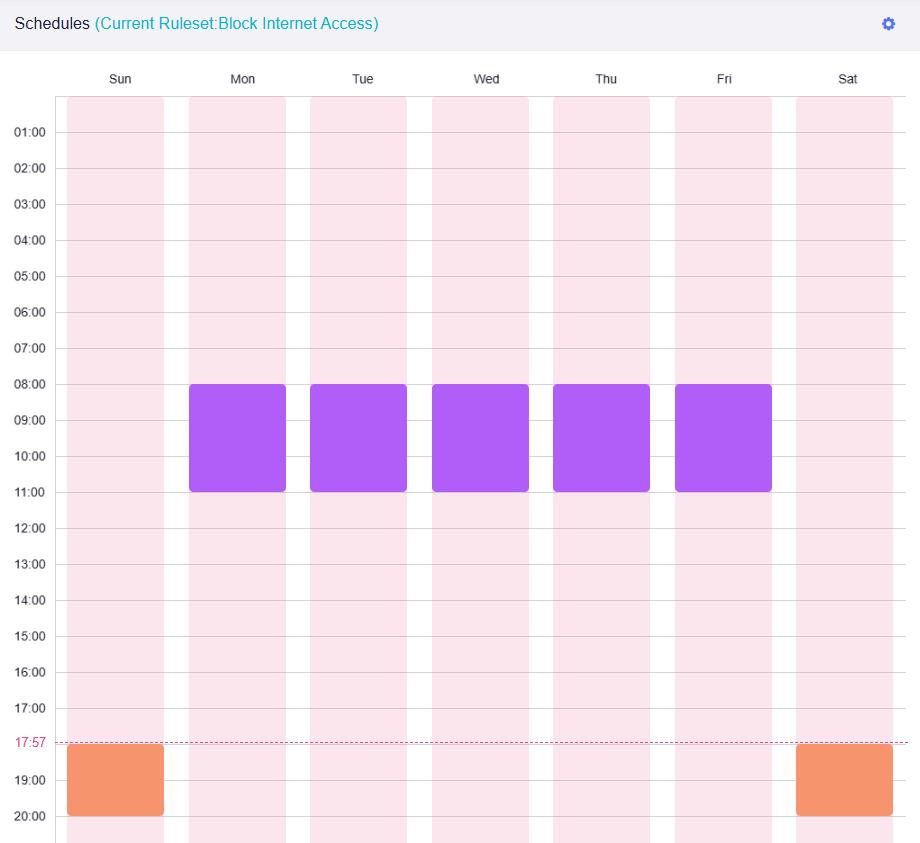
Note: The red dashed line indicates the current time.
You can also modify the execution time by clicking on a certain ruleset in the schedule.
-
Click Parental Control at the top to return to the Parental Control page.
You will see the final configuration. Parental Control is now taking effect as per the schedule. You can modify existing profiles and rulesets, or add new ones as required.
Troubleshooting
If your configured settings fail to take effect, check the following possible causes.
-
DNS cache issue.
Browsers and operating systems maintain DNS caches, which may delay the application of configuration changes. Clear the DNS cache to apply changes immediately.
-
The profile schedule has not yet started.
-
The entered domain name may be incorrect.
While a website's public domain is easy to find, the API domains used by apps are often not publicly available. To locate the correct domain, use a packet capture tool such as Wireshark or look up the relevant domain information.
For example, when blocking
www.google.com, enteringgoogle.comdelivers better results thanwww.google.com. -
The target device uses a randomized MAC address for each network connection, which prevents access rules from taking effect. Disable random MAC address on the target device, then re-add the device to your profile.
Bark Version
This guide applies to firmware v4.8 and earlier. For newer versions, please click here.
The Bark service can help protect your child's digital world and provide comprehensive online protection. It typically requires a paid subscription. However, as part of our partnership with Bark, GL.iNet offers the Bark Home plan for free on select router models, providing advanced monitoring and alerts at no extra cost.
Note:
-
The Bark service is available only in the United States, Australia, and South Africa. Click here for details.
-
The two Parental Control versions cannot be enabled at the same time. Enabling one will automatically disable the other.
Supported Models
Supported Models
- GL-BE6500 (Flint 3e)
- GL-BE9300 (Flint 3)
- GL-B3000 (Marble)
- GL-MT6000 (Flint2)
Unsupported Models
- GL-E5800 (Mudi 7)
- GL-MT5000 (Brume 3)
- GL-MT3600BE (Beryl 7)
- GL-BE3600 (Slate 7)
- GL-X2000 (Spitz Plus)
- GL-X3000 (Spitz AX)
- GL-XE3000 (Puli AX)
- GL-AX1800 (Flint)
- GL-MT2500/GL-MT2500A (Brume 2)
- GL-MT3000 (Beryl AX)
- GL-AXT1800 (Slate AX)
- GL-A1300 (Slate Plus)
- GL-SFT1200 (Opal)
- GL-MT1300 (Beryl)
- GL-E750/E750V2 (Mudi)
- GL-X750/GL-X750V2 (Spitz)
- GL-AR750S (Slate)
- GL-XE300 (Puli)
- GL-MT300N-V2 (Mango)
- GL-AR300M Series (Shadow)
- GL-B1300 (Convexa-B)
- GL-AP1300 (Cirrus)
- GL-X300B (Collie)
Setup Steps
Log in to the router's web admin panel, and navigate to APPLICATIONS -> Parental Control. Select the Bark version.

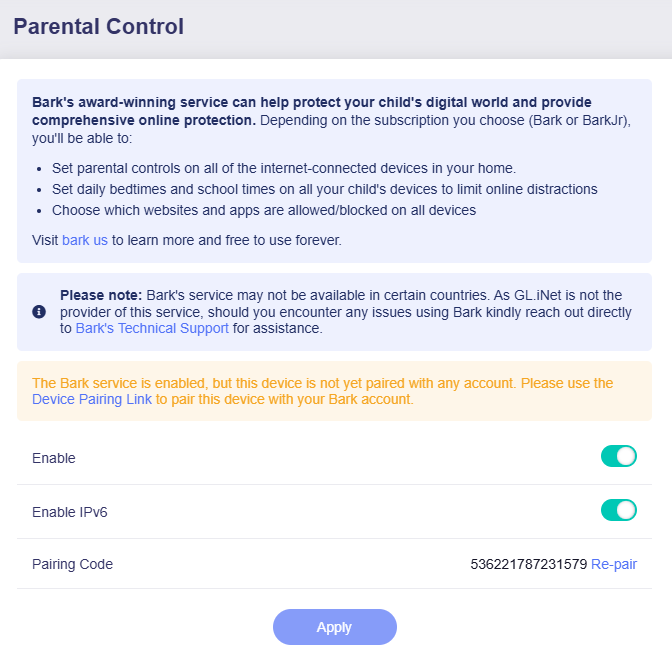
Toggle the switch to enable Bark, then click Apply.

Next, pair your device with your Bark account. Click Device Pairing Link or here to pair this router with your Bark account.
You will be redirected to the Bark website. Follow the on-screen instructions to log in, pair your device, create a profile and finish the initial setup.
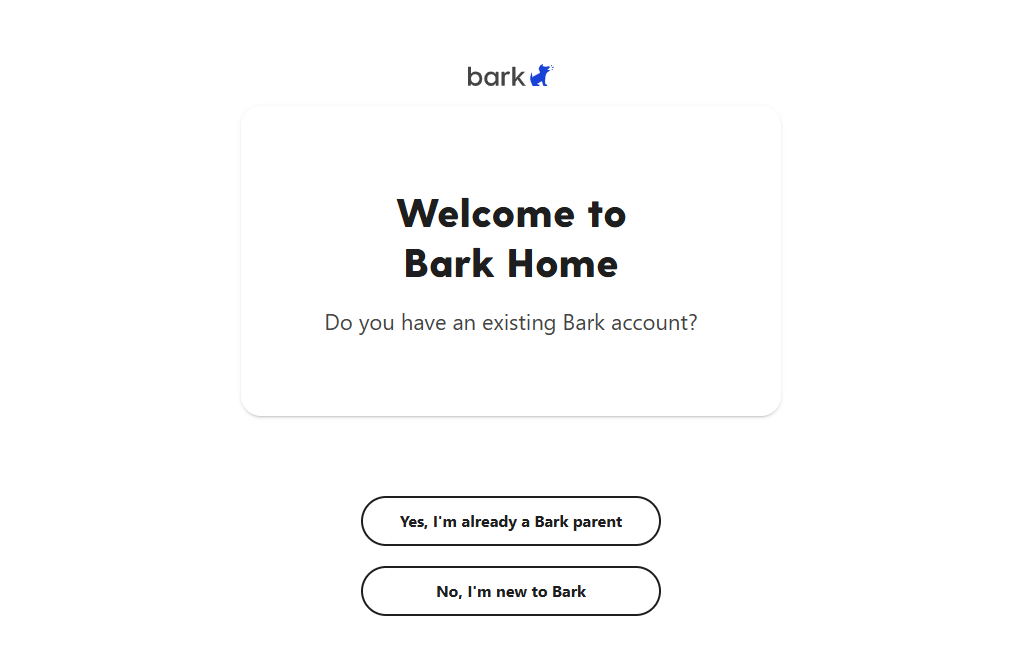 (Bark login)
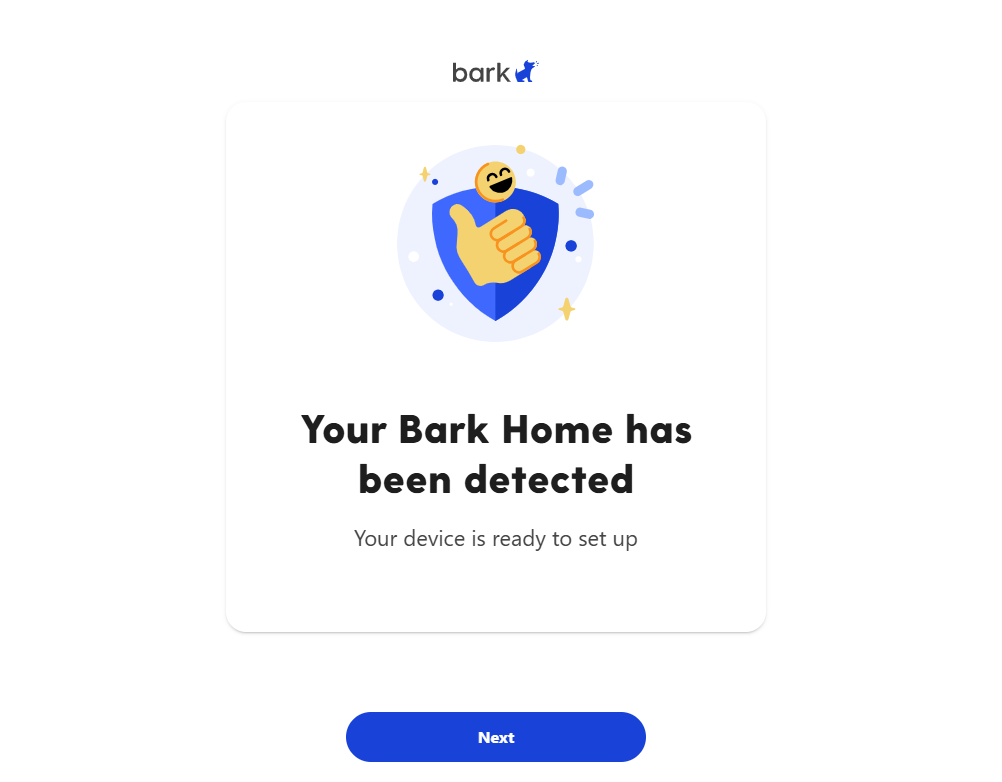 (Device paired)
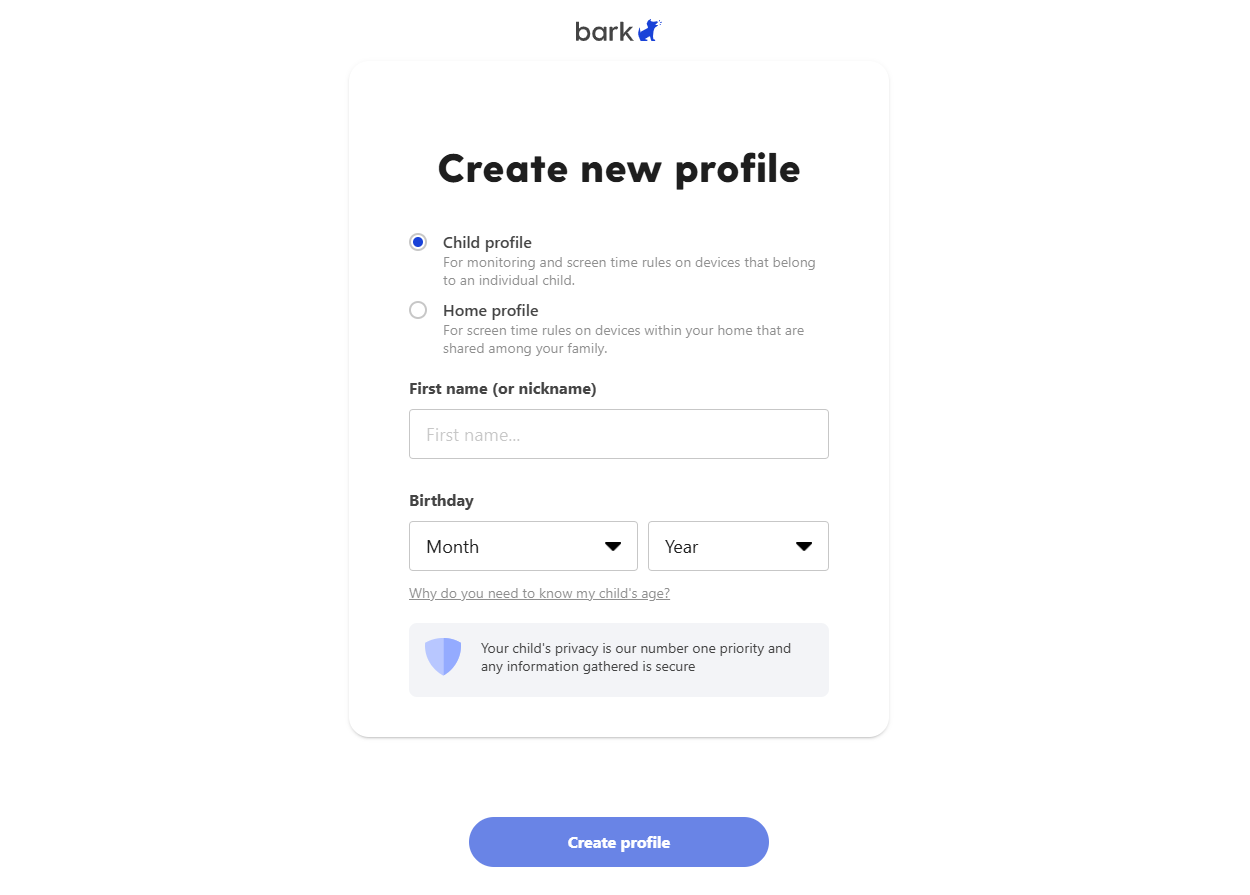 (Create a profile)
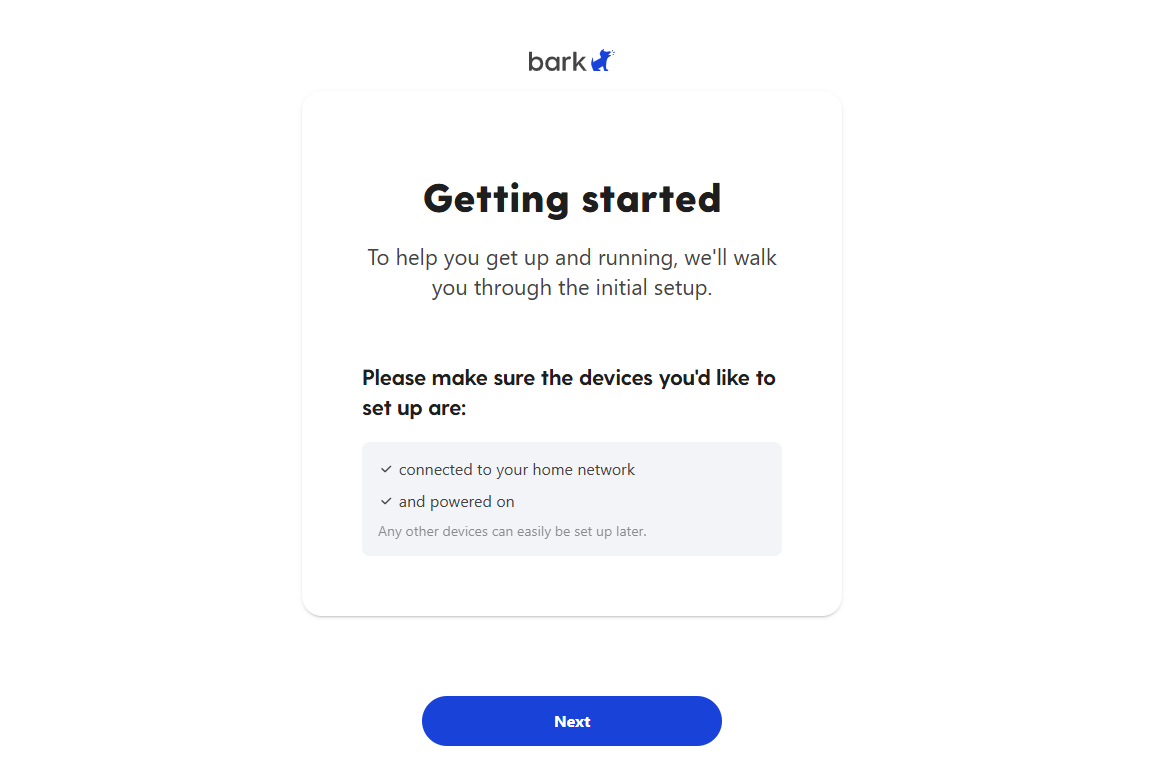 (Initial setup)
Once your device connects to Bark Cloud services and is paired with your account, the router's web Admin Panel will be displayed as follows.
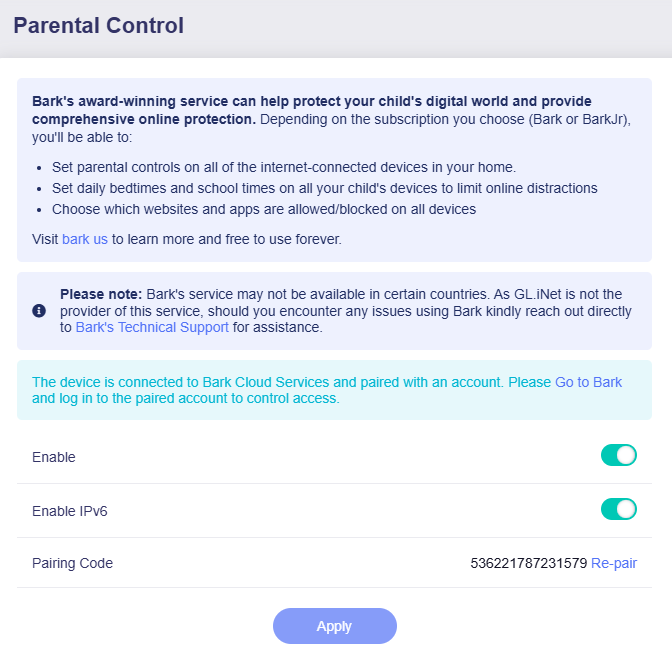
Click Go to Bark or here to log in to the Bark dashboard and set up your parental control rules.
Since GL.iNet is not the provider of this service, should you encounter any issues while using Bark, kindly reach out directly to Bark's Technical Support for assistance.
Still have questions? Visit our Community Forum or Contact us.