GoodCloud Site to Site
Introduction
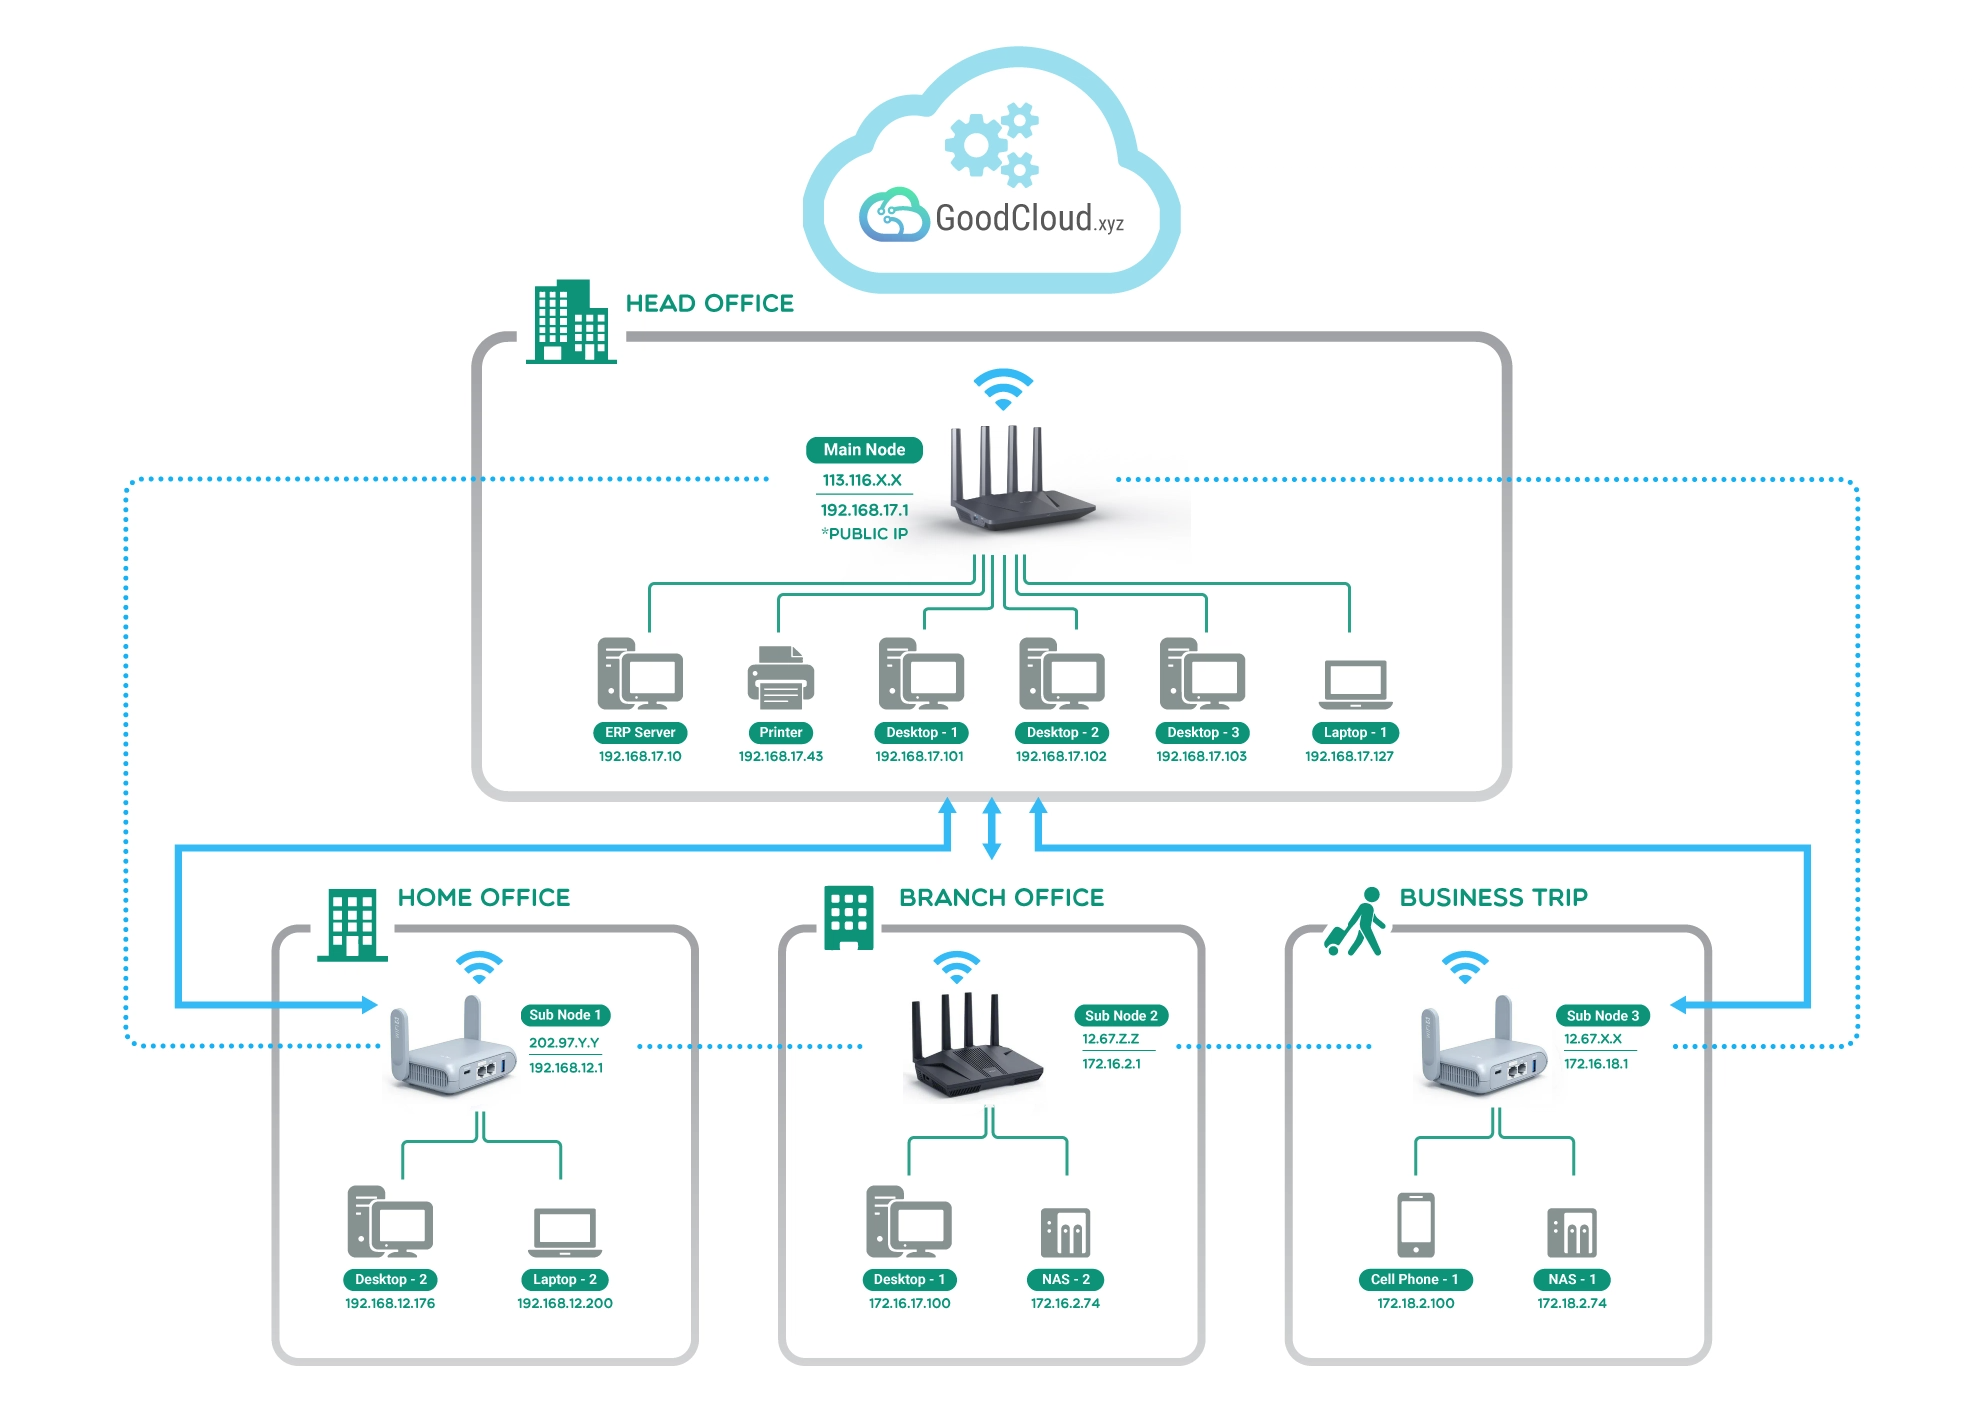
GoodCloud Site to Site allows offices in multiple locations to establish secure connections with each other over the internet. It extends the company's network, making computer resources from one location available to employees at other locations across the network.
Scenario 1: Dozens of branch offices under the same company need to be integrated into a unified private network, enabling seamless resource sharing across all locations.
Scenario 2: When two companies with close partnerships require business collaboration, Site to Site facilitates their work in a shared and secure network environment.
Scenario 3: For families with IP cameras, Site to Site enables remote access to the device when members are away from home, ensuring easy monitoring from anywhere.
Conditions
-
At least two GL.iNet routers are required to build Site to Site network.
-
At least one router should have a public IP address in order to be set as the primary node. Check if your ISP assigns you a public IP address.
A router with strong performance and the best network speed is preferred as the main node.
-
It is NOT recommended to run Site to Site while the Sub nodes are also running a VPN client / Tailscale / ZeroTier / AstroWarp, as this can make the network configuration particularly complex.
Build a Site to Site network
-
Bind your routers to your GoodCloud account. How?
-
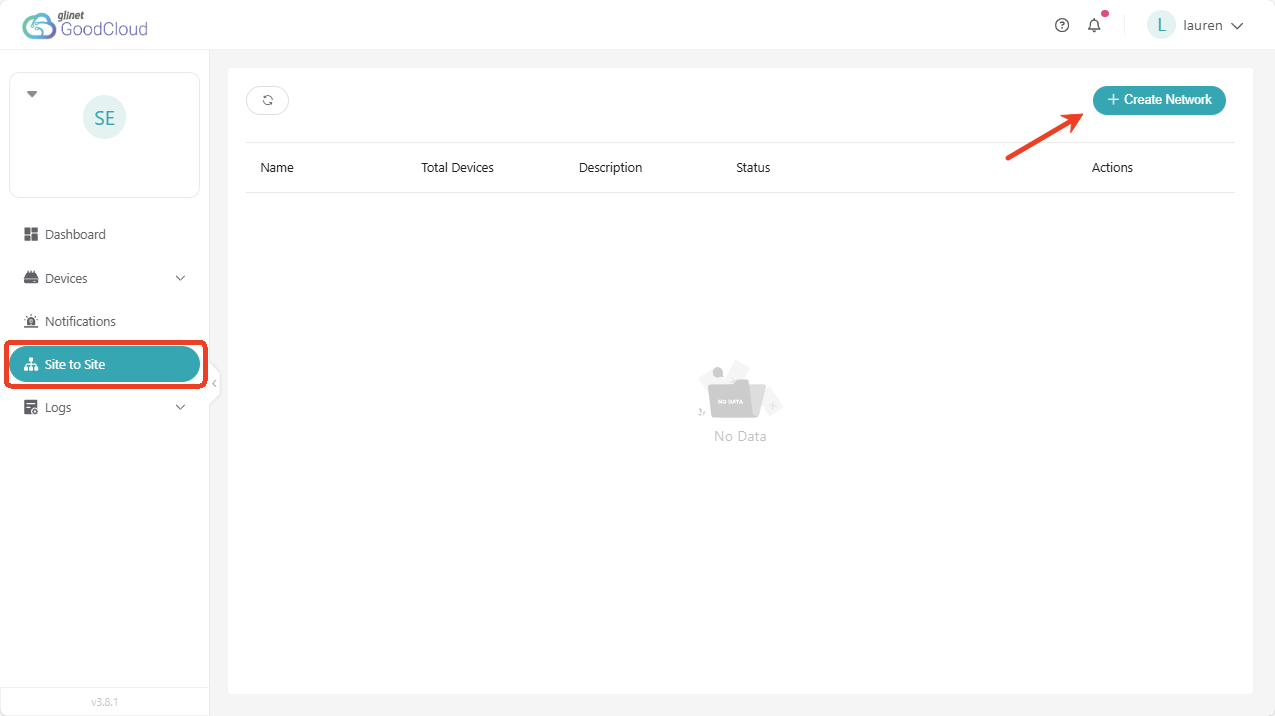
Log in to GoodCloud, navigate to Site to Site at the left-side bar. Click Create Network at the upper right.
-
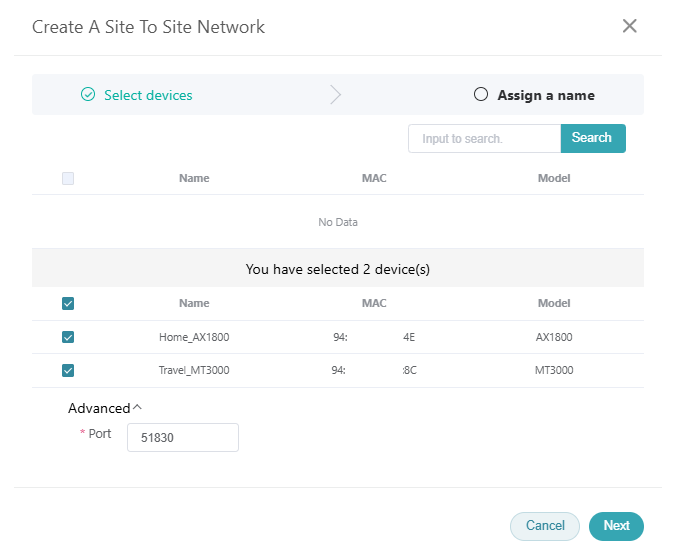
Check the box at the left side to select at lest two devices.
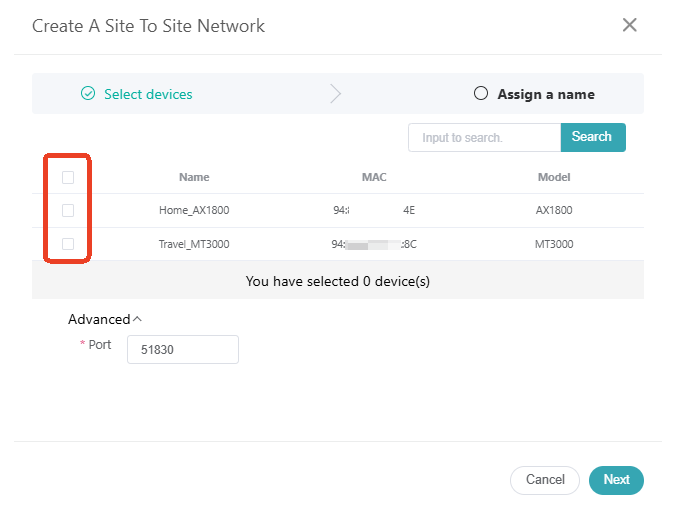
The selected devices will be displayed in the lower part of the page.
The default port of Site to Site is 51830. If you want to use another port, click on Advanced at the lower left corner to modify it. Then click Next.
A Site to Site network can have up to 10 devices to ensure stable performance.
-
Name your network, and click Next.
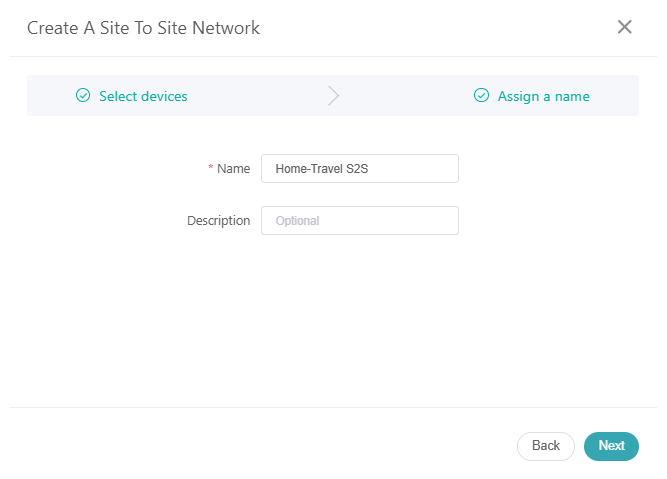
-
Node Usability Testing will start testing to check if any device can be set as the Main Node.
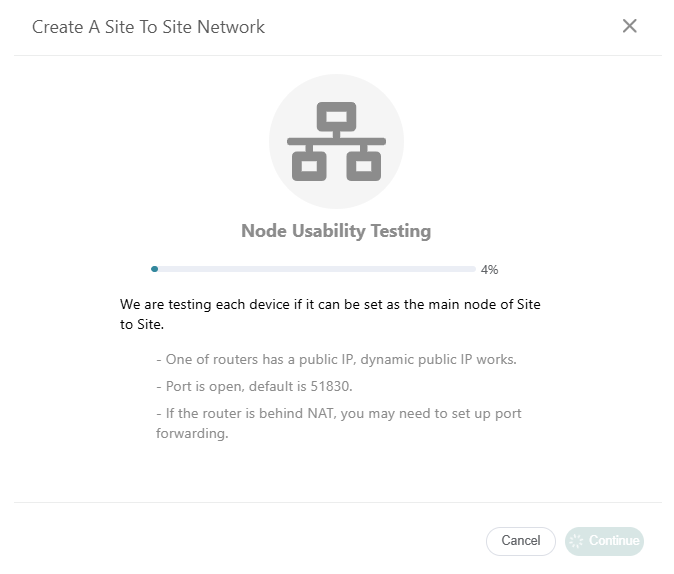
If none of your devices can be used as the Main Node, please make sure that:
- At least one router has a public IP, either static or dynamic public IP.
- Port is open. The default port for Site to Site is 51830. You can also change port and try again.
- If the router you want to set as Main Node is behind NAT, you may need to set up port forwarding.

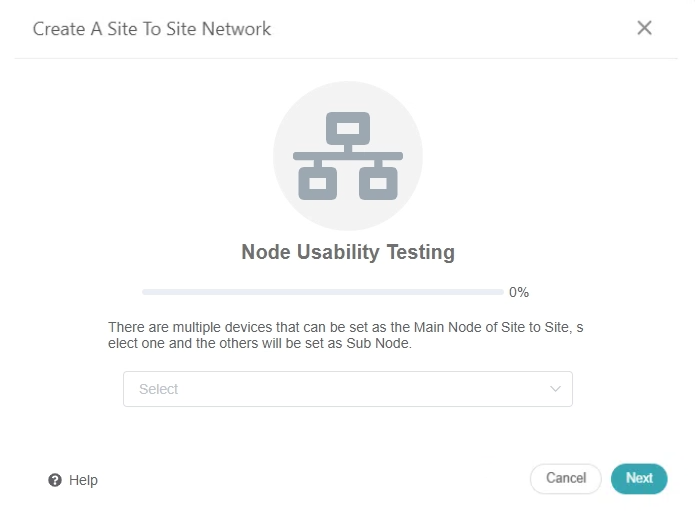
If more than one device can be set as the Main Node, please choose one to continue. We suggest selecting the router with strong performance and the best network speed as the Main Node.
If there is only one device can be set as the Main Node, it will go to the Site to Site detail page directly.
-
The network is disabled by default. Ensure that the LAN IP addresses of all nodes do not conflict with each other. Click the gear icon to change LAN IP if needed, and click on Start.

-
Wait a few minutes. Once the dashed line turns to solid, it means the Site to Site network has been established successfully.

Testing the Site to Site connection
-
Connect your PC or smartphone to one of the Node in this Site to Site network.
-
Launch a web browser to access another Node's LAN IP. If you can access the login page, the connection between these two nodes is working.
Route and other options
By default, each node can access other node's LAN. For security reasons, we recommend only opening the IP addresses of specific services.
For example, there is a Server A (172.30.97.100) in Node 1's subnet. If you want other nodes to only access Service A of Node 1, you can set it up as follows:

You can add node's parent routes too.
Each Sub Node builds an encrypted tunnel network to Main Node. If you want to change the IP of tunnel subnet, click IP Address Range to modify.
Applying change of IP address range will cause network disconnection for a few minutes.

Still have questions? Visit our Community Forum or Contact us.