How to access KVM remotely via NetBird
Note: Please upgrade your KVM firmware to v1.9.0 before using this feature.
NetBird is an open-source zero trust networking platform that lets you build secure private networks for home and business use. As a WireGuard®-based overlay network, NetBird enables secure access to your devices anytime and anywhere.
GL.iNet KVM integrates NetBird, allowing you to bind it to the NetBird virtual network for remote access — no need to install the GLKVM app or use the cloud service.
Follow these steps to remotely access your GL.iNet KVM via NetBird.
Bind KVM to NetBird
Before you begin, connect your KVM and the controlling device to the same local network.
-
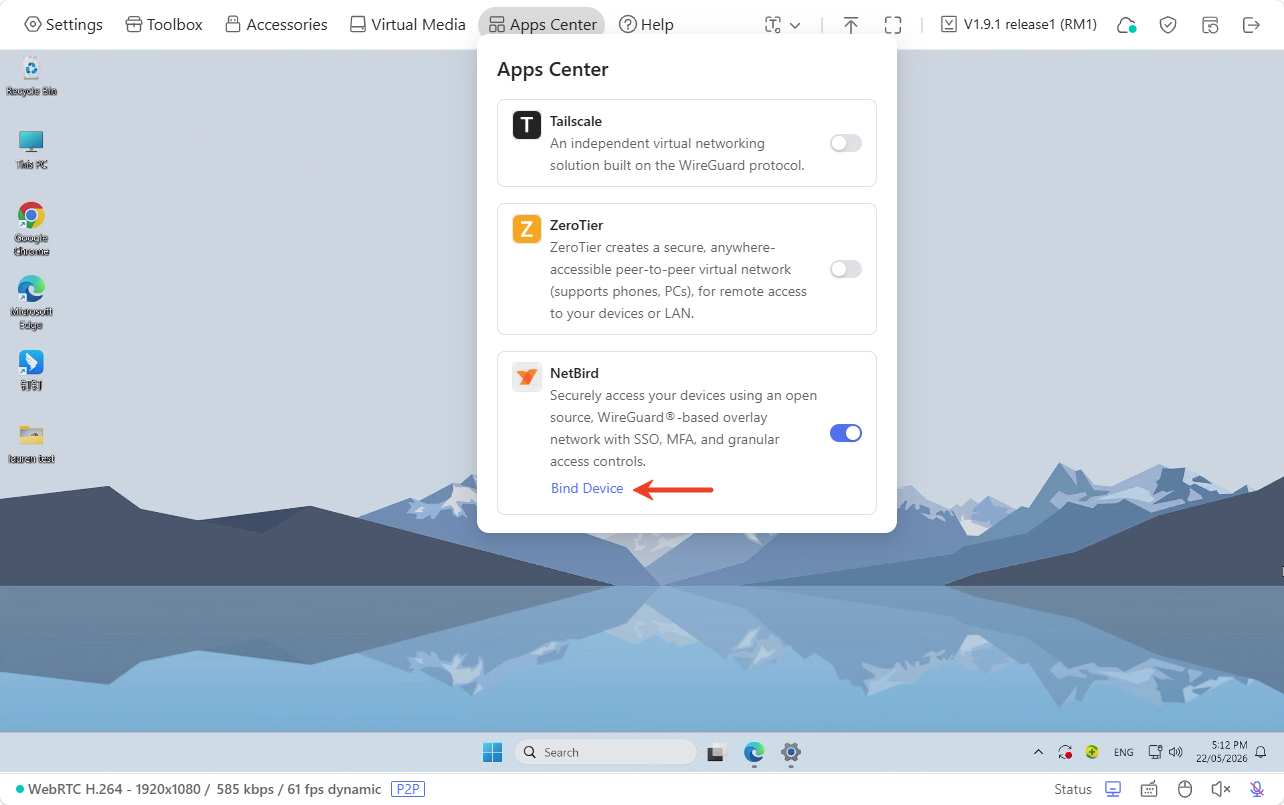
Log in to your KVM console locally using its domain or IP address, then go to Apps Center -> NetBird. Enable NetBird and click Bind Device.
-
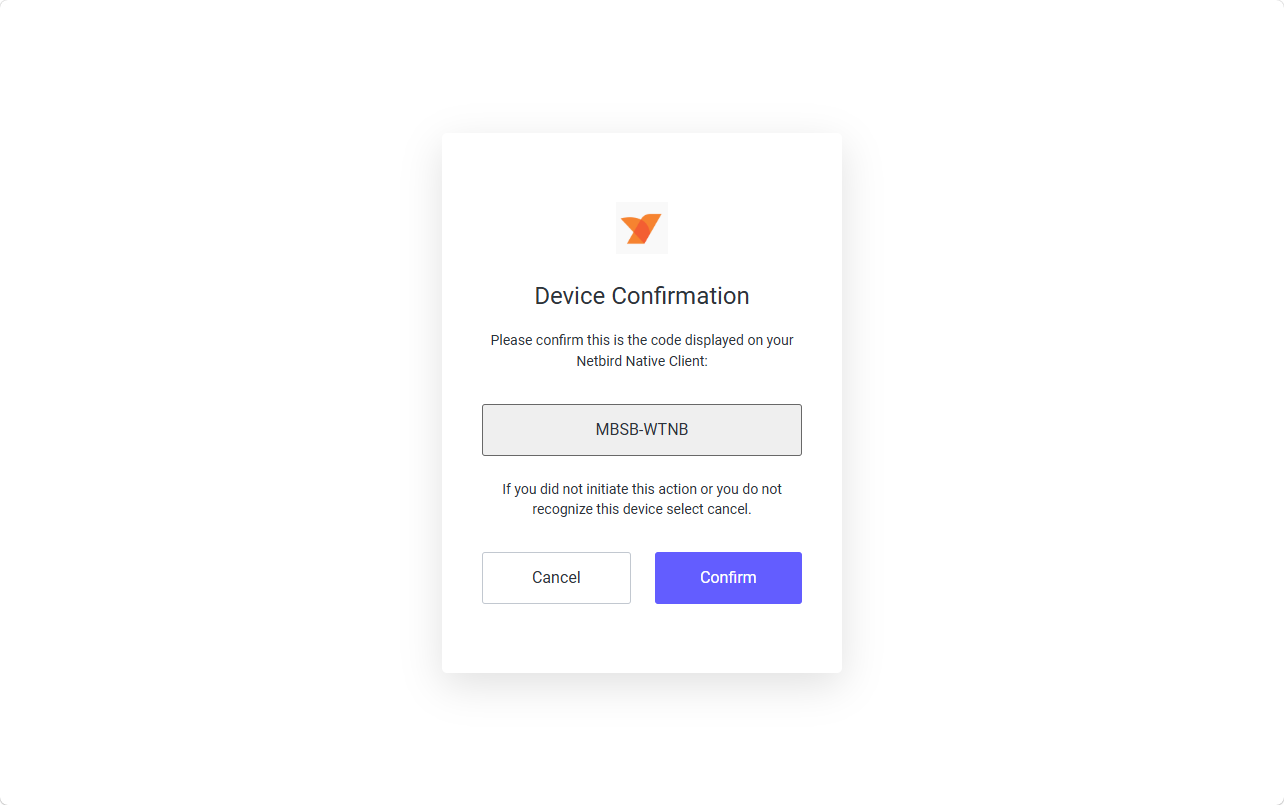
You will be redirected to the device confirmation page. Click Confirm.
-
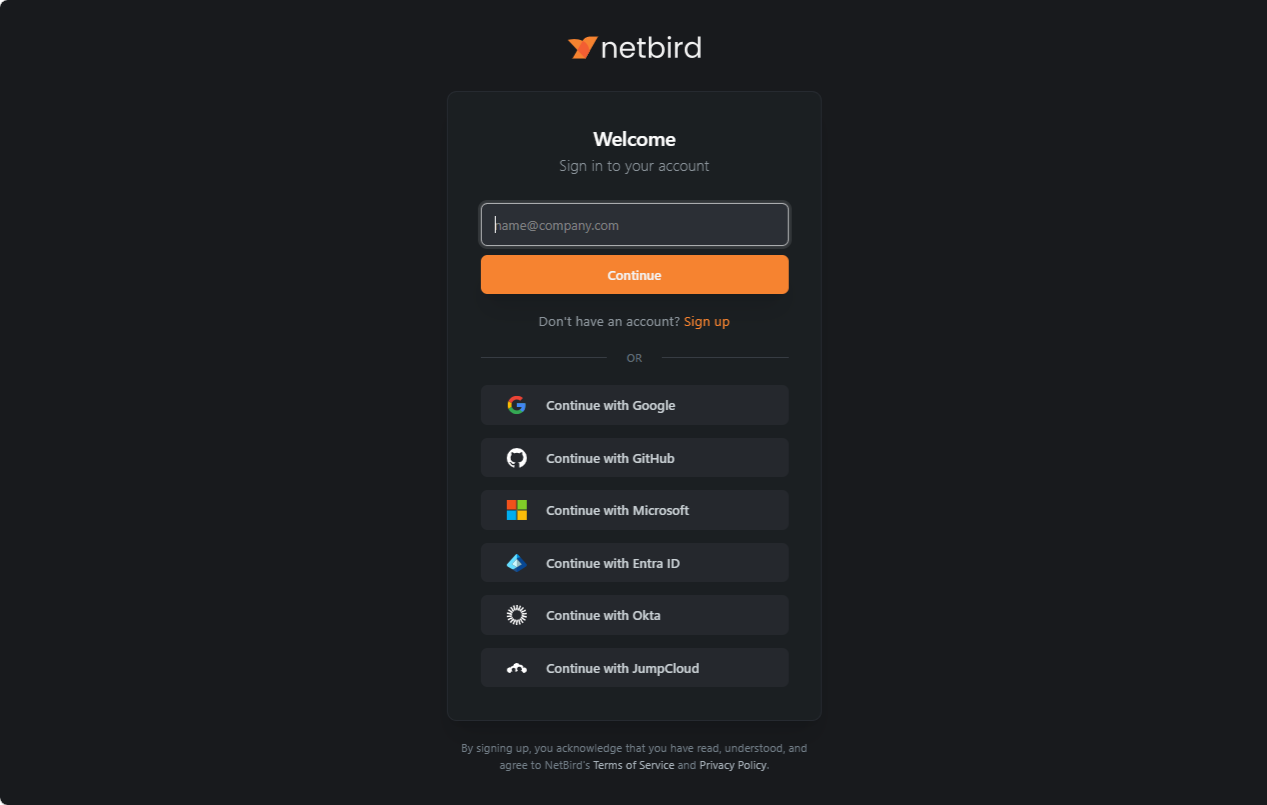
Sign in to your NetBird account. If you don't have an account, sign up first.
-
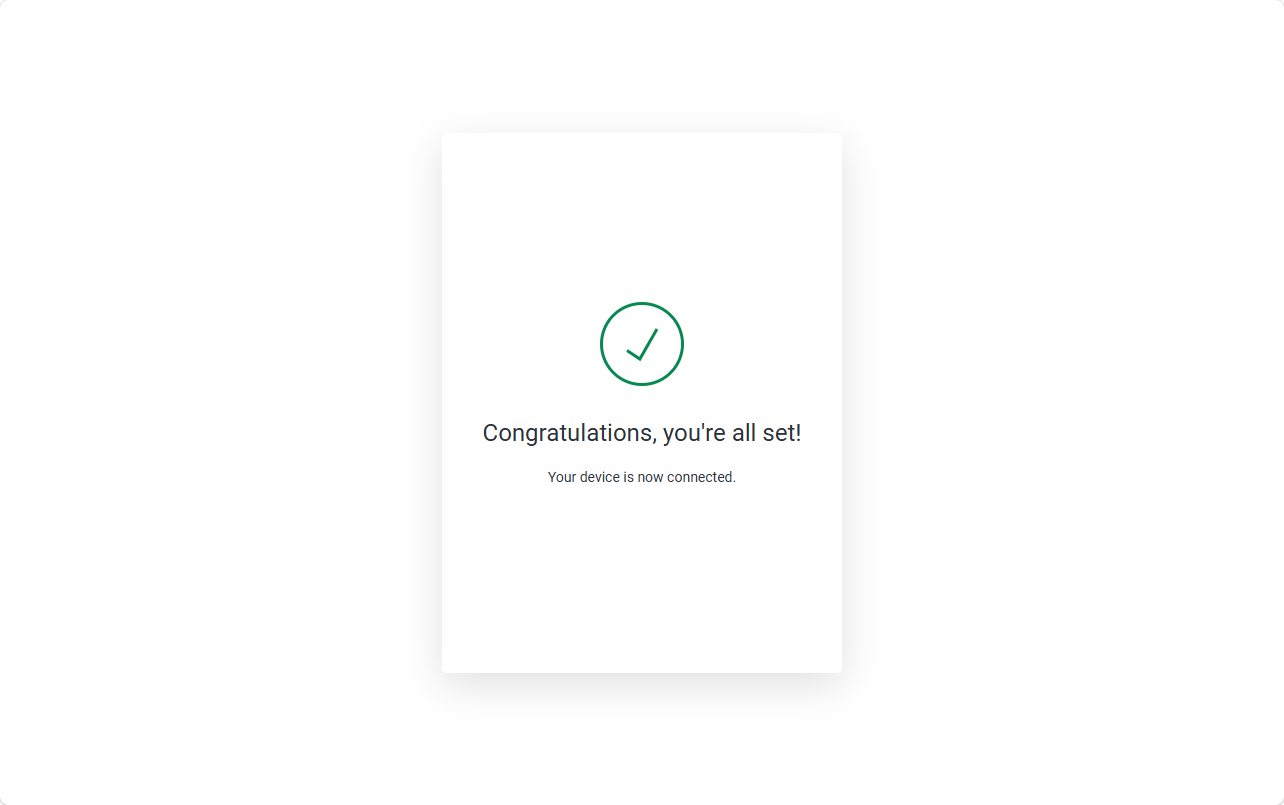
After signing in, the KVM device will be automatically bound to your account.
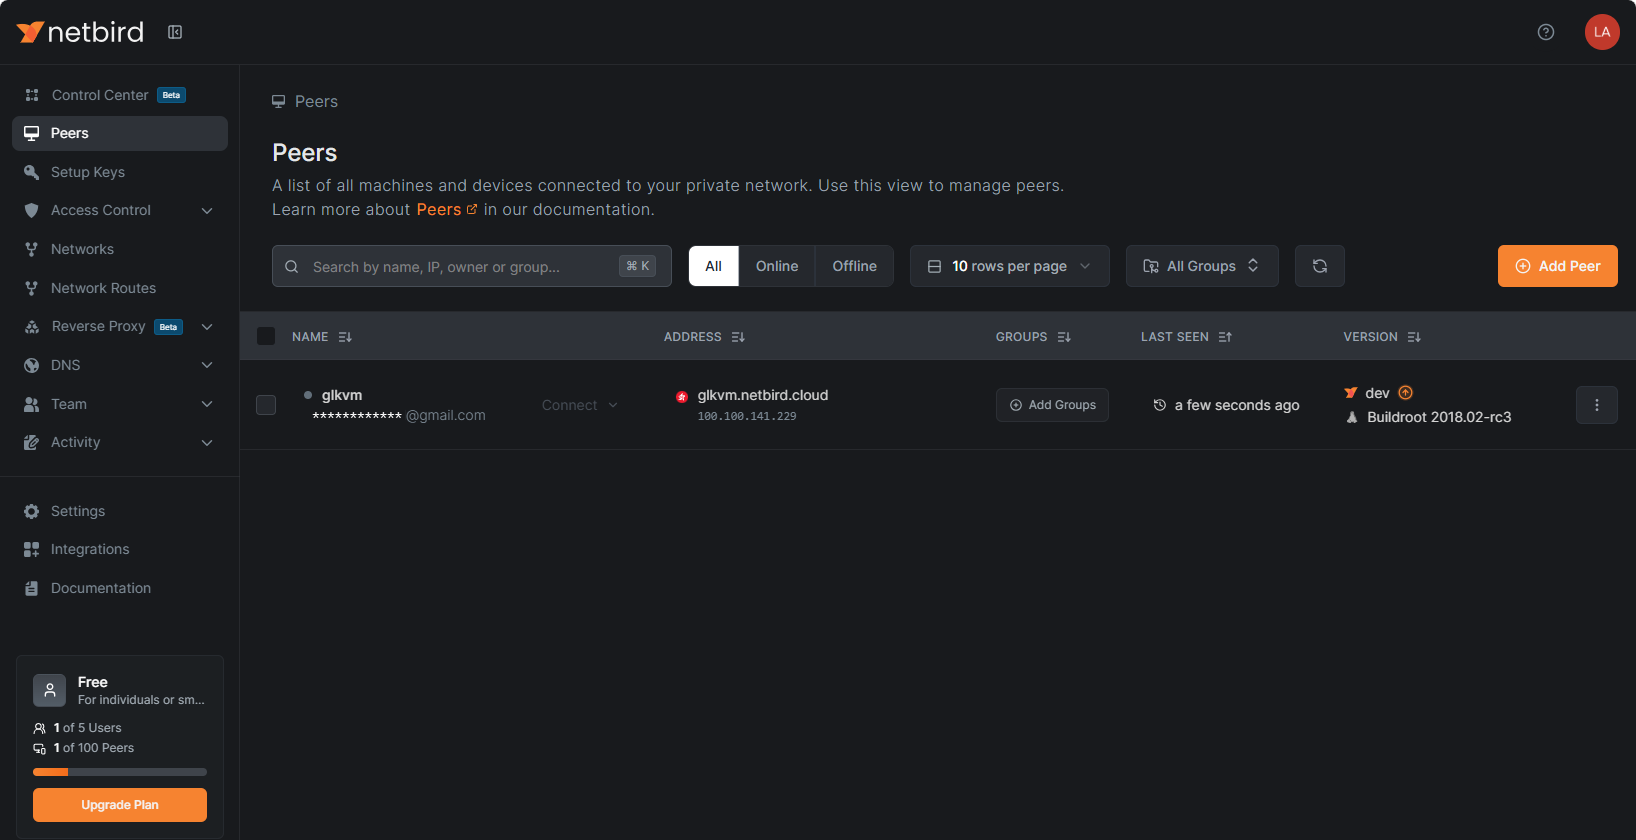
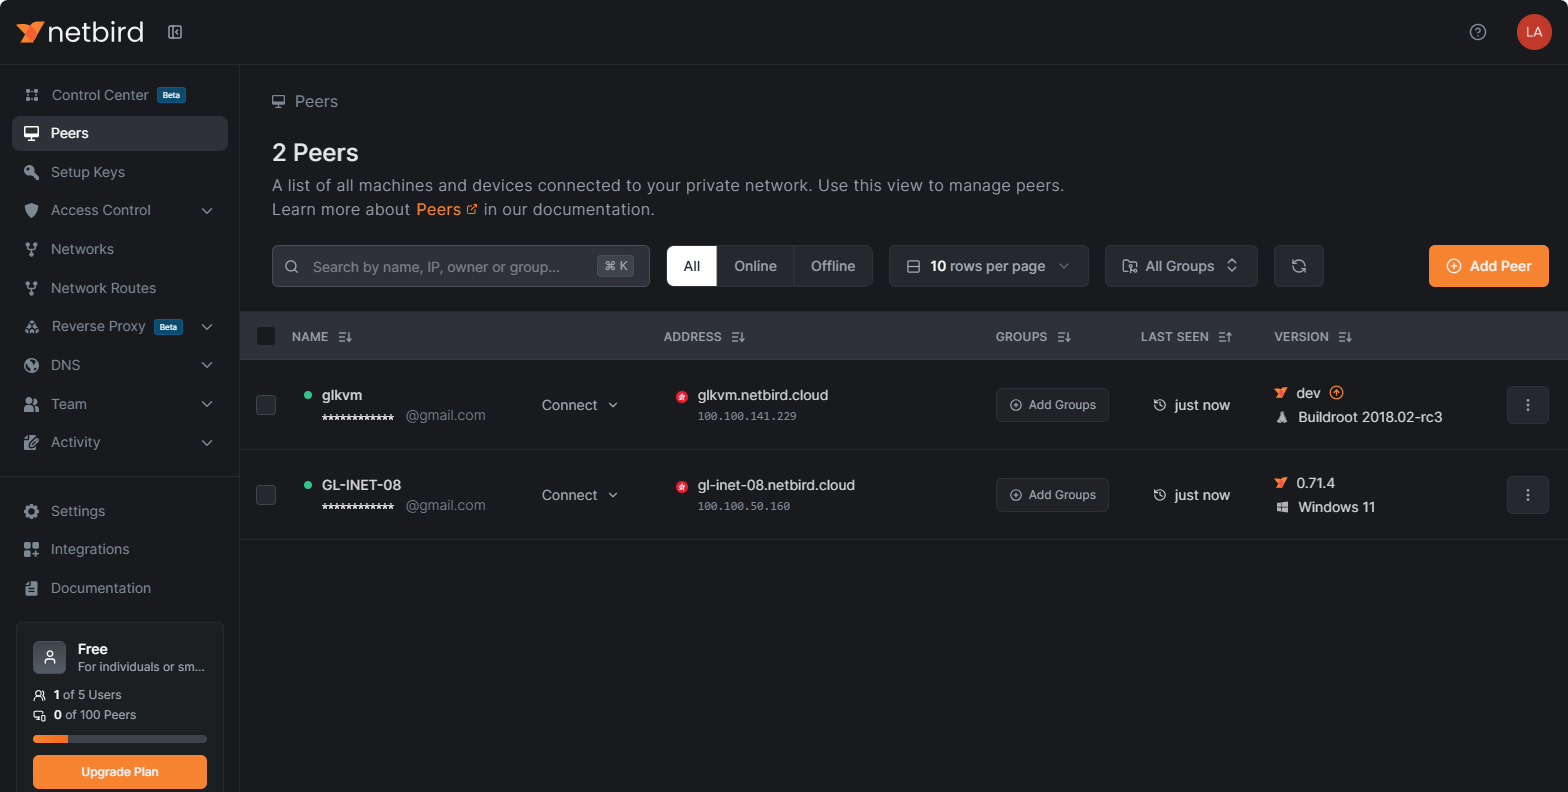
On the NetBird dashboard, you can also see your KVM listed on the Peers page.
Bind the controlling device
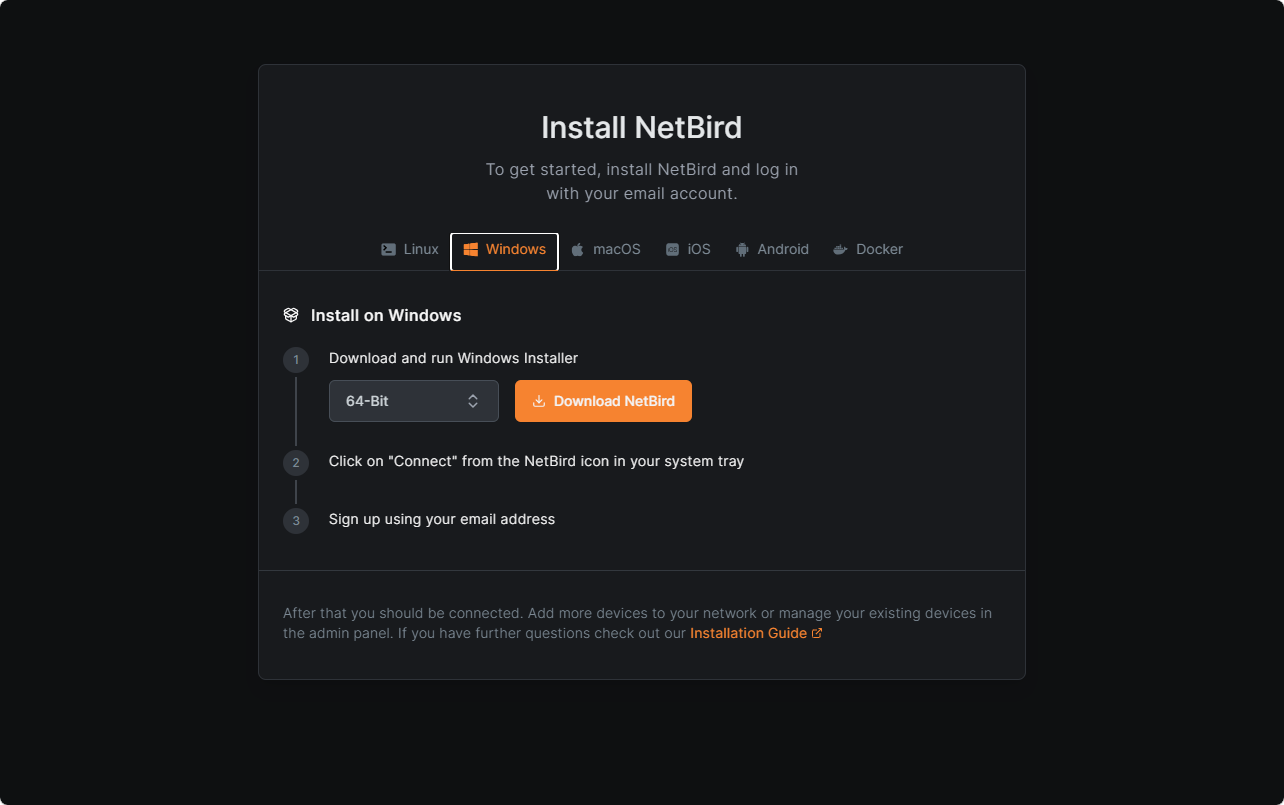
The example below demonstrates how to bind a Windows laptop (as the controlling device) to the NetBird network.
-
Install NetBird on your laptop from here.
-
Run NetBird on the laptop and add it to the same NetBird network.
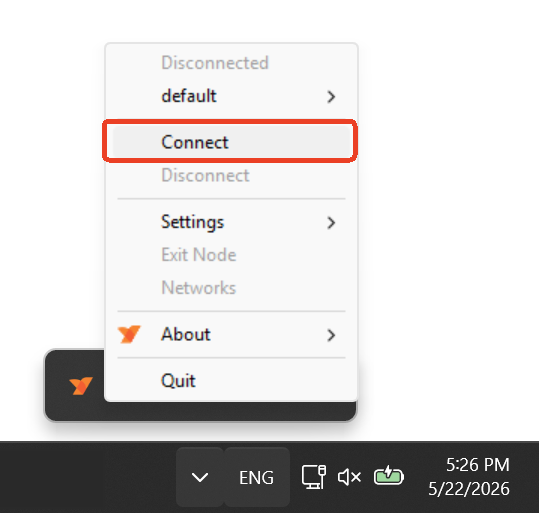
NetBird does not display a separate window/UI on the desktop; it only resides as an icon in the system tray (bottom-right corner). All operations are performed via the right-click menu.
Right click the NetBird icon, and click Connect.
-
In the pop-up window, click Accept to authorize.
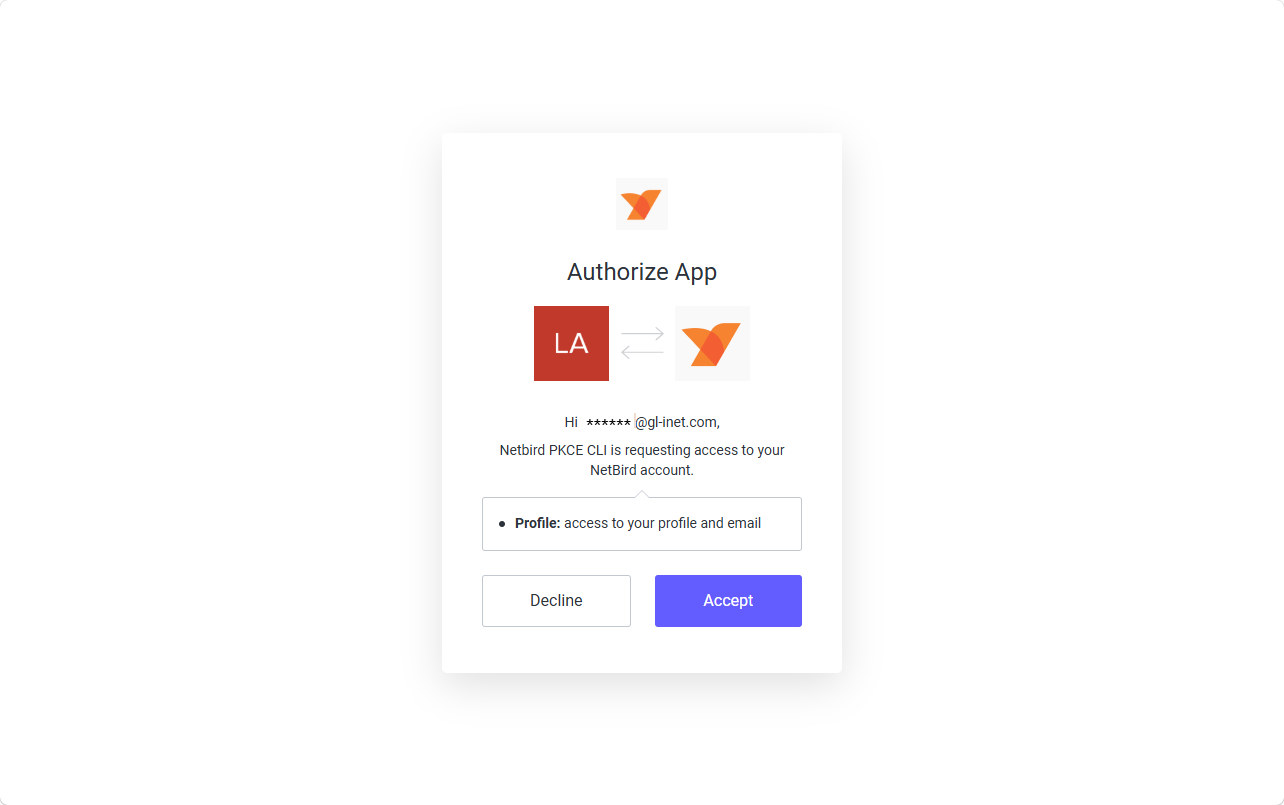
Your laptop will be automatically bound to your account and added to the same NetBird network.
-
On the NetBird dashboard, there are two devices on the Peers page: your KVM and the controlling laptop.
Remote access via NetBird
The example below demonstrates how to remotely access the KVM console via the NetBird virtual IP address.
-
On your laptop, sign in to the NetBird dashboard and navigate to Peers.
Find your KVM device and click its NetBird IP (
100.100.141.229in this example) to copy the virtual IP.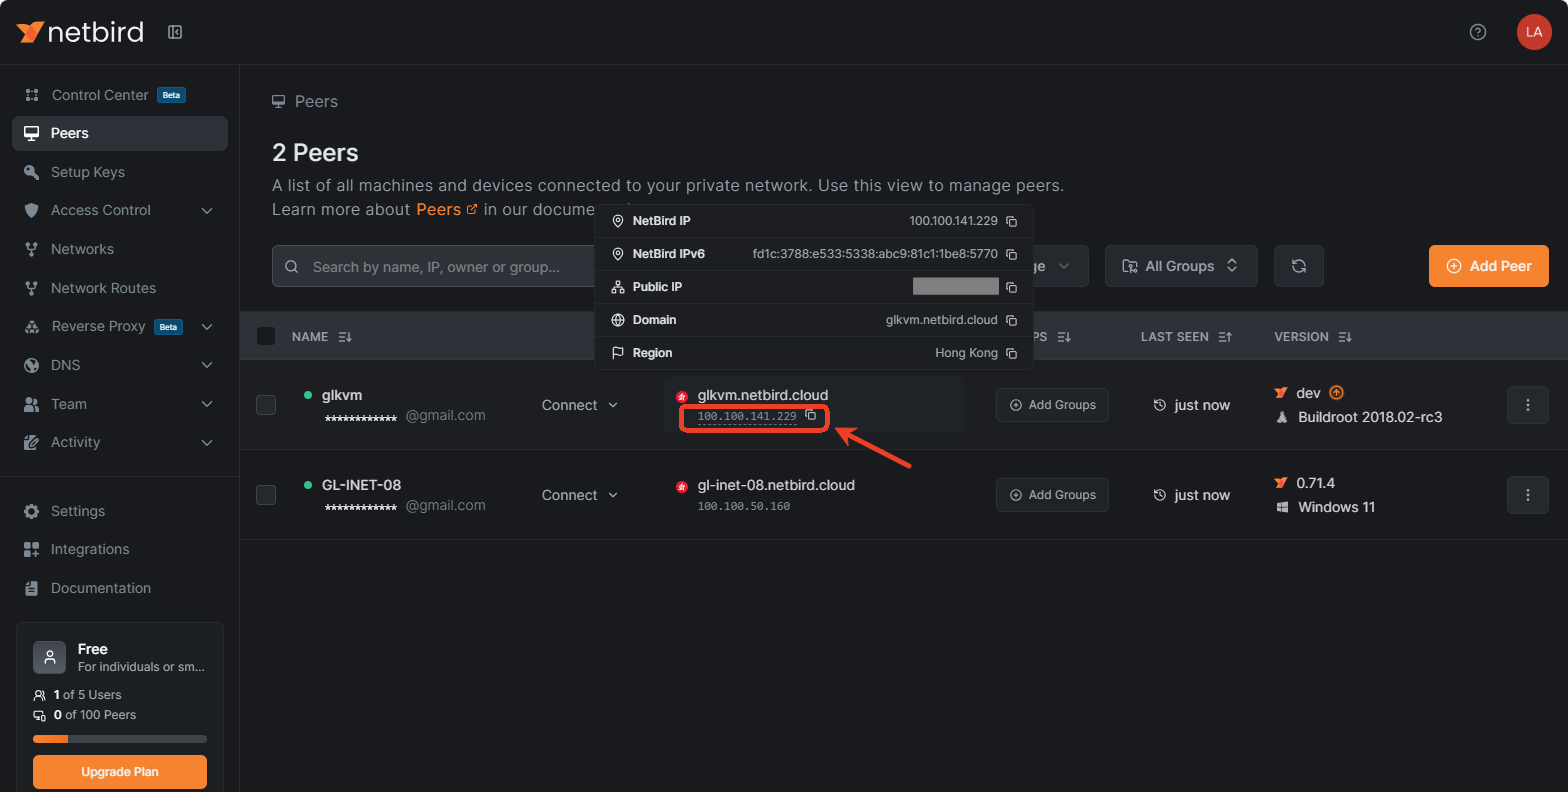
Hover your cursor over the IP address to view more details, such as Public IP, domain and region.
-
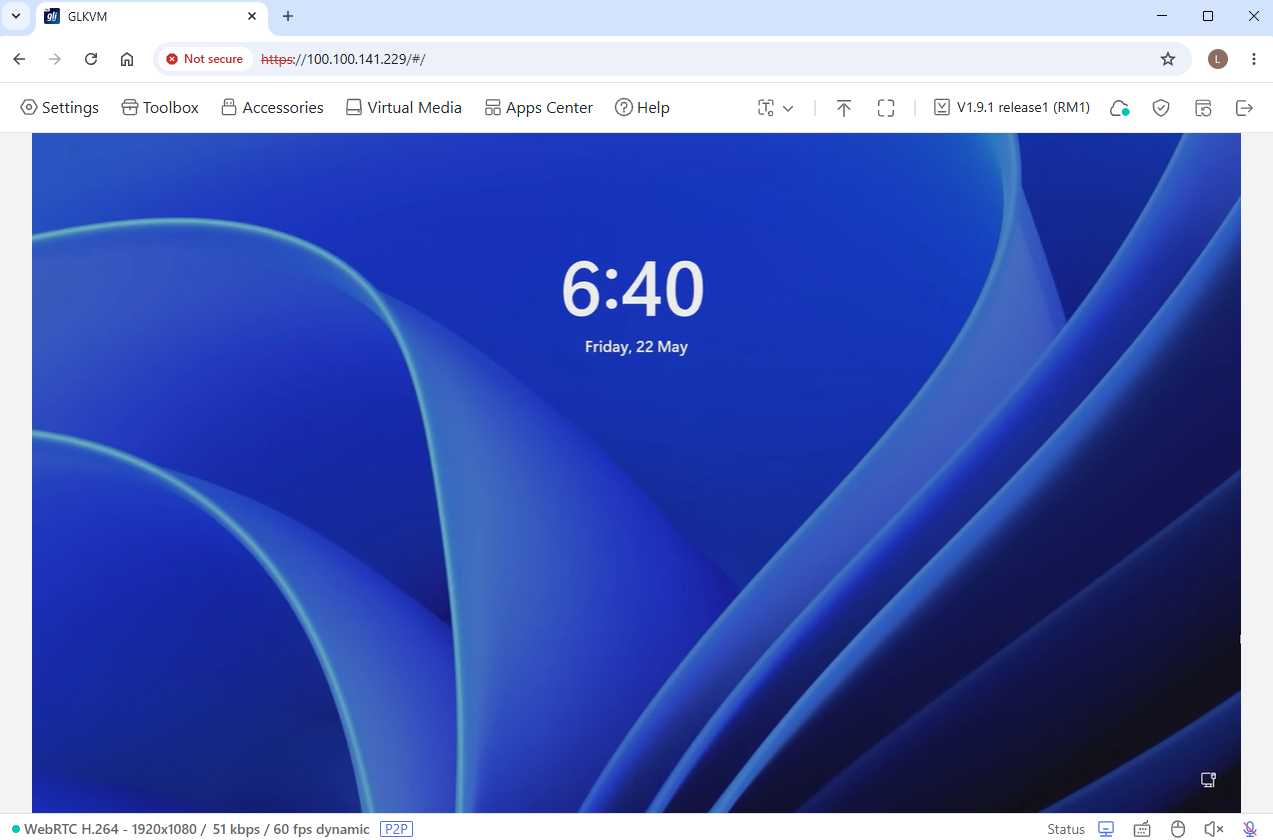
Open a new browser tab, paste the copied NetBird IP into the address bar and hit Enter. You will be redirected to the GLKVM login page.
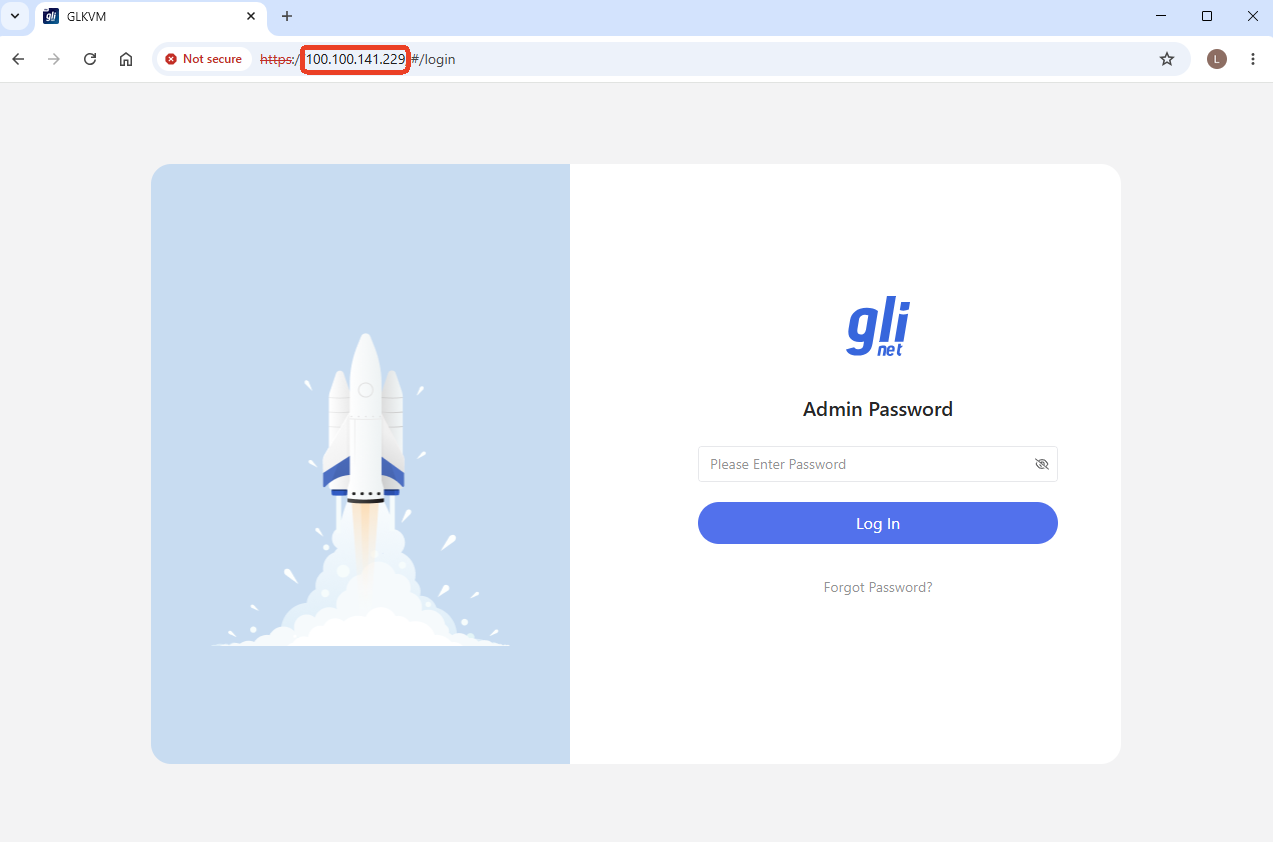
Enter your admin password to log in. You can now access your GL.iNet KVM and the controlled device via the NetBird IP.
Tip: A privacy error may appear when accessing this NetBird IP for the first time. Simply click Advanced -> Proceed to continue. See Privacy error from your browser for details.
Still have questions? Visit our Community Forum or Contact us.