Comet Pro (GL-RM10) Console Guide
Settings
On the console, navigate to Settings. The settings page includes four sections:
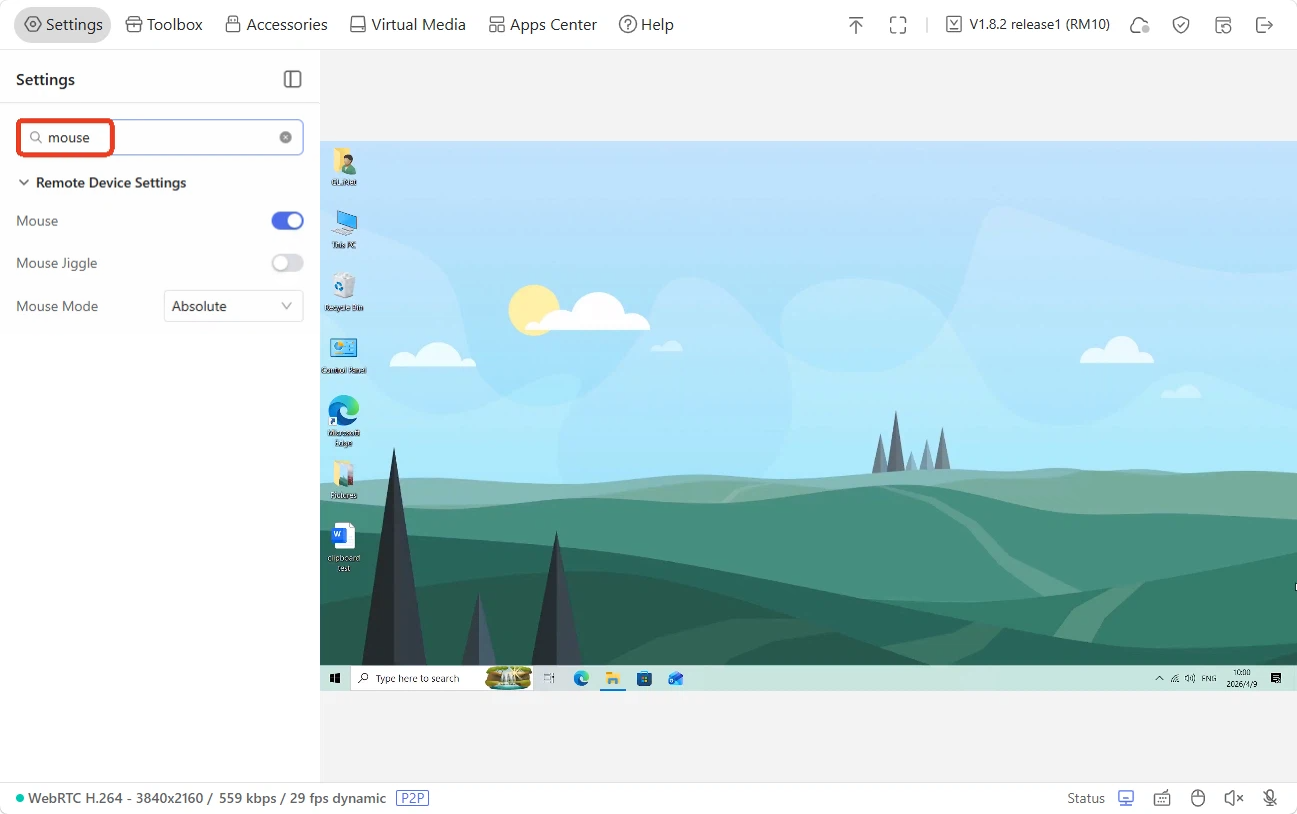
Quick Search
You can quickly find the settings you want by entering keywords at the top of the Settings page.
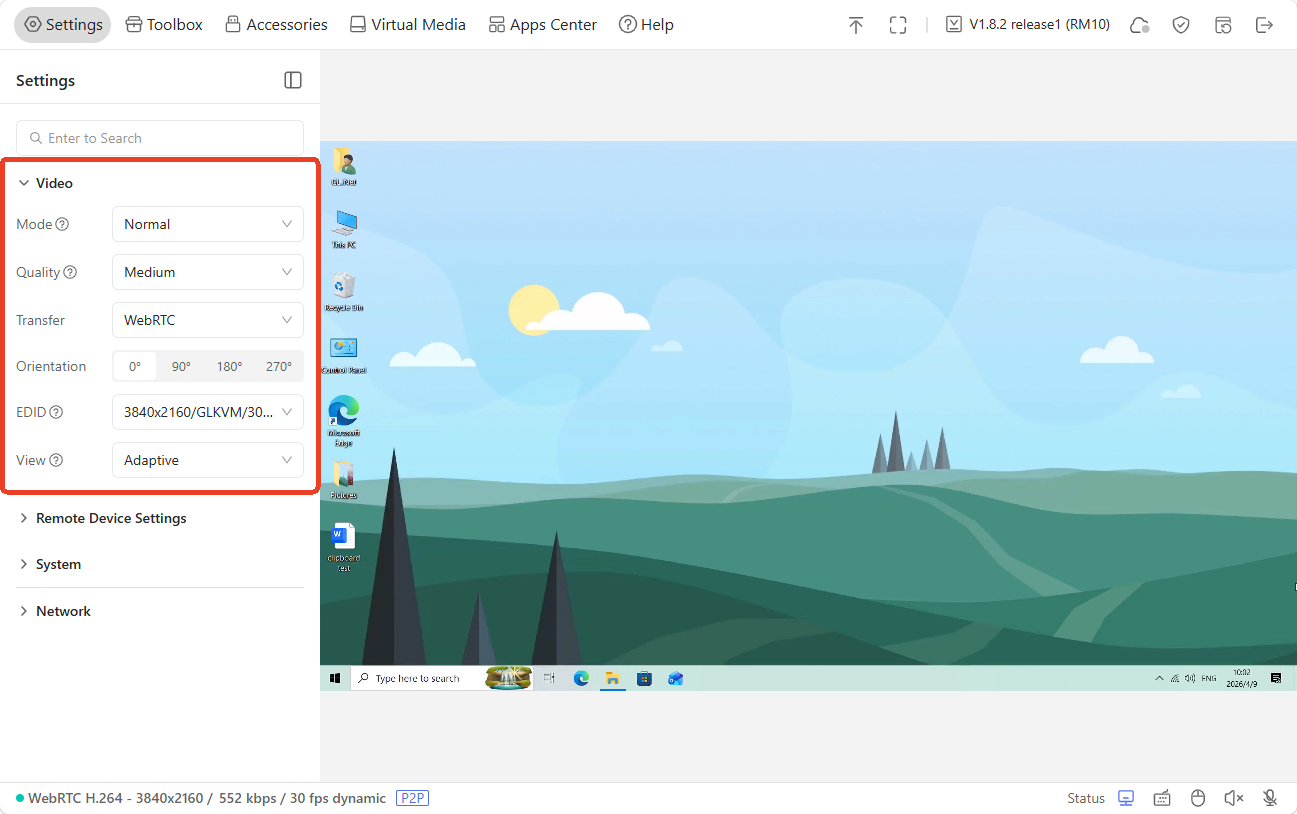
Video
You can customize video settings on the console, such as display mode, video quality, video transmission, screen orientation, and EDID.
-
Mode: Switch between Smart and Normal mode as needed. Smart mode helps reduce bandwidth consumption, especially in weak networks.
-
Latency Mode: You can choose between Lowest Latency and Smooth Display for the device. This feature was introduced in firmware v1.9.0.
What's the difference between Lowest Latency and Smooth Display?
-
Lowest Latency: Minimizes input latency to deliver snappier keyboard and mouse response.
-
Smooth Display: Optimizes visual performance to eliminate stuttering and frame loss for steady playback.
-
-
Quality: Adjust the video quality to Auto/Low/Medium/High/Ultra-high/Lossless according to your network environment and resolution requirements.
-
Transfer: Switch the video transmission method between WebRTC, WebRTC (FEC), and Direct. Note that the Direct transfer has no sound.
What's the difference between WebRTC, WebRTC (FEC) and Direct?
-
WebRTC: Balances smooth video and stable audio for real-time remote control.
-
WebRTC (FEC): Adds forward error correction to improve connection stability under poor or unstable network conditions. When selected, it automatically repairs lost data packets by transmitting a small amount of redundant data, reducing screen flickering and lag.
-
Direct: Provides the lowest latency and lossless video quality, but does not support audio transmission.
-
-
Orientation: Adjust the console's rotation angle to 0°/90°/180°/270°.
-
EDID: Short for Extended Display Identification Data, it automatically matches the optimal display parameters.
The default setting applies to most scenarios and generally does not need to be modified. See here for details. If the screen does not refresh after EDID adjustment, restart the controlled device.
-
View: This setting determines screen scaling when resizing the browser window. Available options: Adaptive, Best Picture Quality, Original Pixel. This feature was introduced in firmware v1.8.0.
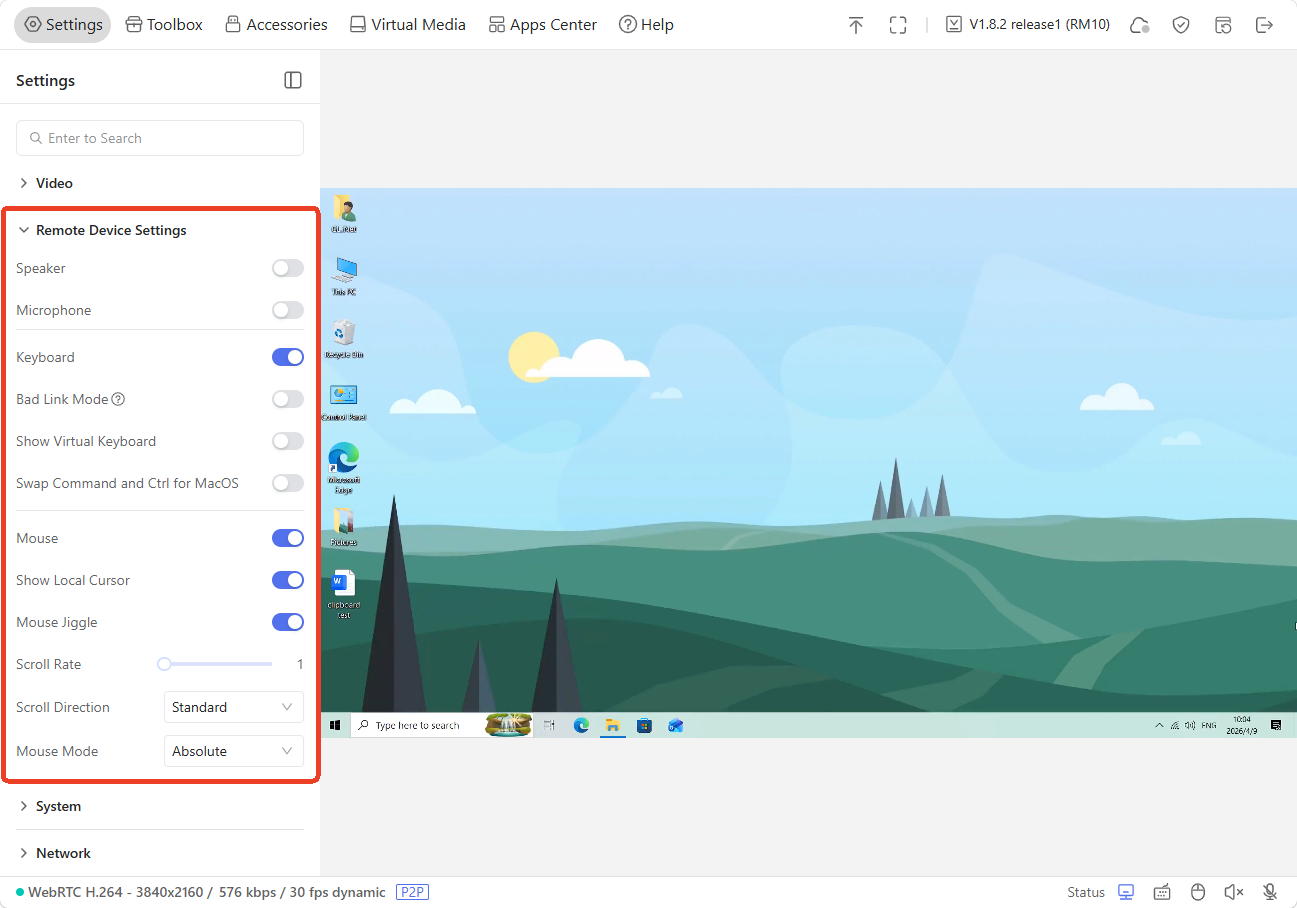
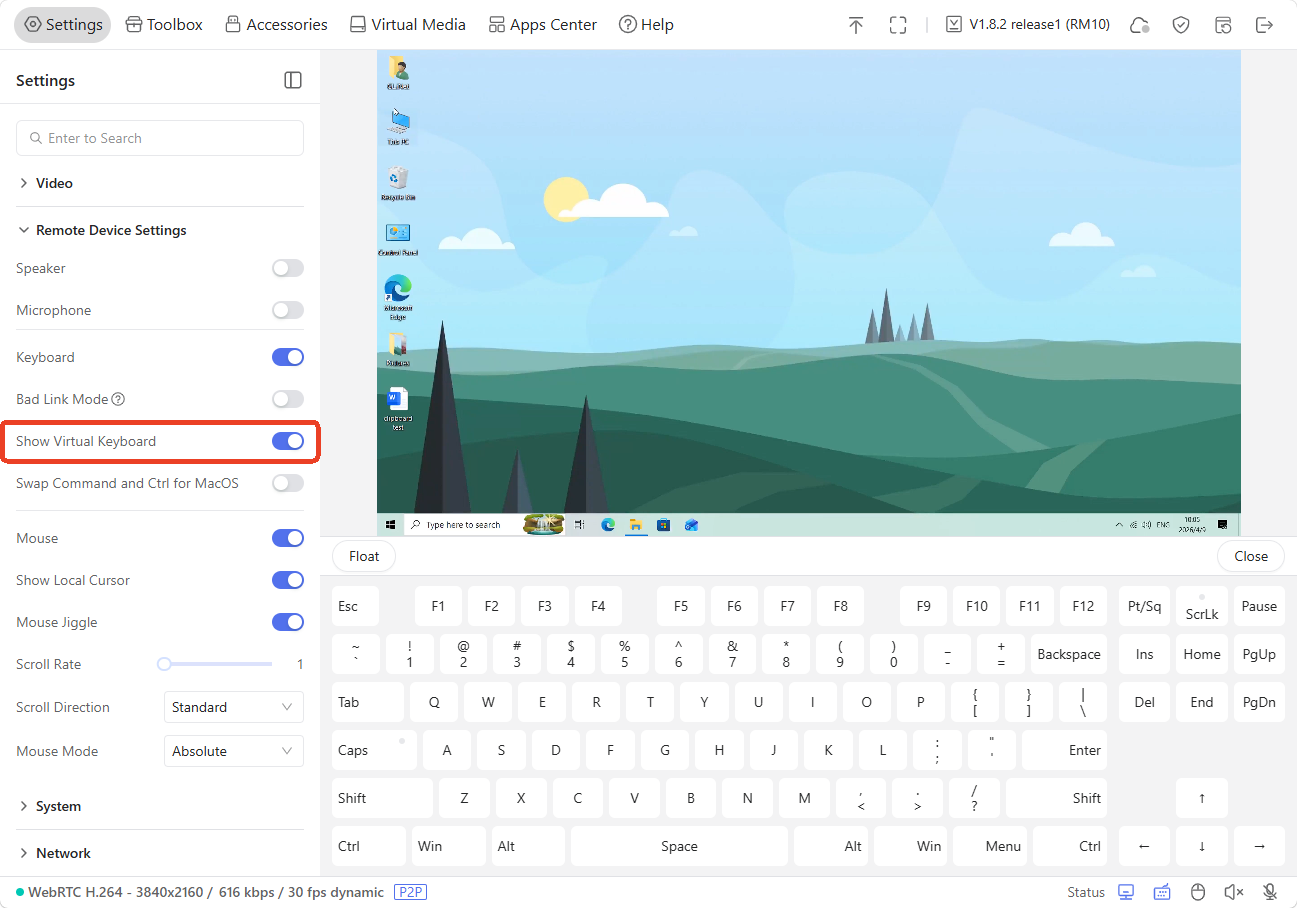
Remote Device Settings
You can adjust the relevant settings of the controlled device.
-
Speaker: Control audio output from the controlled device (e.g., system sounds, video audio)
-
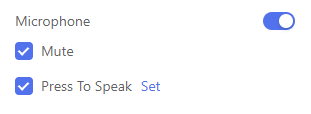
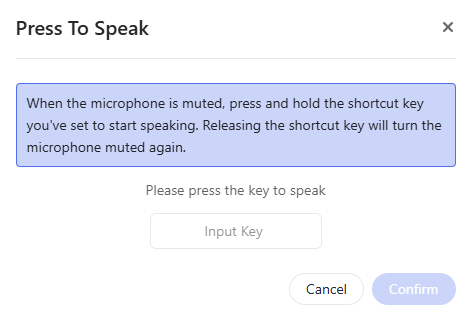
Microphone: Transmit local audio (e.g., your voice) from the controlling device to the remote end. It supports one-click mute, and a long-press shortcut to activate the microphone (i.e., Press To Speak).
-
Keyboard: Turn on or off the keyboard of the controlled device.
-
Bad Link Mode: i.e. Release keys immediately. Each key press is sent as a single quick press-and-release action, preventing stuck keys or unintended repeated input during remote control.
-
Show Virtual Keyboard: Show and use the virtual keyboard on the console.
-
Swap Command and Ctrl for MacOS: This feature swaps the Cmd and Ctrl keys to ensure keyboard compatibility across different operating systems.
-
Mouse: Turn on or off the mouse of the controlled device.
-
Show Local Cursor: Display the mouse of the current device on the screen.
-
Mouse Jiggle: The Mouse Jiggler feature simulates subtle, periodic mouse movements to prevent the computer (i.e., the controlled device) from going to sleep due to prolonged inactivity, such as during remote meetings and server management.
-
Scroll Rate: It refers to the speed at which the mouse wheel scrolls or the number of lines/units scrolled per wheel rotation, affecting how quickly content moves on the remote.
-
Scroll Direction: It determines whether scrolling the mouse wheel up/down moves content on the remote screen in the same direction (natural scrolling) or the opposite direction (traditional scrolling).
Four direction modes are available: Standard, Vertical Invert, Horizontal Invert, and Both Invert.
-
Mouse Mode: Allows switching between Absolute Mode and Relative Mode to ensure smooth and accurate cursor control in different remote control scenarios.
What's the difference between Absolute Mode and Relative Mode?
-
Relative Mode: The mouse position is calculated based on movement rather than fixed screen coordinates. You must click inside the remote window to control the mouse. The cursor is locked within the remote screen and cannot move out smoothly. This mode provides better compatibility with BIOS, old systems, and embedded devices.
-
Absolute Mode: The mouse position corresponds to exact screen coordinates. The remote cursor follows the local one smoothly and accurately, allowing seamless movement between your local screen and the remote screen. It is ideal for daily desktop control and precise operations, though a slight delay may occur due to network transmission.
In short, use Absolute for smooth daily control; use Relative for BIOS access, some older devices that do not support absolute positioning, or to avoid accidental cursor movement.
-
-
Relative Sensitivity: It is available when the Mouse Mode is Relative.
-
Primary Button: Select the left or right button as the primary click. This feature was introduced in firmware v1.9.0.
System
You can customize the system display settings of the console, or reset the device with one click.

-
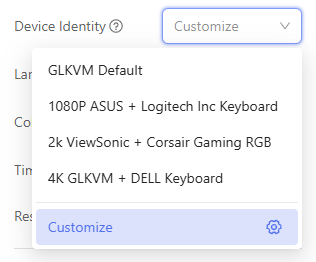
Device Identity: Customize or modify the KVM's identity recognized by the controlled device. Note that EDID and device identification remain synchronized. Changing either one will automatically update the other to ensure correct device recognition.
-
Language: Set the console's language to Chinese, English, or Japanese.
-
Color Mode: Customize the theme color to Light or Dark mode.
-
Time Zone: Customize the time zone of the KVM console.
-
Reset KVM: Factory reset your KVM with just one click.
-
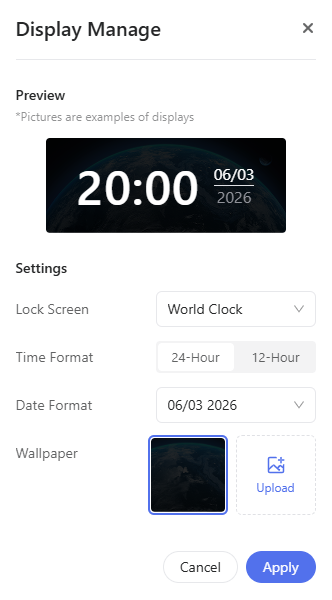
Screen Display: You can customize the screen display as needed. This feature was introduced in firmware v1.9.1.
Network
You can check and modify Comet Pro's network details, such as Hostname and IP address.

-
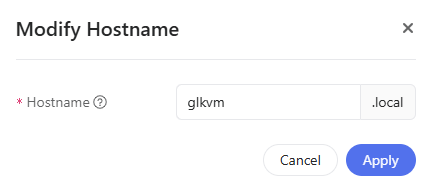
Hostname: You can modify the device hostname directly on the console. This feature was introduced in firmware v1.7.0.
-
Ethernet: When Comet Pro connects to an upstream network device via an Ethernet cable, its Ethernet IP address will be displayed here. Click the IP address or the right arrow to view the ethernet details.
If the protocol is DHCP, the page displays as follows.
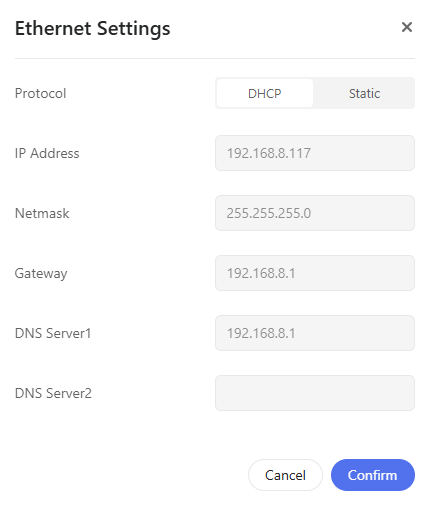
If you want to set a static IP address, switch the protocol to Static and enter the required network parameters (e.g., IP address, netmask, gateway) accordingly.

-
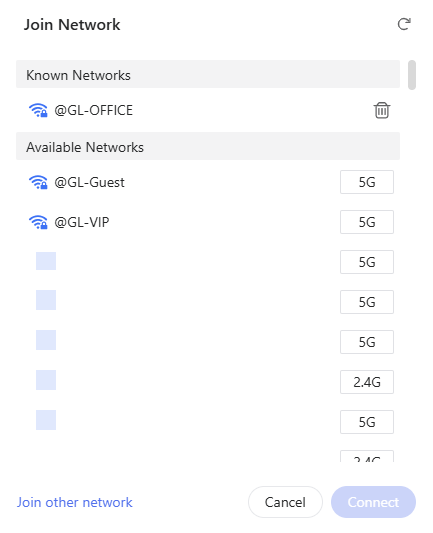
Wireless: When Comet Pro connects to a Wi-Fi network, its Wi-Fi IP address will be displayed here. Click the IP address or the right arrow to view the Wi-Fi details, including the SSID, assigned IP address, gateway, and the MAC address your Comet Pro uses to connect to.
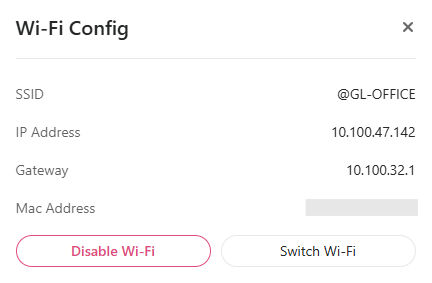
If you want to connect it to a different Wi‑Fi network, click Switch Wi-Fi and select a Wi-Fi from the available network list.
Toolbox
On the console, navigate to Toolbox. The toolbox page includes four sections:
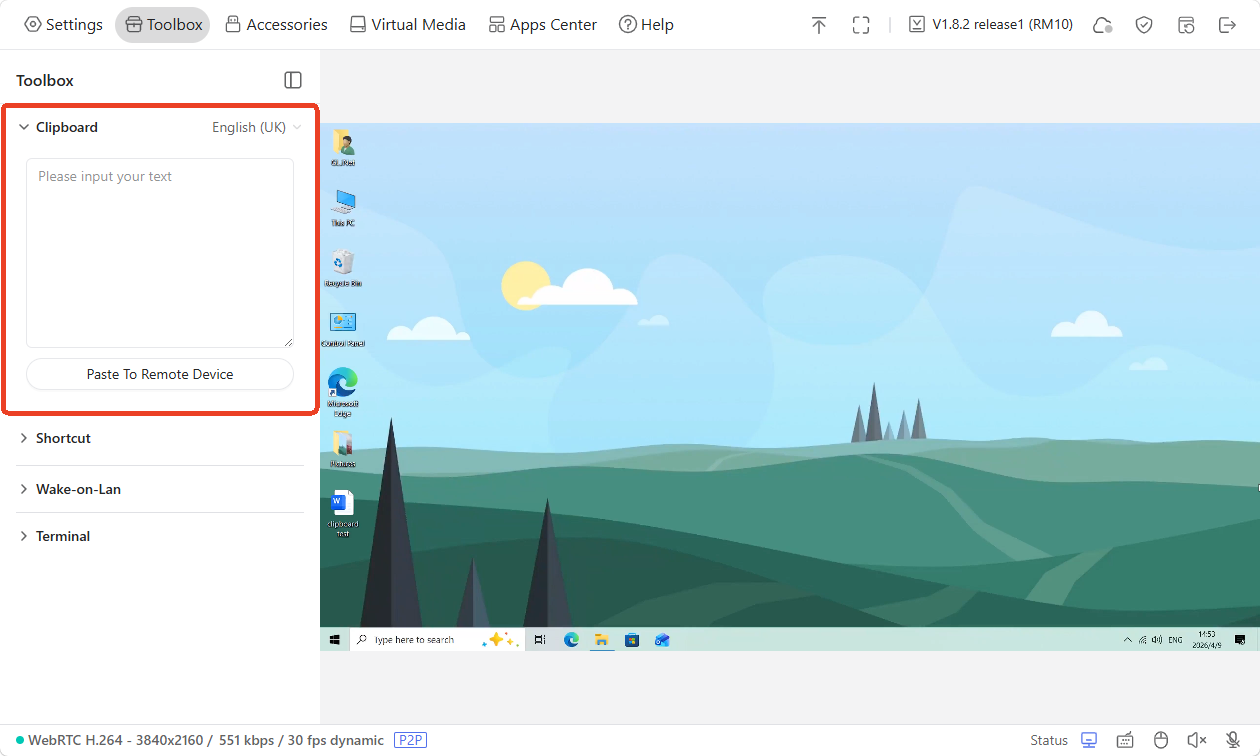
Clipboard
The clipboard allows you to easily paste text from the controlling device to the controlled device, without the need to transfer files.
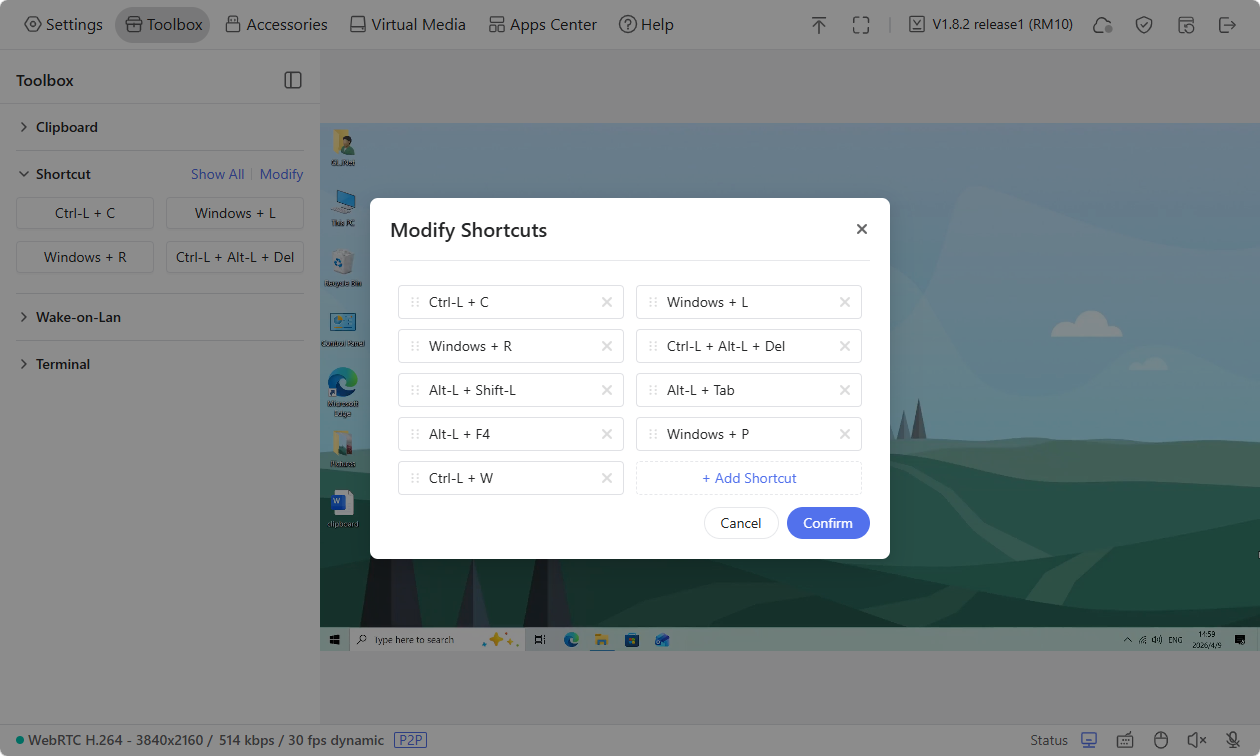
Shortcut
The shortcut let you perform actions faster without using the virtual keyboard, helping you work more efficiently and save time on daily tasks. You can find some common shortcuts here.

Click Modify to adjust the shortcuts options as needed.
Wake-on-Lan
Wake-on-LAN (WOL) is a technology that allows the controlled device to be remotely powered on or awakened from a low-power state.
Click Add Device and choose a device from the same LAN.
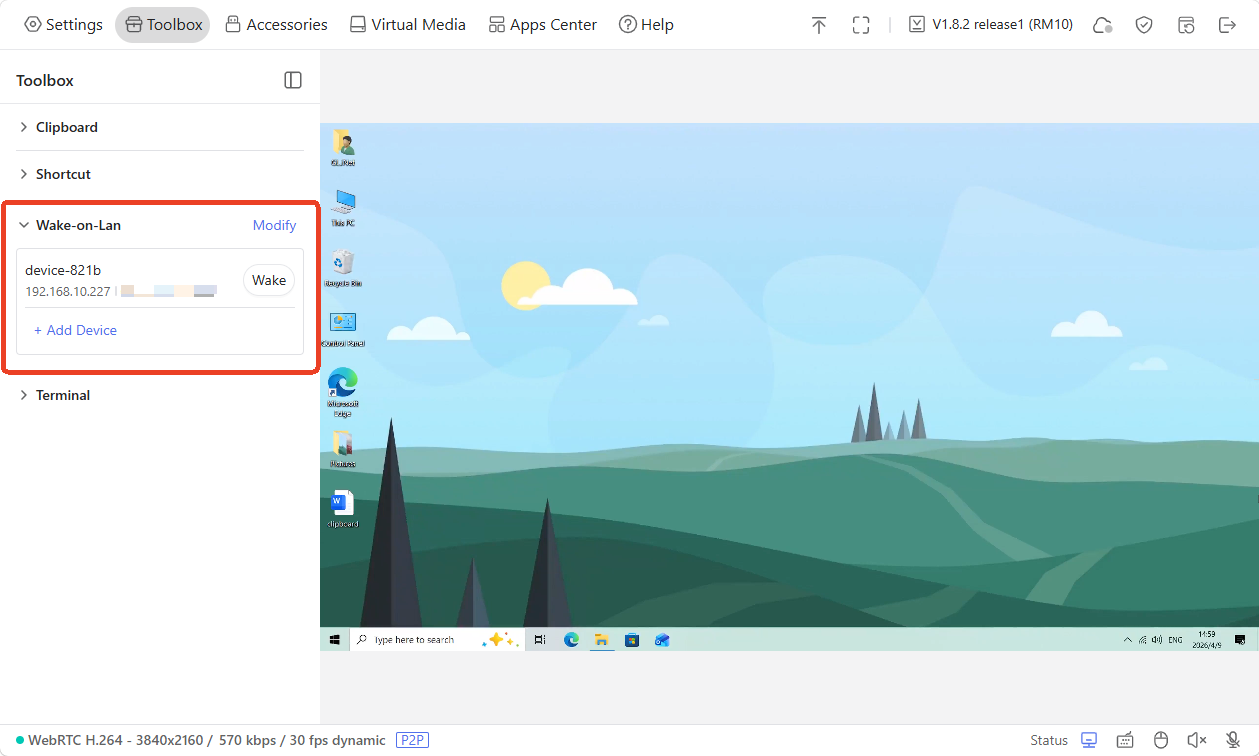
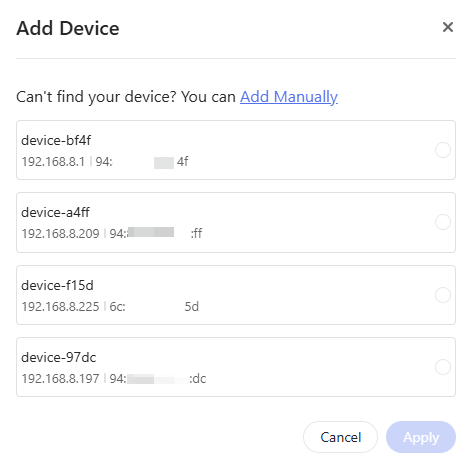
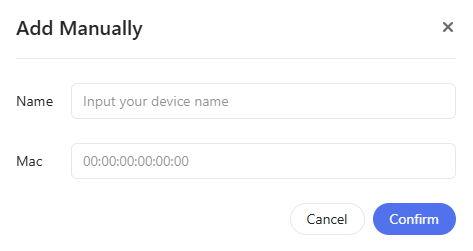
If the device you want to add is not in the list, click Add Manually and enter the device name and MAC address.
Terminal
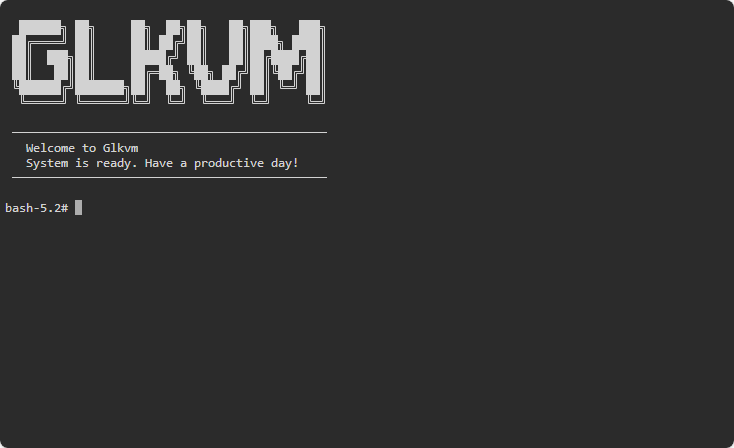
You can access Comet Pro's terminal to perform advanced settings. Click Access.

You will be redirected to the GLKVM terminal.
Accessories
GL.iNet offers optional KVM accessories to remotely control the device's power on/off.
First, see the corresponding user guide to connect the accessory to your controlled device.
Second, log in to the KVM console and navigate to Accessories. The accessory settings are only available after the accessory is installed.
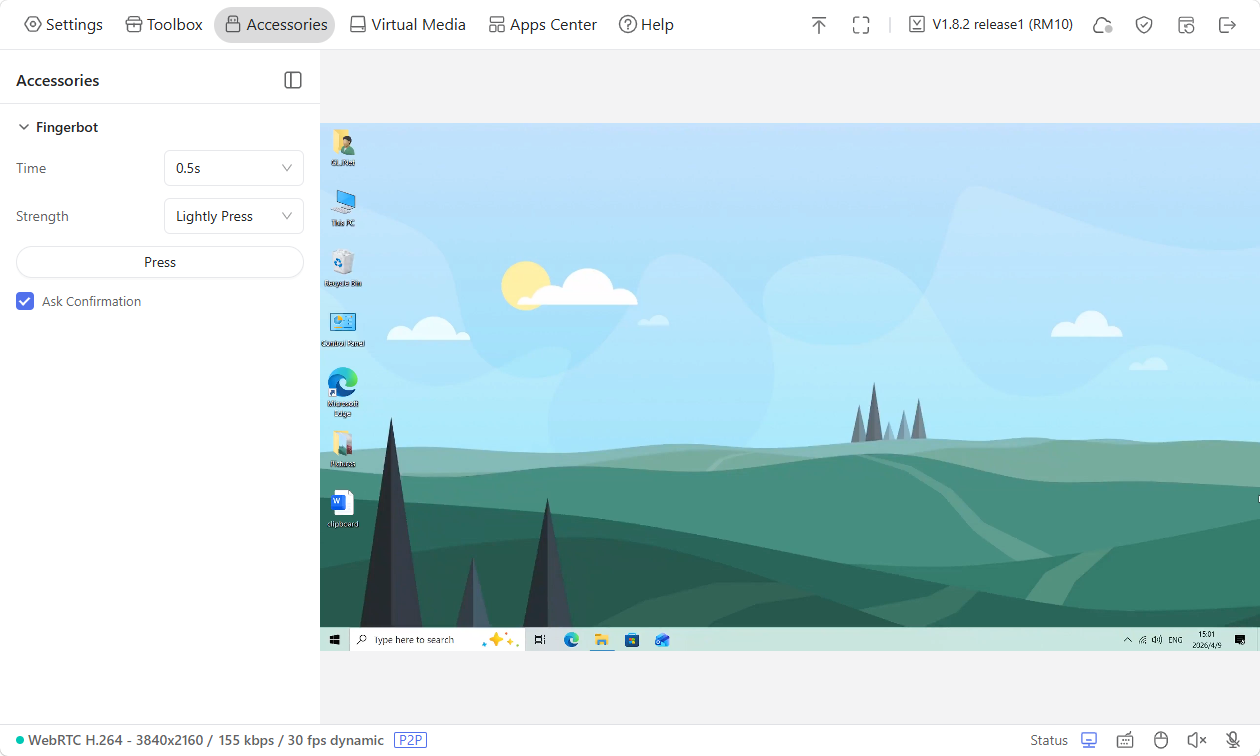
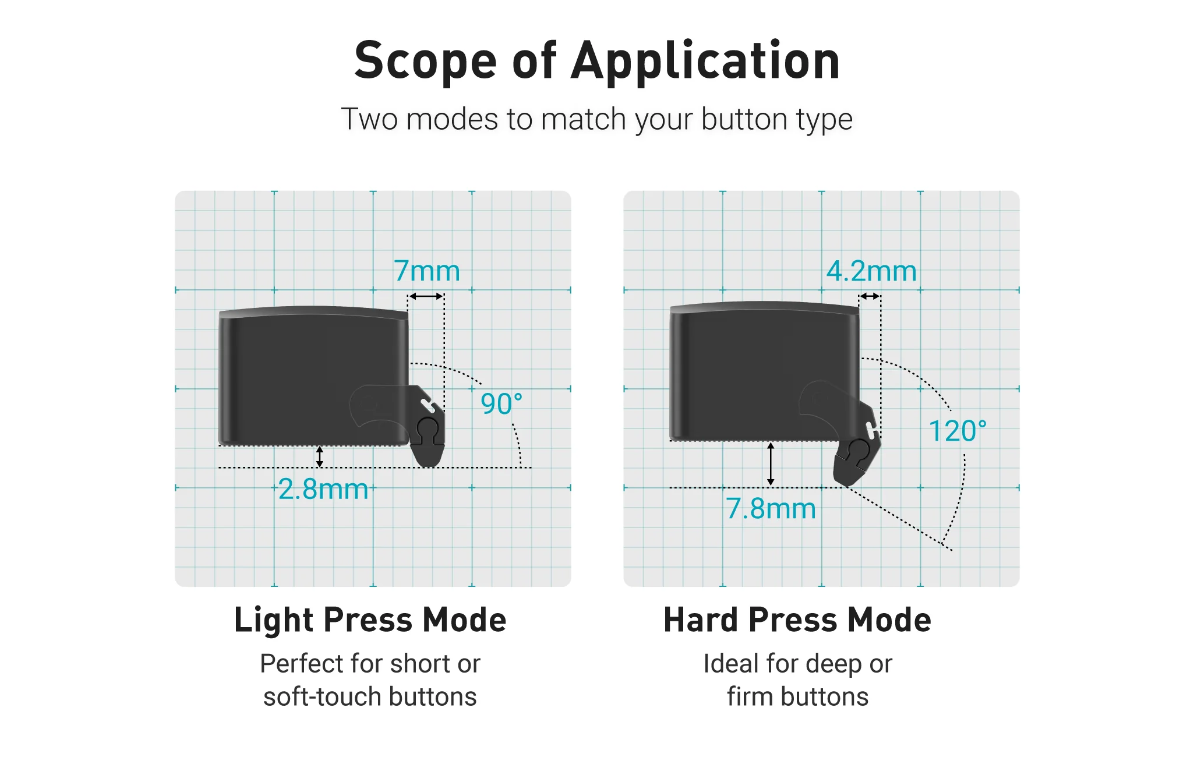
Fingerbot
The Fingerbot is adhered to the physical power button of the controlled device, to achieve remote control of the controlled device's power supply.
It works according to the settings on the console.
-
Time: The press duration of the Fingerbot. You can set it to 0.5s/3s/8s.
-
Strength: There are two levels of pressing strength: Lightly Press and Firmly Press.
-
Lightly Press: Perfect for short or soft-touch buttons.
-
Firmly Press: Ideal for deep or firm buttons.
-
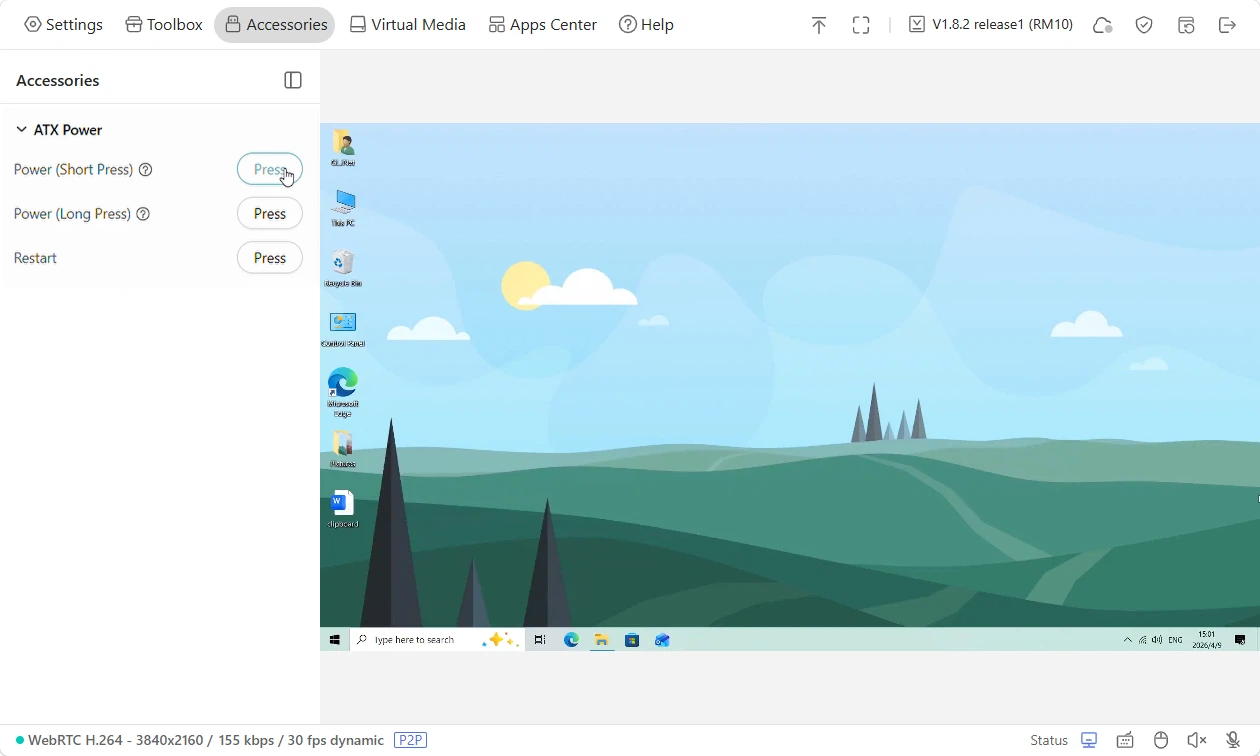
ATX Power
The ATX Board is installed in the computer case to remotely control the device's power on/off/reboot.
It works according to the settings on the console.
-
Power (Short Press): Used for regular power-on or system wake-up.
-
Power (Long Press): Performs a forced shutdown operation.
-
Restart: Restart the device.
Virtual Media
On the console, navigate to Virtual Media. Here you can perform the following operations:
File Sharing
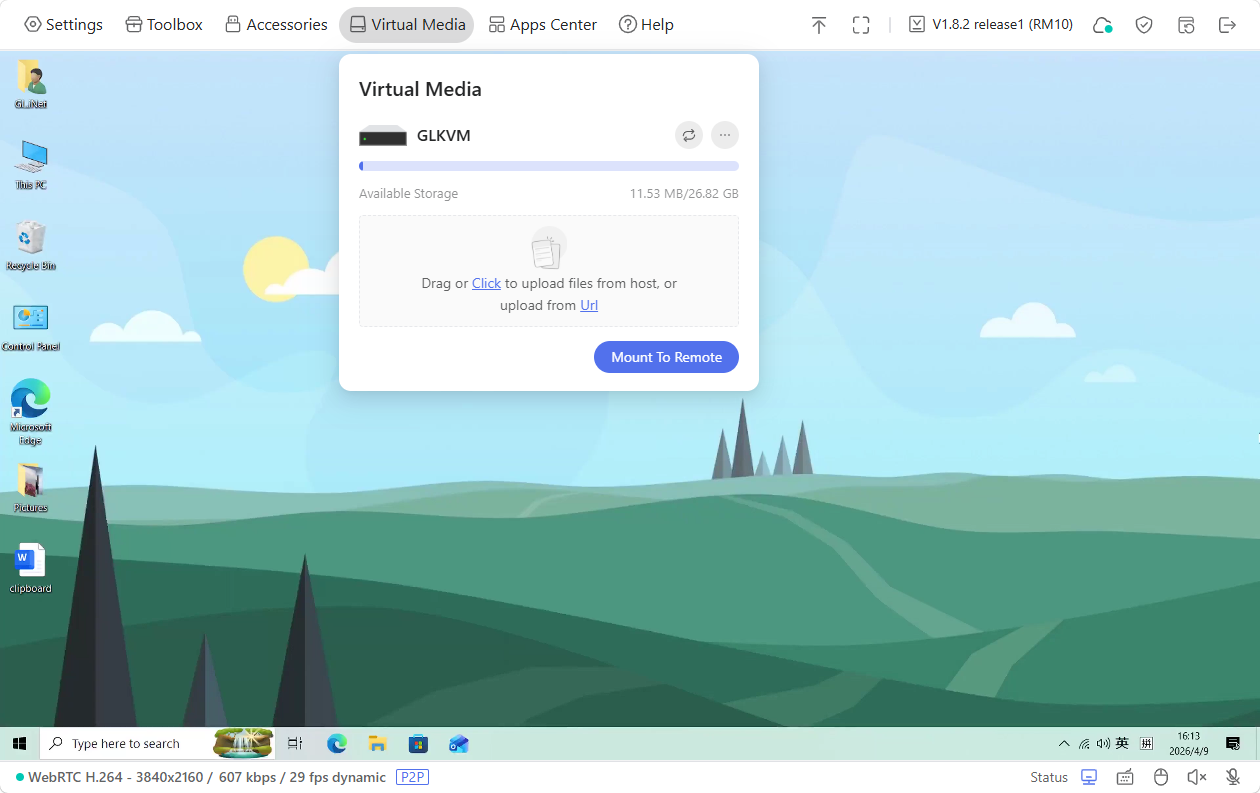
Comet Pro emulates a read-write USB drive, allowing you to share and manage files between the controlling device and the controlled device.
To share files from the controlling device to the controlled one, follow the steps below.
-
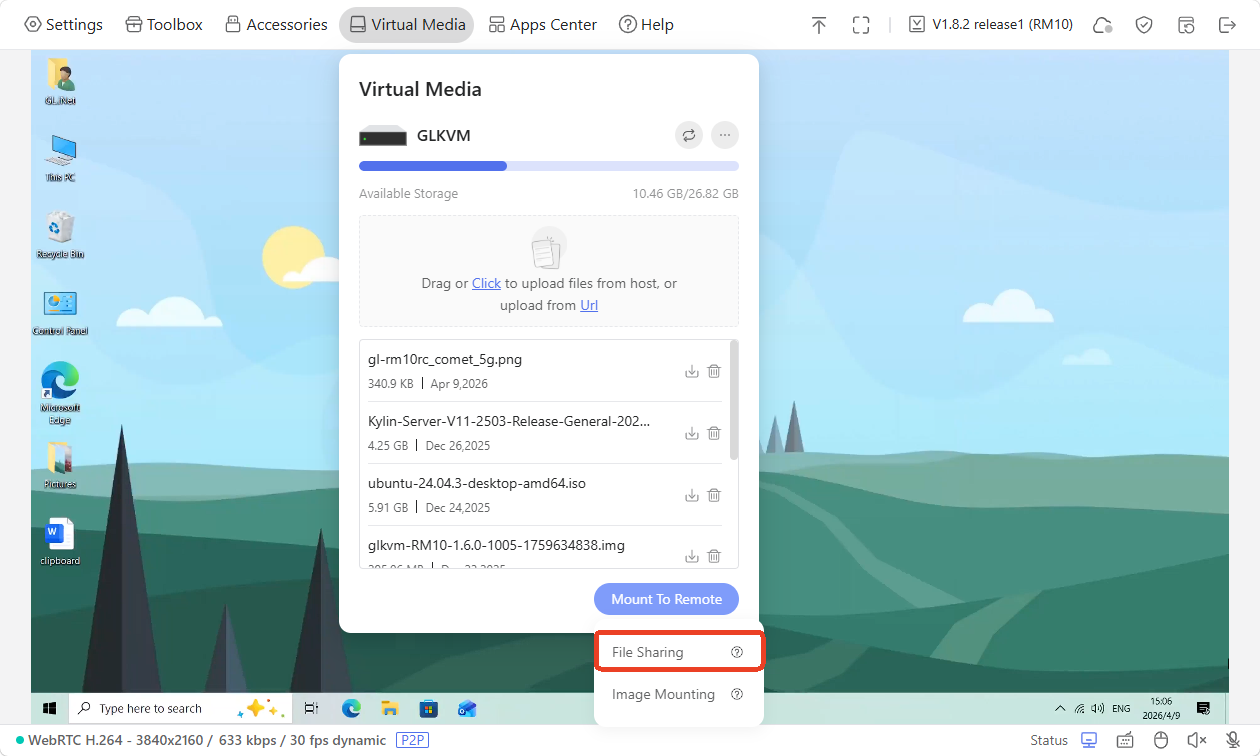
Drag or click the box to upload files from your controlling device or upload from URL.
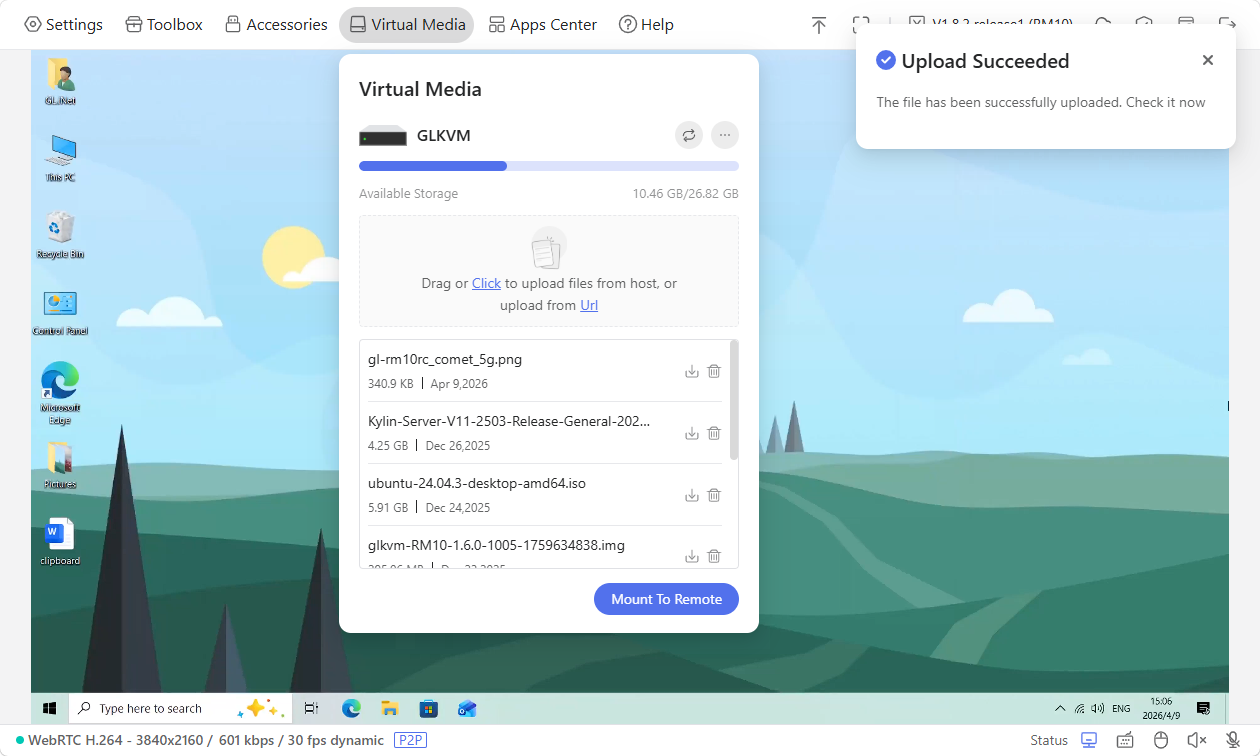
Once uploaded, the files will be displayed as follows.
-
Click Mount To Remote -> File Sharing.
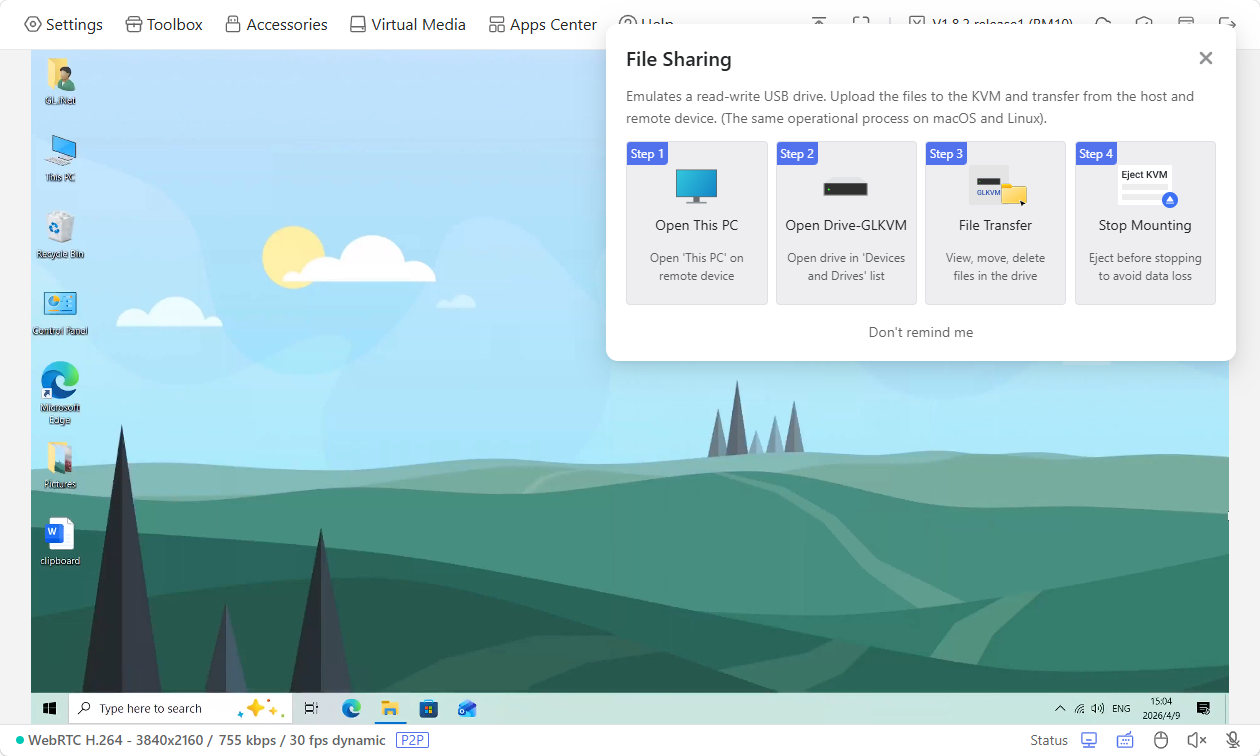
-
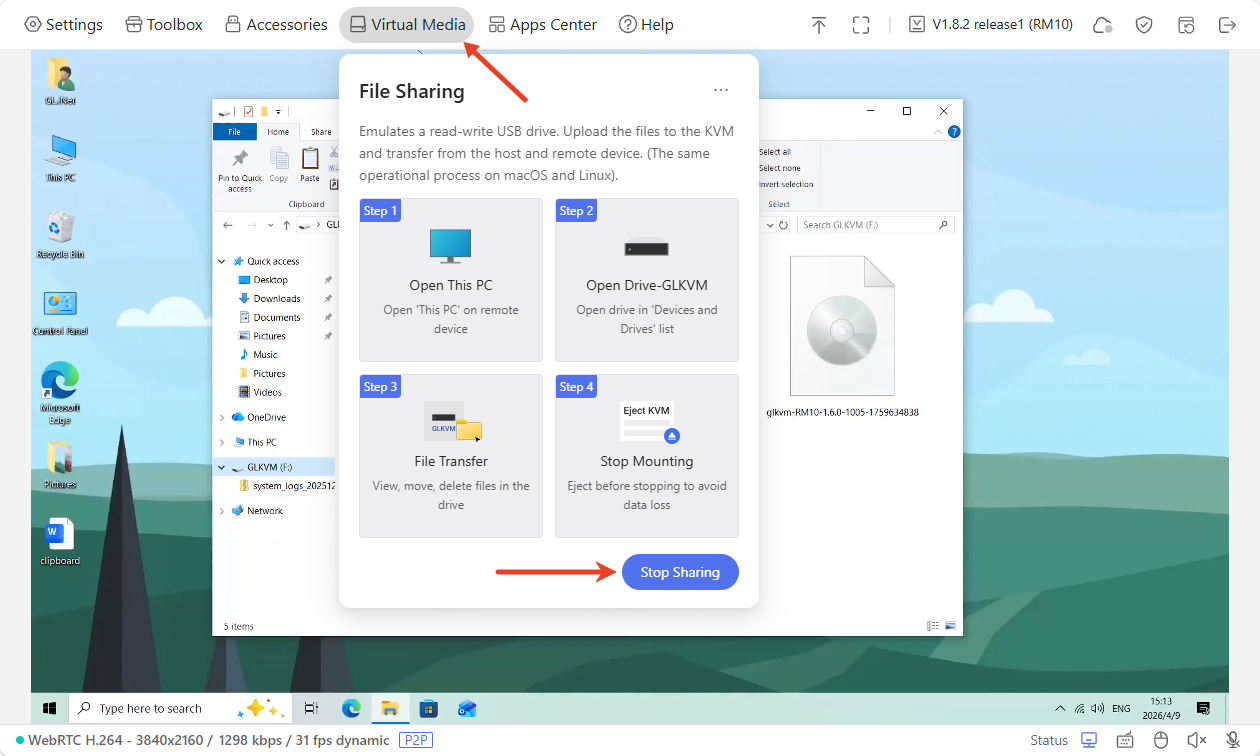
A window will pop up on the console, indicating the file sharing steps, as shown below.
-
Wait a second, and a drive named "GLKVM" will pop up on the screen automatically. You will then see the files you previously uploaded from the controlling device to Comet Pro have been shared to the controlled device. Now you can view, move or delete the files in this drive on the controlled device.
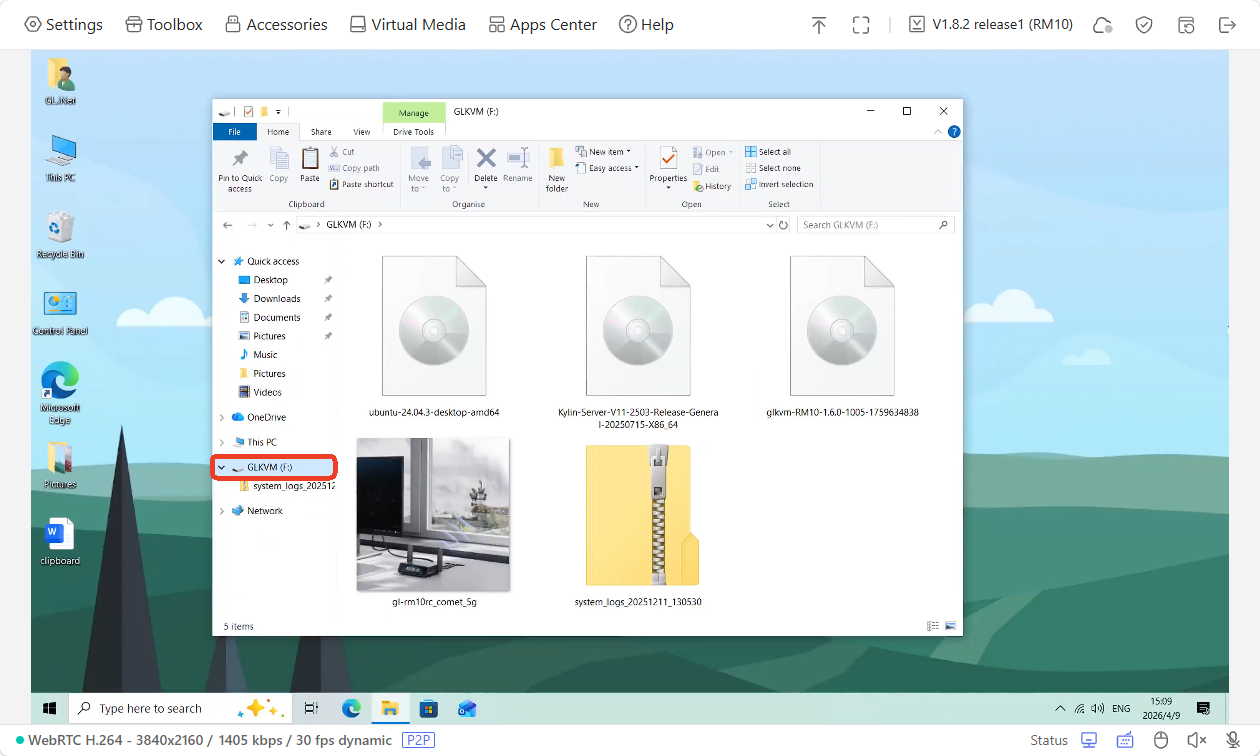
Tips: If the drive does not pop up automatically, go to This PC of your controlled device.
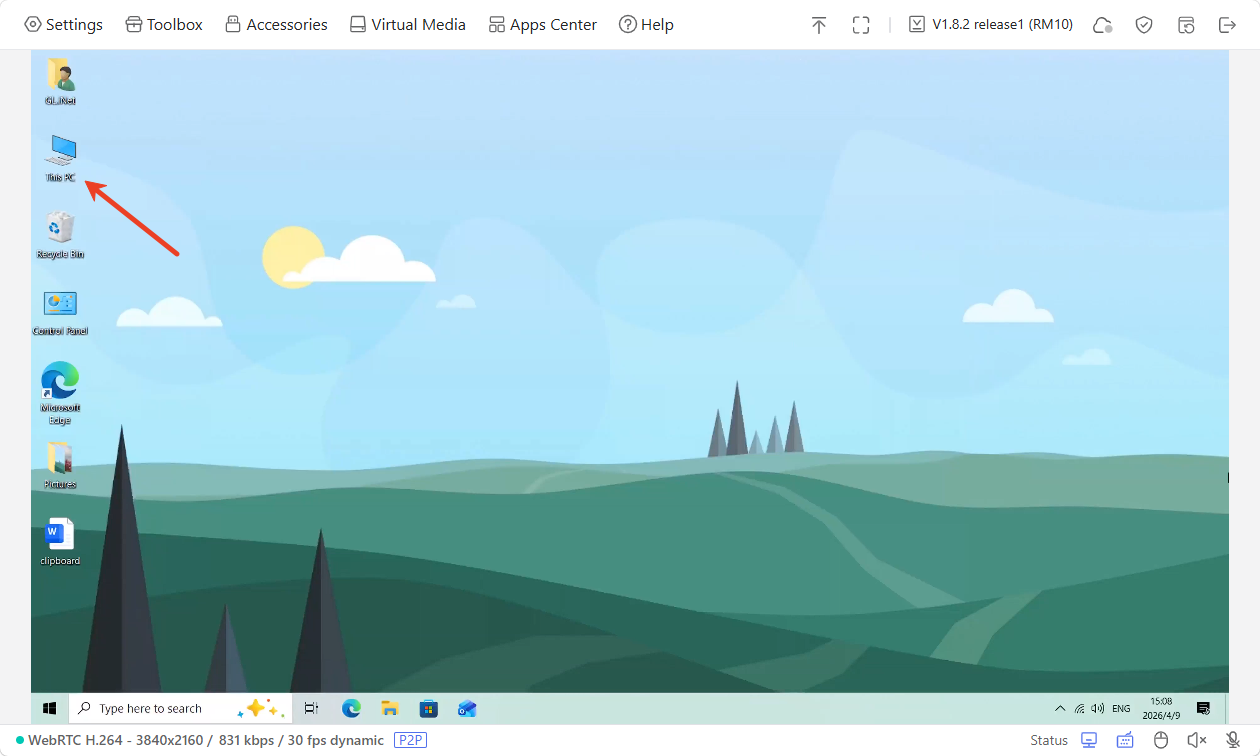
Then find a drive named GLKVM. Now you can view, move or delete the files in this drive.
-
If you want to stop the sharing, click Virtual Media in the toolbar and click Stop Sharing.
To share files from the controlled device to the controlling one, follow the steps below.
-
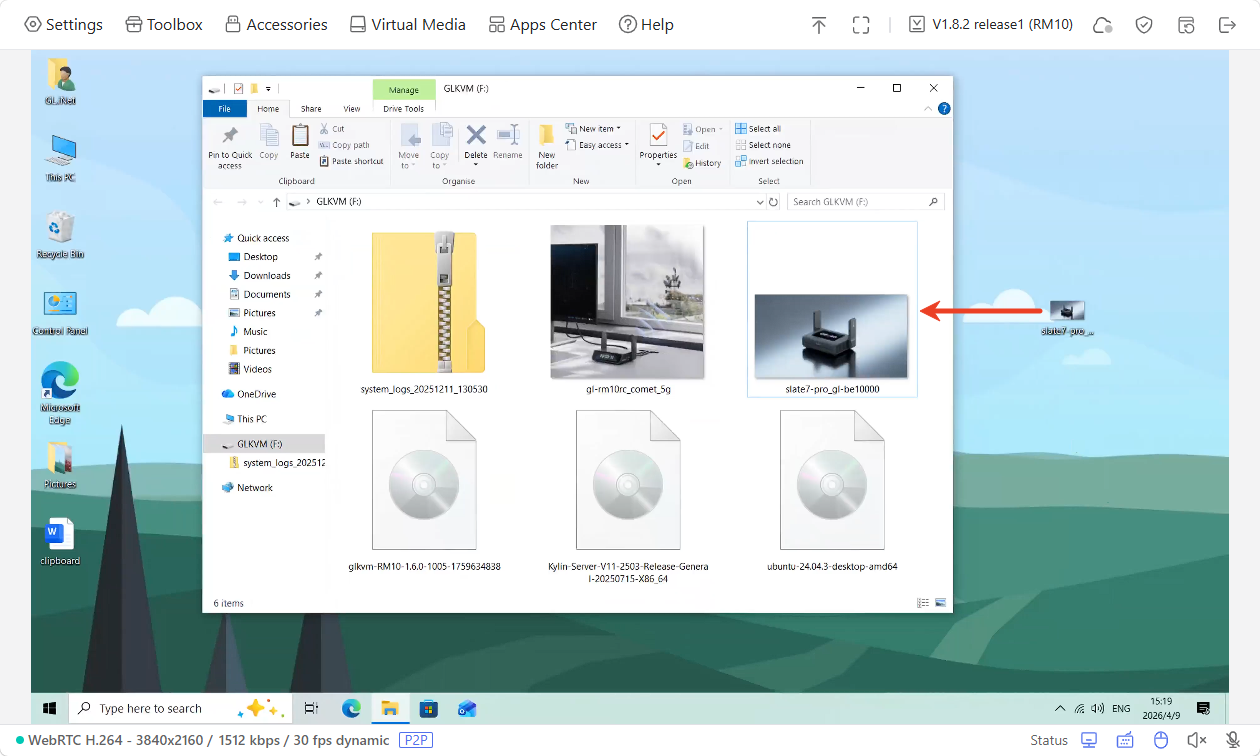
On the controlled device, move or copy the files you want to share into the drive GLKVM.
For example, an image named "slate7-pro_gl-be10000" has been moved from the controlled device's Desktop to the drive GLKVM.
-
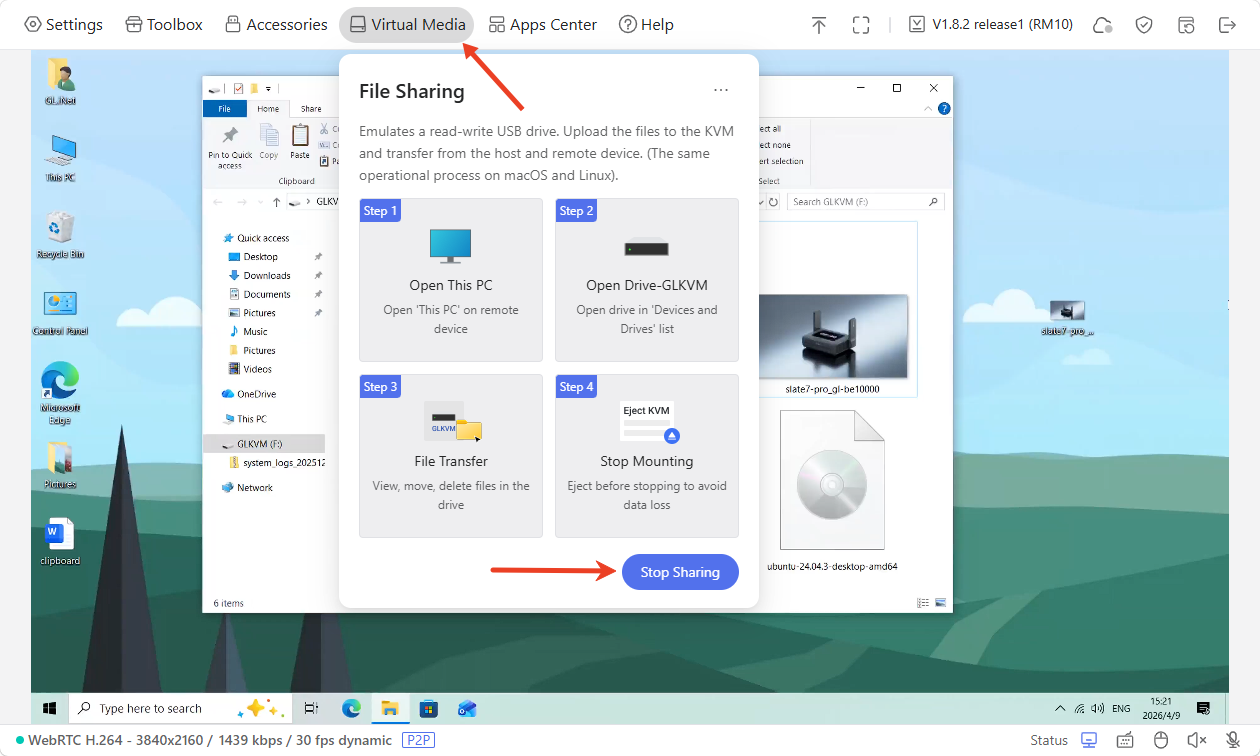
Turn to the Comet Pro's console, click Virtual Media in the toolbar and click Stop Sharing.
-
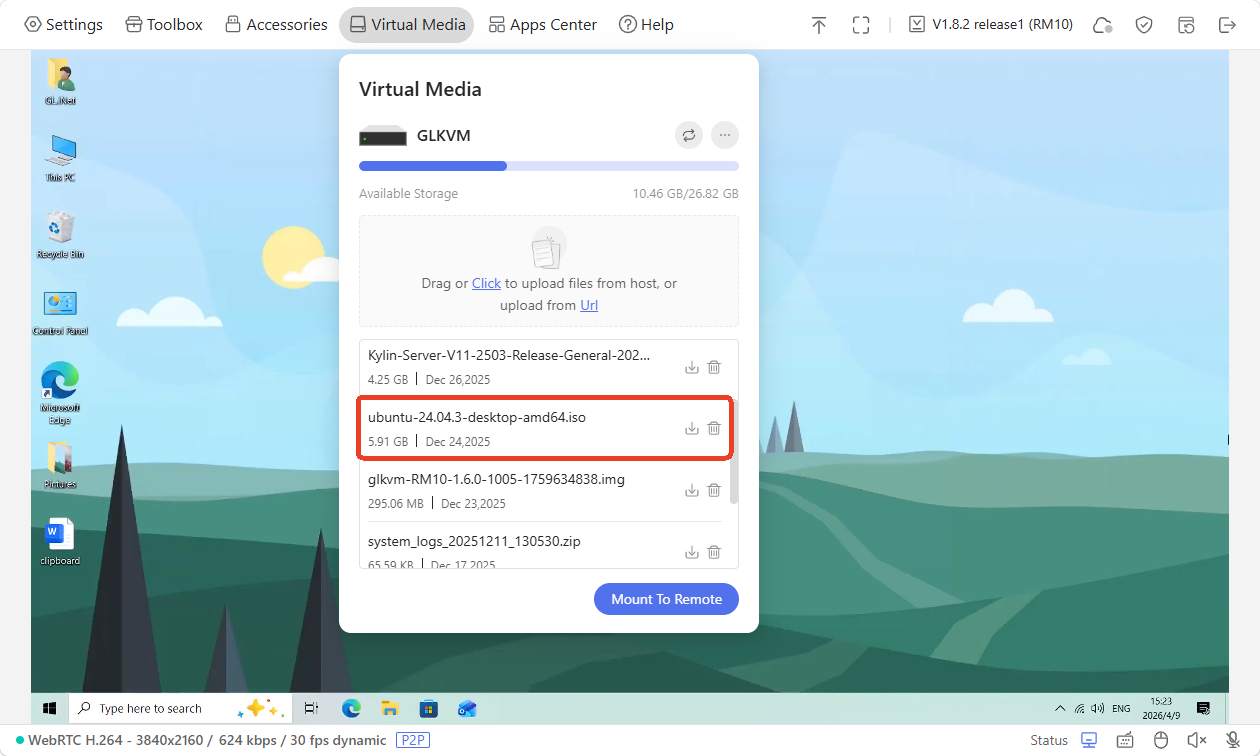
This file will then be displayed under the Virtual Media, as shown below. Now you can download this file from Comet Pro to your controlling device.

Image Mounting
Comet Pro can simulate a read-only virtual CD/DVD or a disk drive on the controlled device. You can access this drive during the BIOS or UEFI startup process.
This function can help you reinstall the operating system or mount an ISO to install applications on the device being controlled, or perform other tasks.
-
Drag or click the box to upload files. Ensure this file can be mounted as an iso format.
Once uploaded, the files will be displayed as follows.
-
Click Mount To Remote -> Image Mounting.

-
In the pop-up window, select the file and click Mount Image.
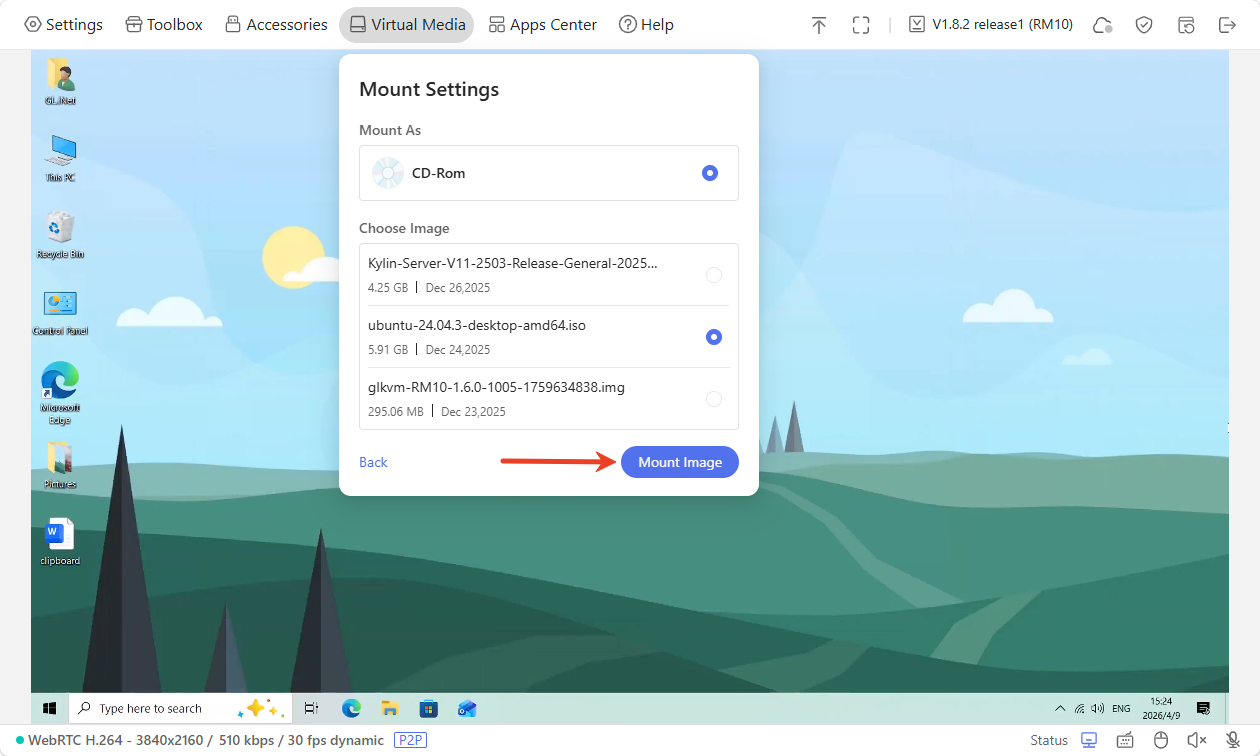
-
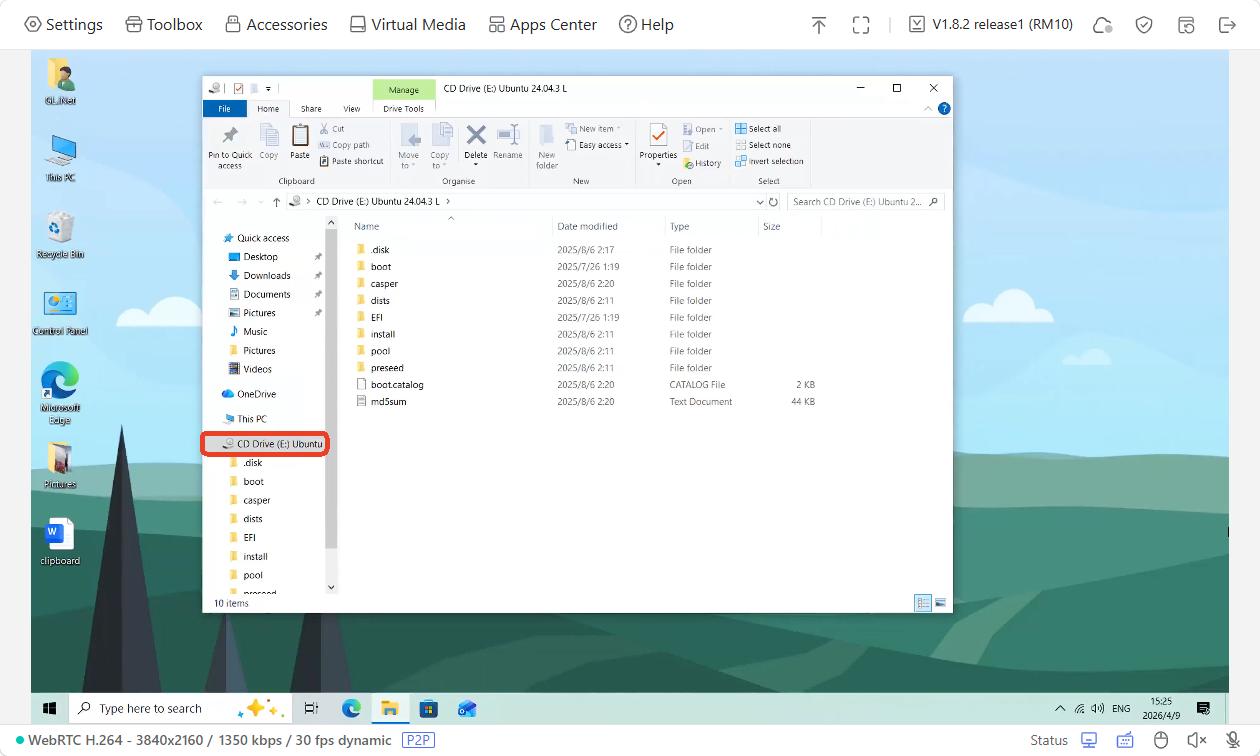
Now you can use this file from the CD drive on the controlled device.
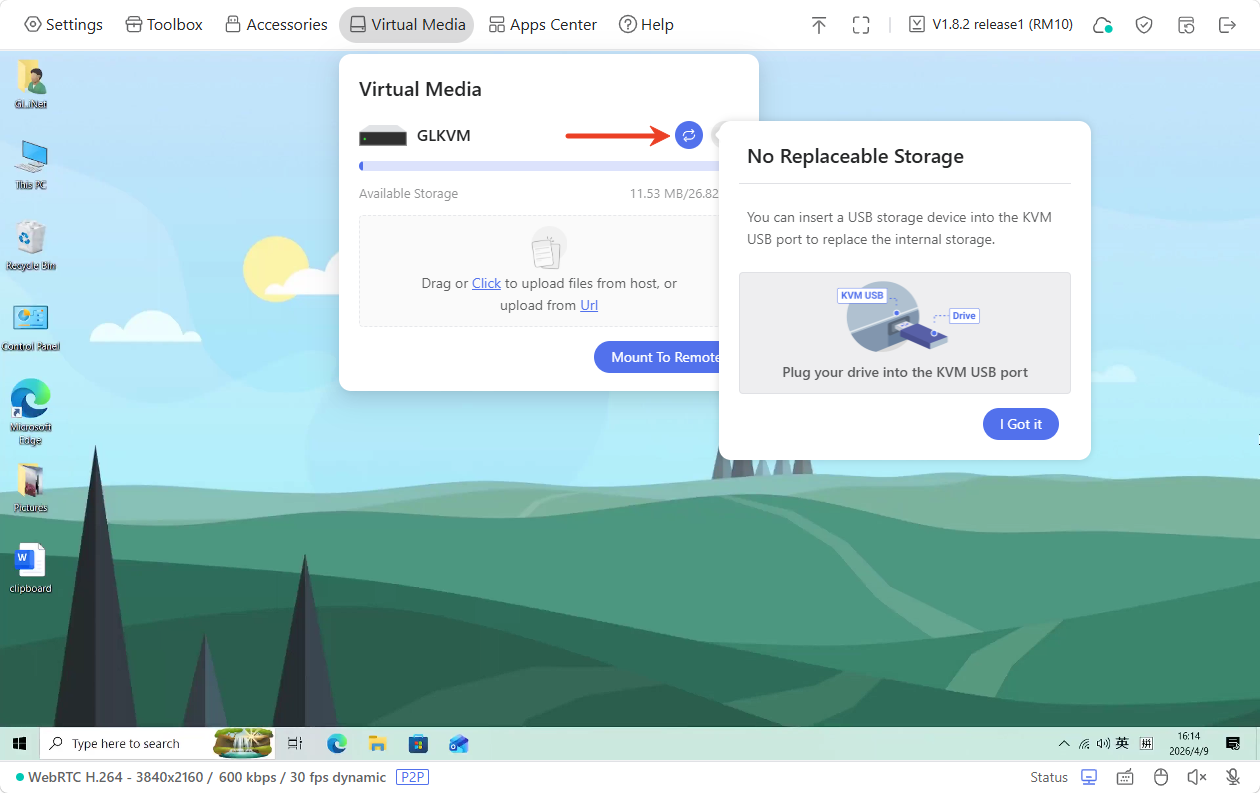
Replace Storage Drive
You can insert a USB storage device into the KVM USB port to replace the internal storage.
Format Disk
You can format the disk or disable the virtual media with one click.
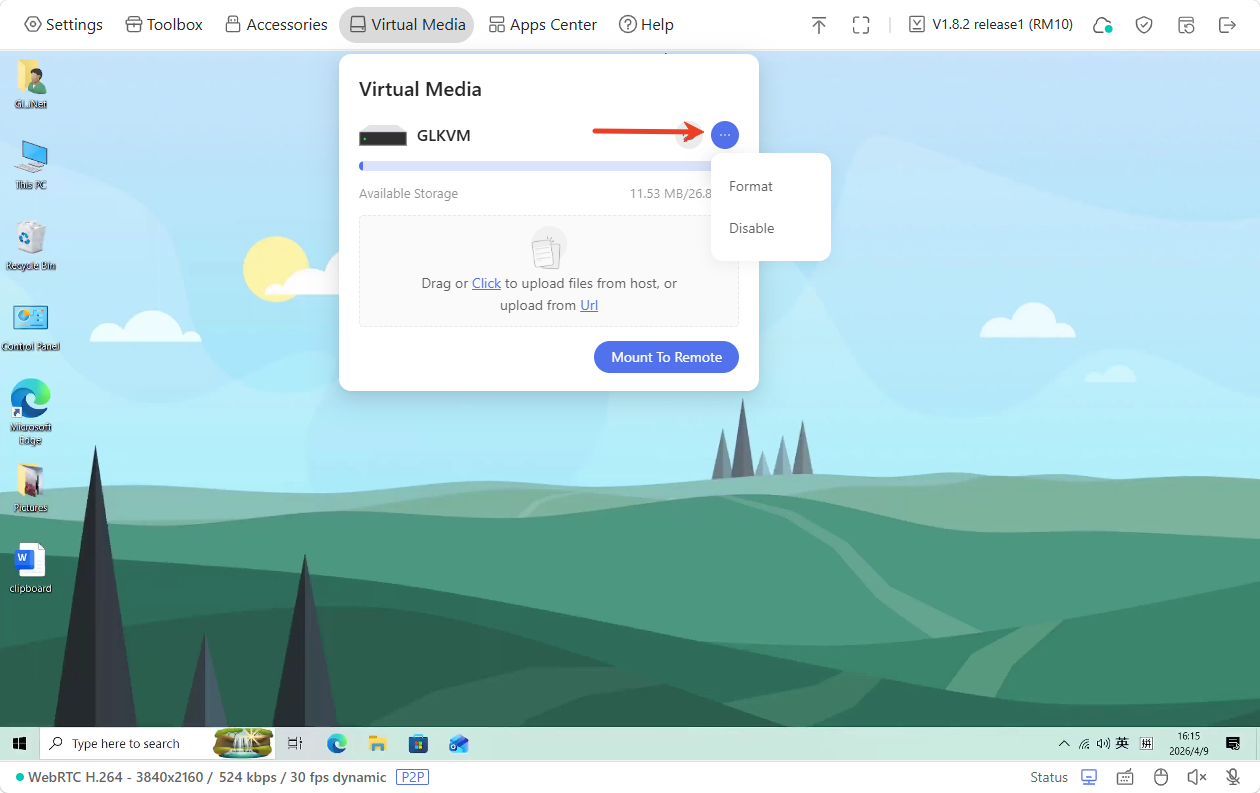
-
Format: Erase all data on the disk and reinitialize its file system structure.
-
Disable: Disable the virtual media will immediately reboot the KVM device.
Apps Center
On the console, navigate to Apps Center. The integrated applications can be found here.
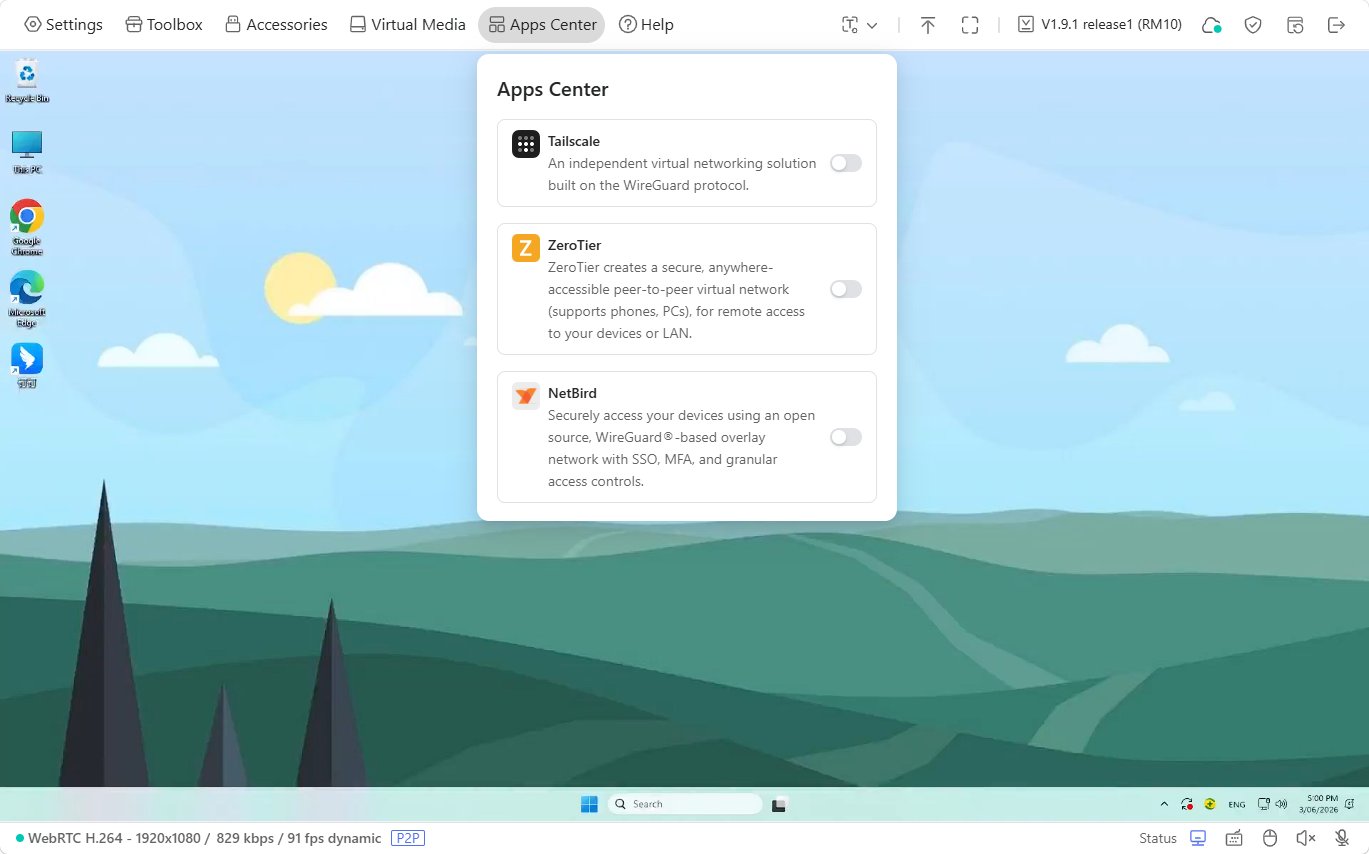
Tailscale
Tailscale is a WireGuard-based mesh VPN service that builds encrypted peer-to-peer private networks across devices without port forwarding or complex firewall setup.
Comet Pro integrates with Tailscale, allowing you to access it remotely through the Tailscale virtual network.
Simply bind Comet Pro and your controlling device to the same Tailscale account, then you can remotely access your Comet Pro by entering its Tailscale virtual IP into a web browser on the controlling device, without installing the GLKVM app. See here for details.
After binding, the console displays the linked Tailscale account and unlocks advanced features including Exit Node and Subnet Routes.

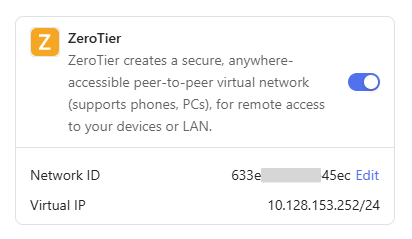
ZeroTier
ZeroTier creates encrypted overlay virtual networks to connect scattered devices globally as if they are inside the same local area network.
Comet Pro integrates with ZeroTier, allowing you to access it remotely through the ZeroTier virtual network.
Simply join Comet Pro and your controlling device to the same ZeroTier network, then you can remotely access your Comet Pro by entering its ZeroTier IP in a web browser on the controlling device, without installing the GLKVM app. See here for details.
After binding, the console displays the ZeroTier Network ID and Virtual IP.
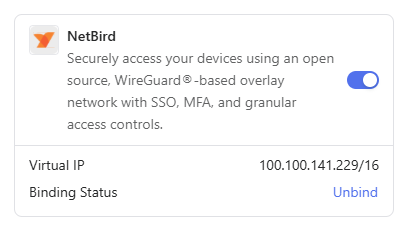
NetBird
NetBird is an open-source zero trust networking platform that lets you build secure private networks for home and business use. As a WireGuard®-based overlay network, NetBird enables secure access to your devices anytime and anywhere.
Comet Pro integrates with NetBird, allowing you to remotely access it through NetBird virtual network. See here for details.
After binding, the console displays the NetBird Virtual IP.
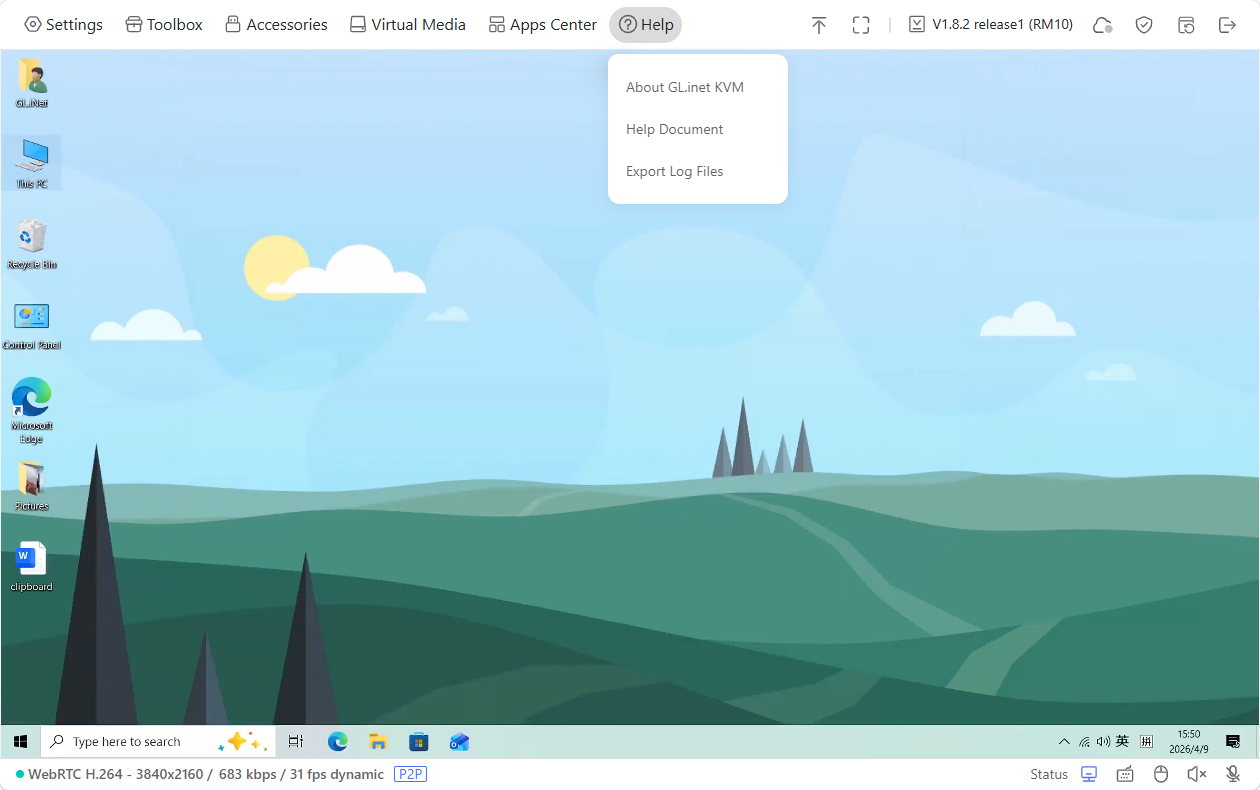
Help
On the console, navigate to Help. Here you can find more information about GL.iNet KVM and help documentation, as well as export logs for troubleshooting.
Toolbar
On the console, navigate to the top right corner to access the following tools:
- Text Recognition
- Collapse Toolbar
- Fullscreen
- Upgrade
- Cloud Service
- Security
- Reboot
- Logout
Text Recognition
The Text Recognition feature allows you to select an area on the remote screen and extract text from it easily. It is powered by Optical Character Recognition (OCR) technology and was introduced in firmware v1.9.0.
To use it, click the downward arrow to select your preferred recognition language, such as Chinese, English, or bilingual (Zh/En).
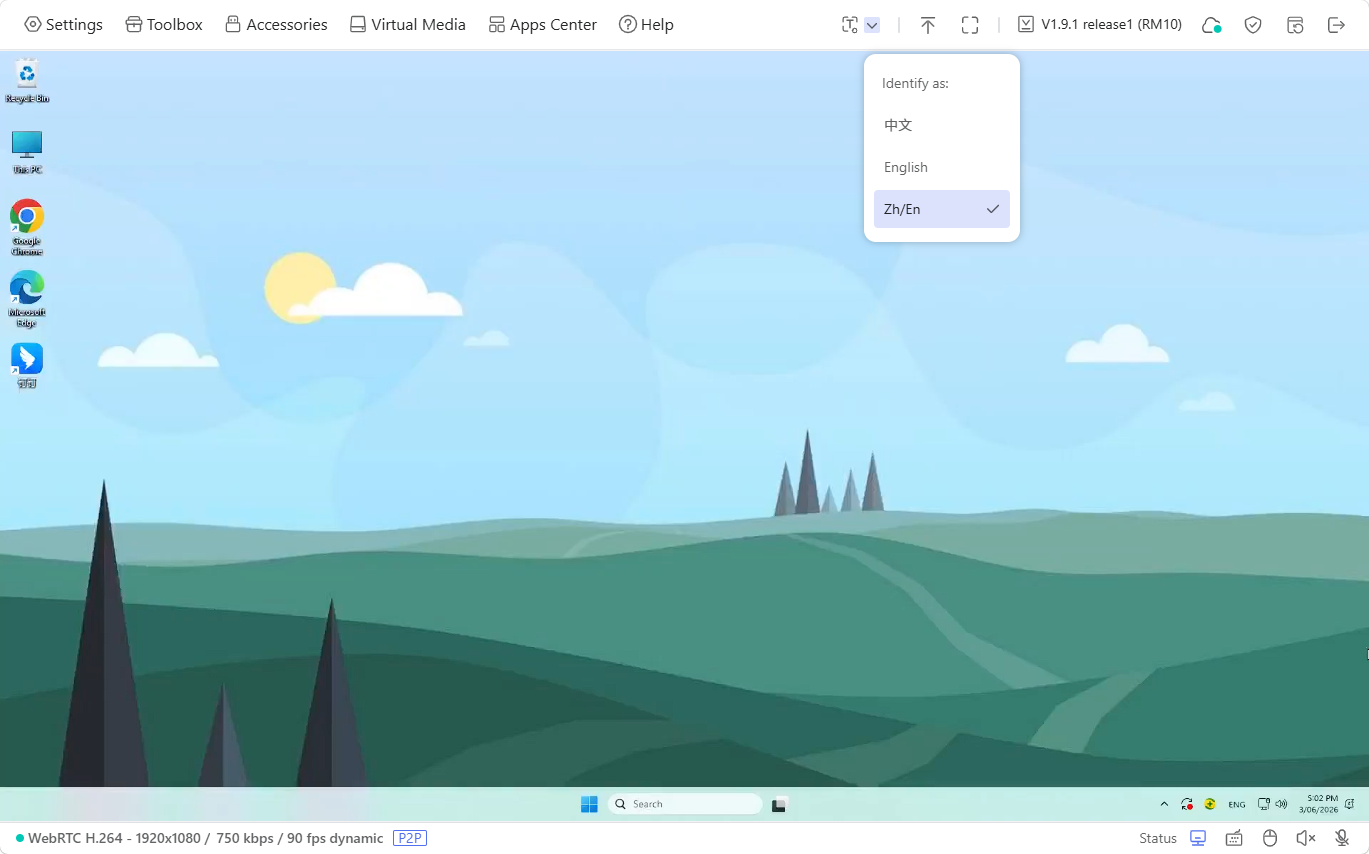
Next, click the "T" icon and the remote screen will dim. Draw a box around the text you want to extract, and the system will identify it automatically. You can then copy the recognized text as needed.
With this feature, you can easily capture text from the remote screen (i.e., the controlled device) and copy it to the local controlling device.
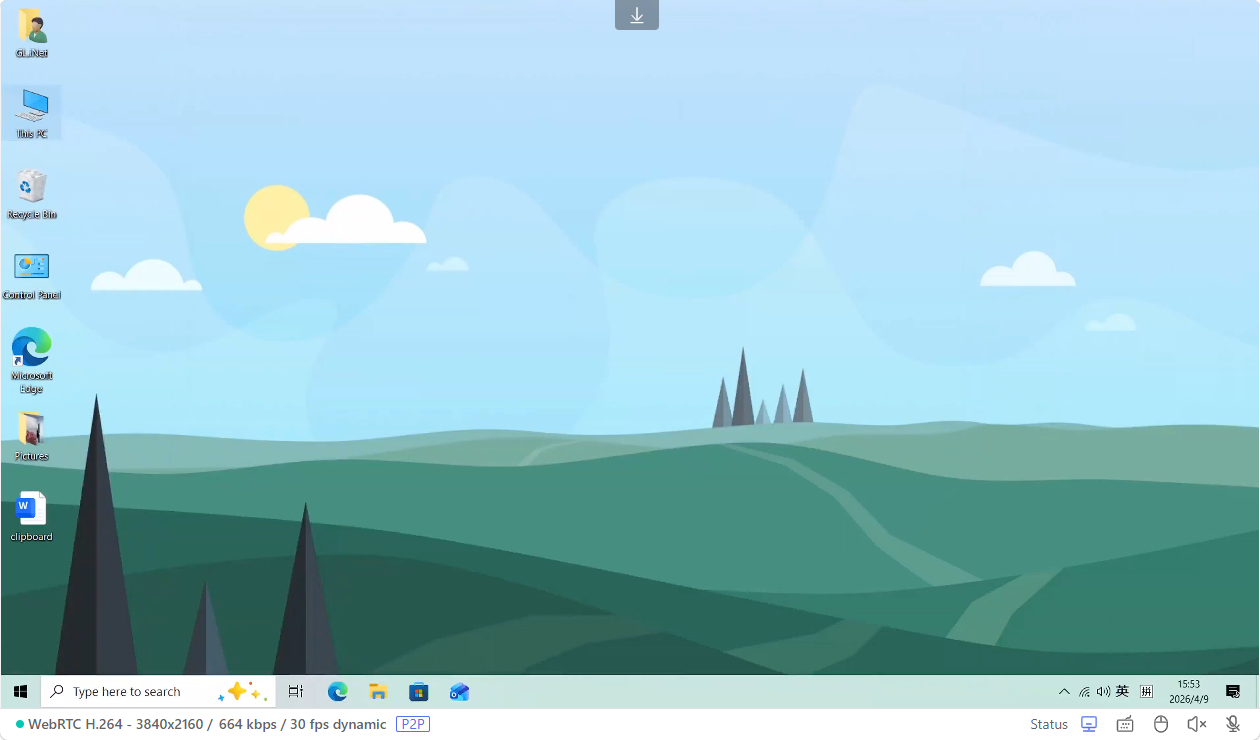
Collapse
Click the upward arrow icon in the top right corner to collapse the toolbar.

When the toolbar is collapsed, click the downward arrow icon at the top to expand it.
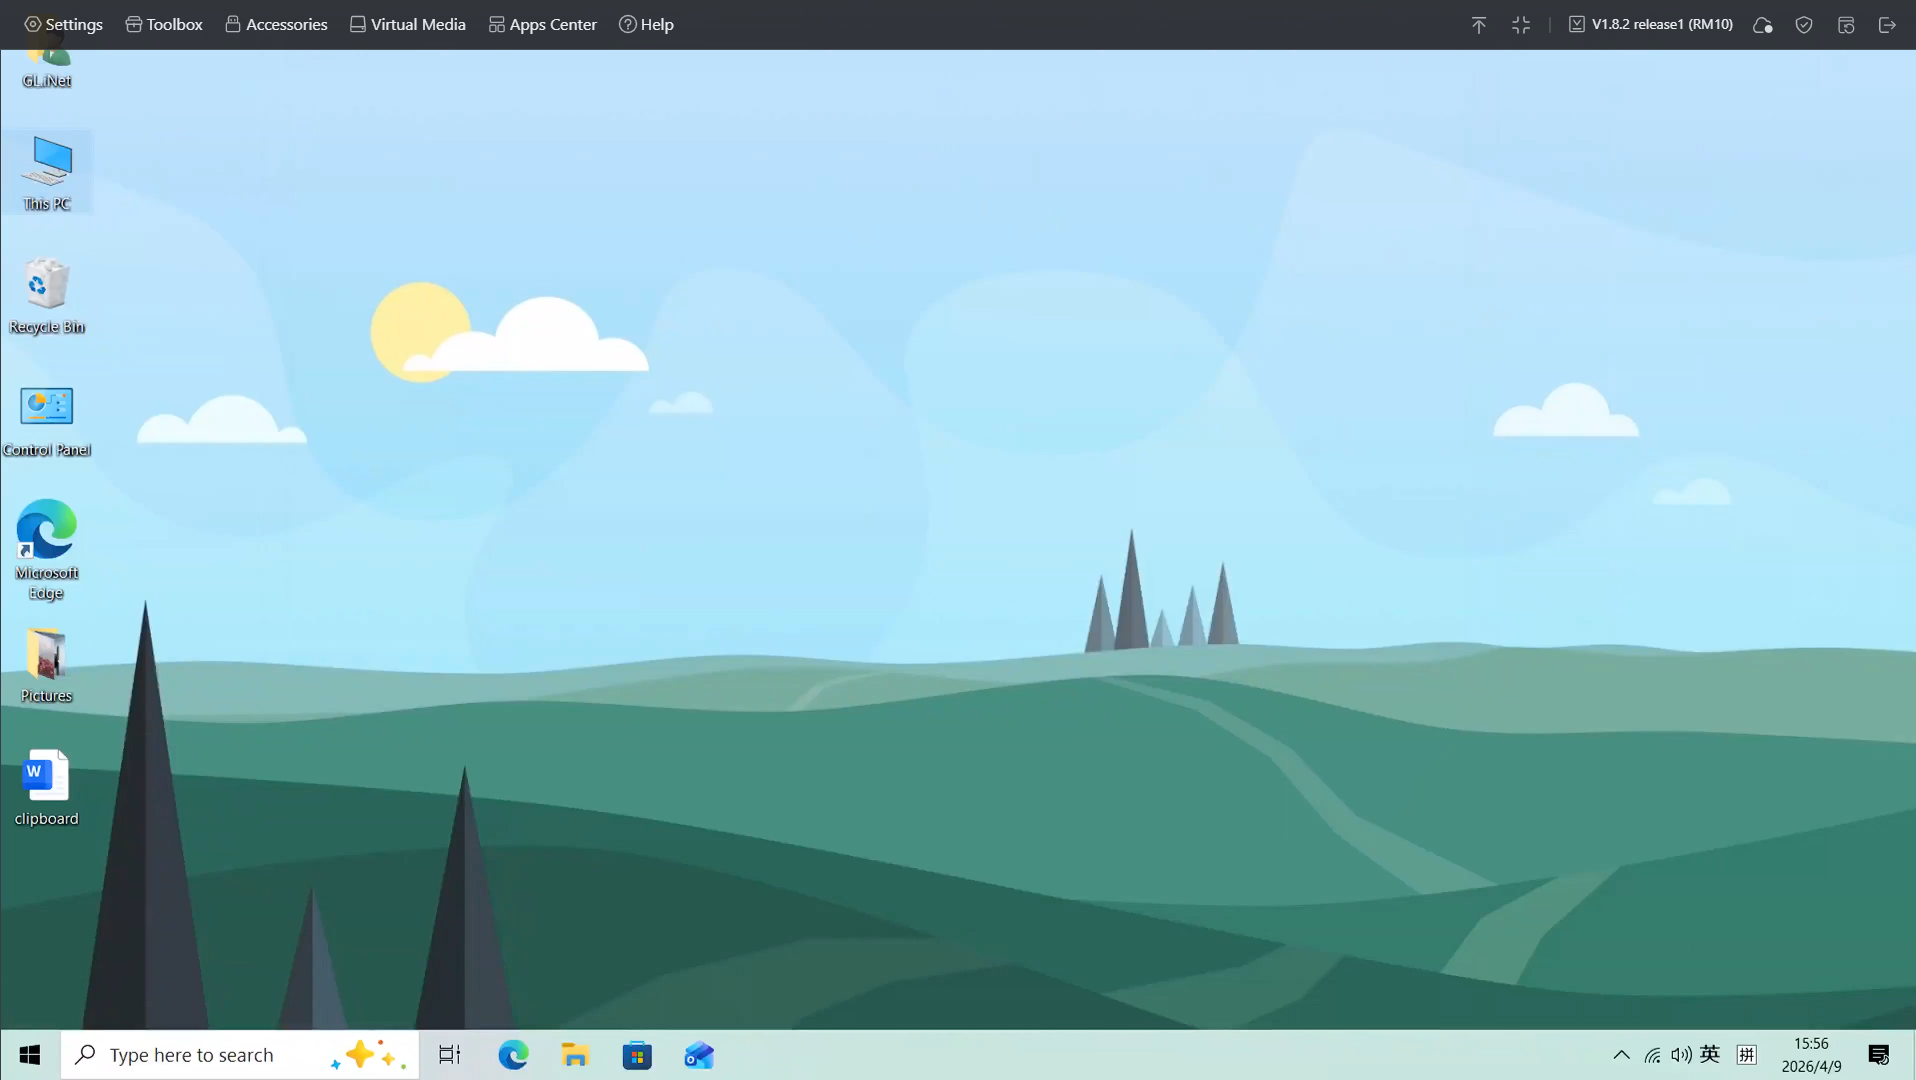
Fullscreen
Click the fullscreen icon (square-shaped) in the upper right corner to switch to fullscreen mode.
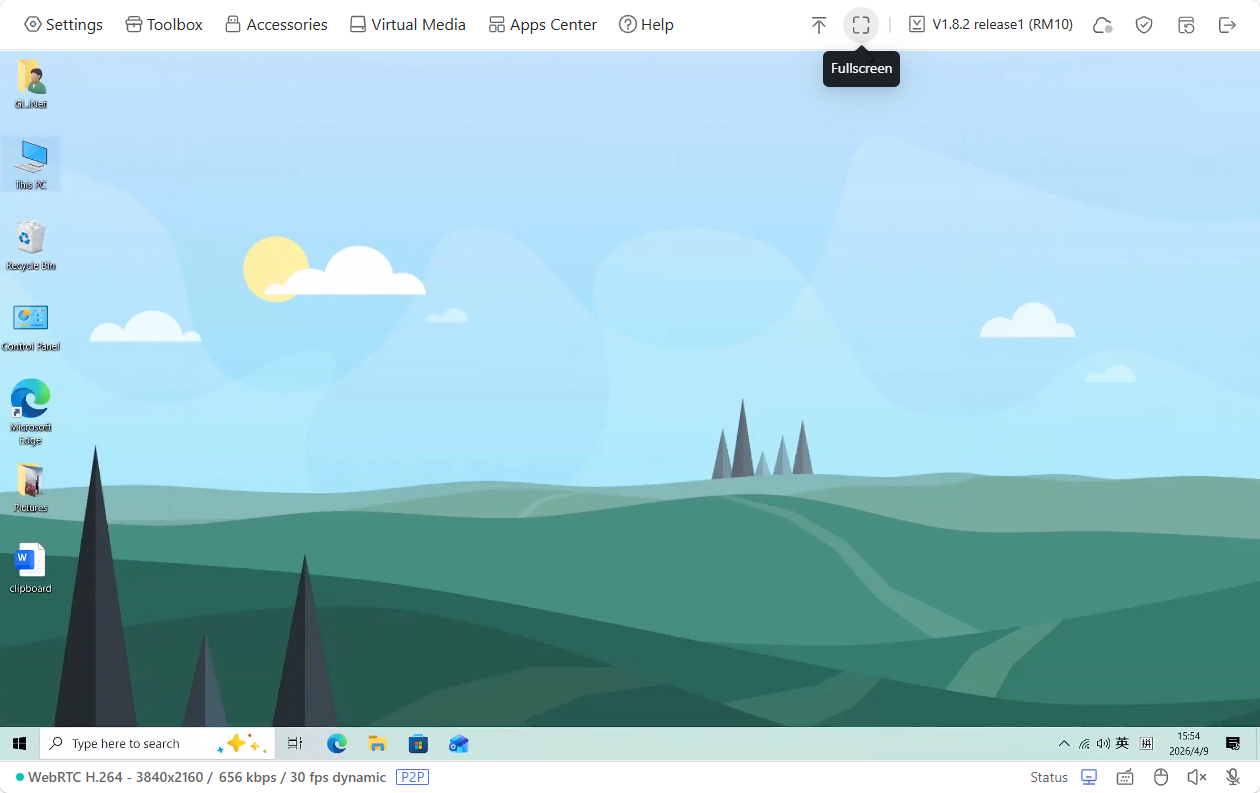
To exit fullscreen, press and hold the Esc key, or click the exit fullscreen icon (grid-shaped) in the upper right corner.
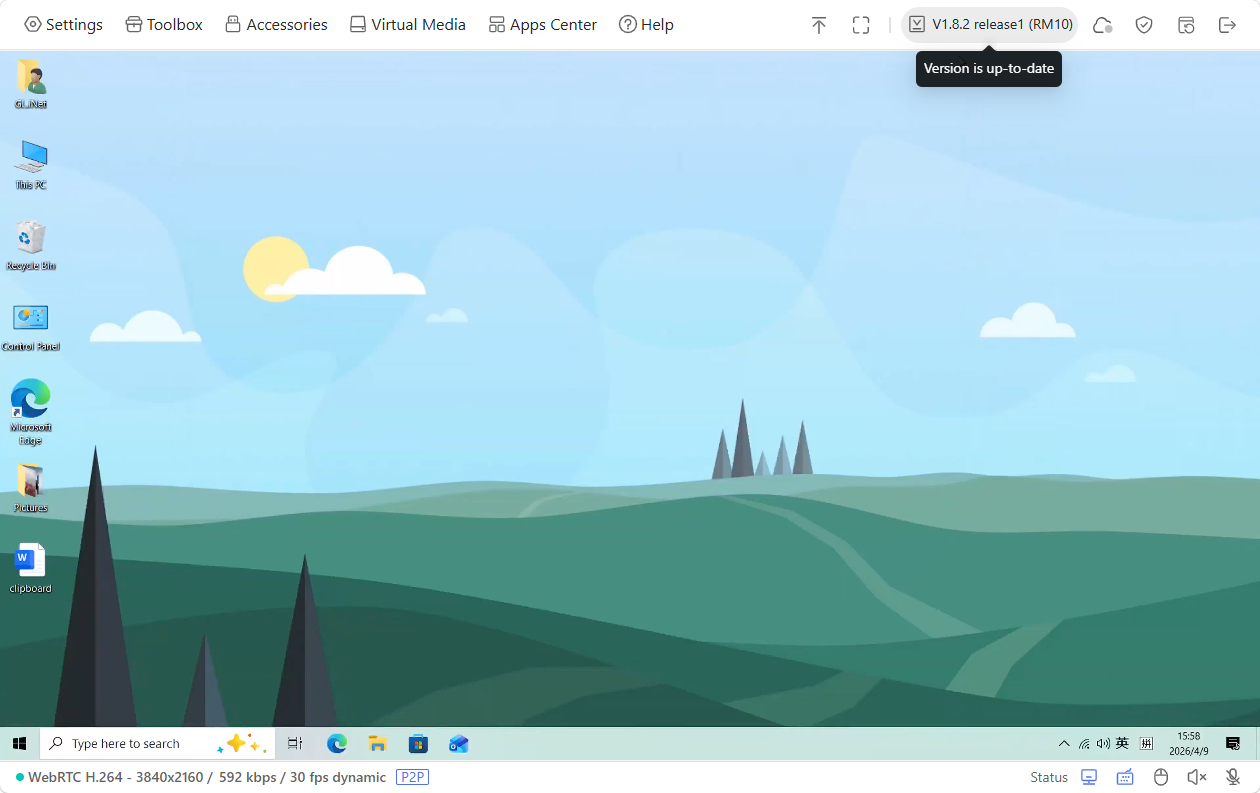
Upgrade
Click the firmware version in the upper right corner to check for updates.
In the pop-up window, you can click Update Settings to perform a local upgrade, join Beta program, or save current configuration.

Download the latest firmware from the Firmware Download Center before performing a local upgrade.
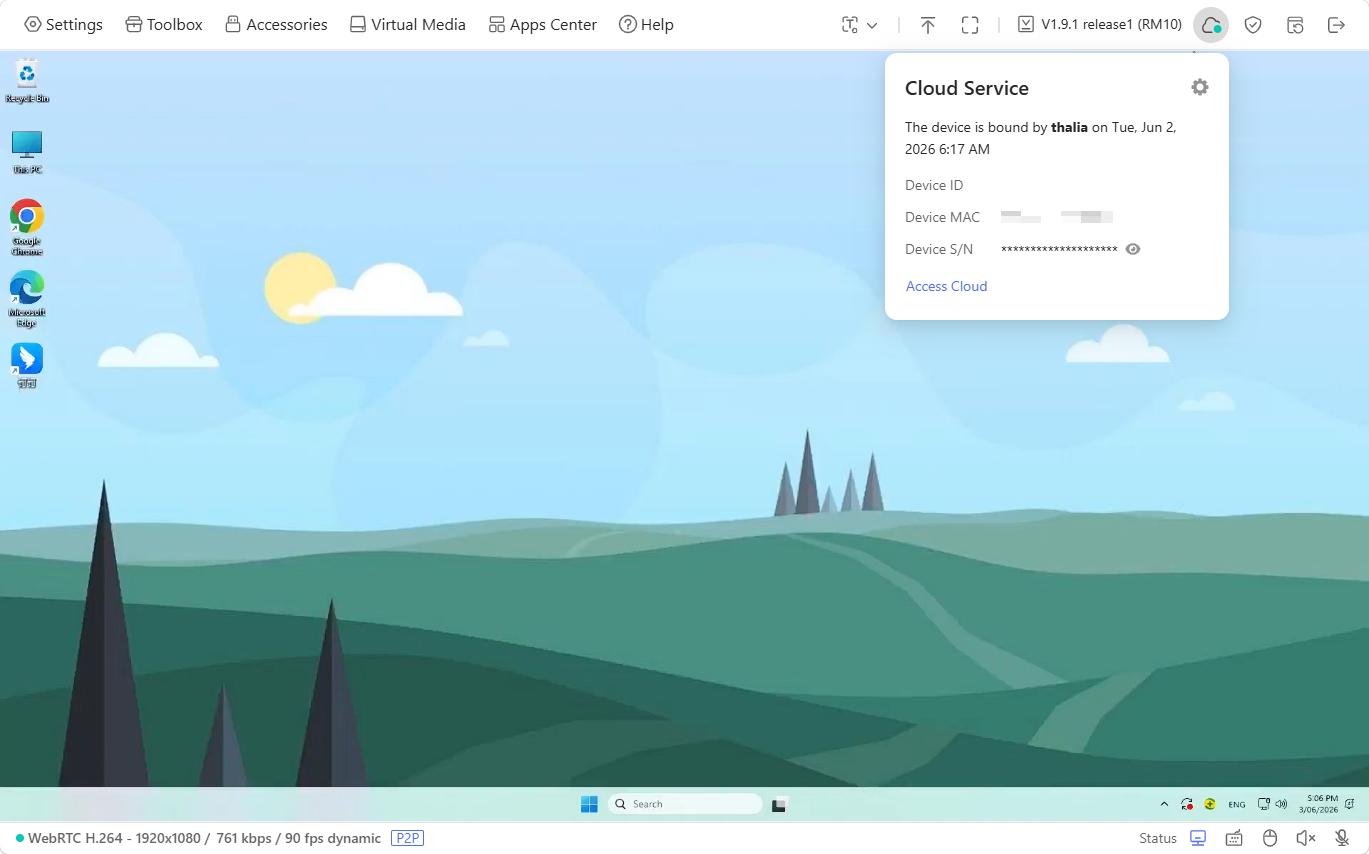
Cloud Service
GL.iNet KVM Cloud allows you to access the controlled device remotely. See here for details.
Once your Comet Pro is bound to the Cloud, the console will display the cloud status as follows.
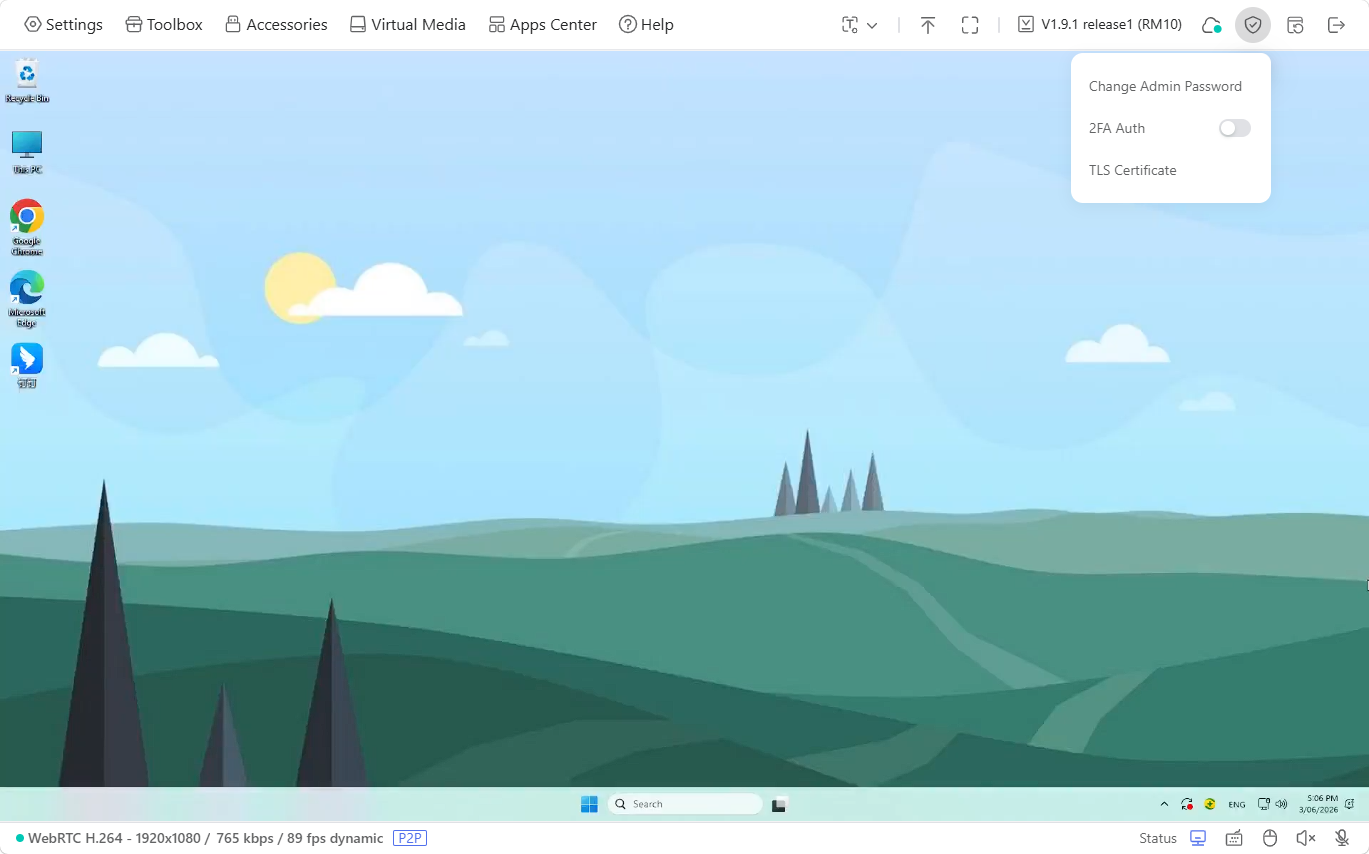
Security
The security allows you to change admin password, enable two-factor authentication, and customize TLS certificate.
-
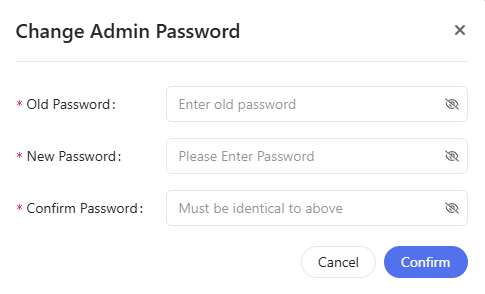
Change Admin Password
-
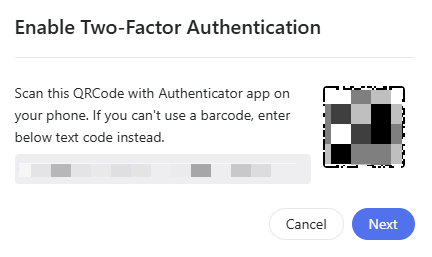
2FA: Enable two-factor authentication to protect your account.
-
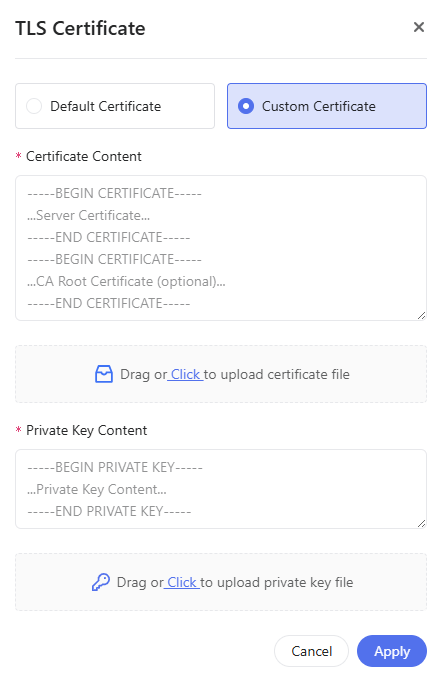
TLS Certificate
The system will use the pre-installed default certificate for browser access. If you want to customize the TLS certificate for web browser access, click TLS Certificate in the upper right corner of the console, select Custom Certificate, then upload your certificate file & private key file.