How to unbrick KVM via USB OTG
This tutorial explains how to unbrick a GL.iNet KVM device using USB OTG. This method is suitable for situations where the KVM device is bricked and cannot be restored via a standard firmware update or U-Boot safe mode.
Supported devices
- RMQ1
Prerequisites
Please prepare the following tools to unbrick the device.
- A computer running Windows, macOS, or Ubuntu
Note
-
Do not connect the RMQ1 to a power adapter via its USB-C port.
-
Before flashing the firmware, back up the
factorypartition to preserve device-specific data (such as the MAC address and certificate). If the Web UI remains accessible, please navigate to Toolbox → Terminal → Access, and run the following command:dd if=/dev/mtd6 of=/userdata/media/factory.binThe backup file will appear in Virtual Media and can be downloaded to your local computer.
-
Do not disconnect the USB-C cable between the RMQ1 and the computer during the recovery process; otherwise, the device may be damaged.
-
If you want the device to reboot automatically after the flashing, navigate to Settings → Options → Reboot to Normal Mode After Download and enable it before you begin. If this option is not enabled, you must manually reboot the device after the flashing is complete (i.e., by unplugging and reconnecting the power cable).
Unbrick Steps
Windows
-
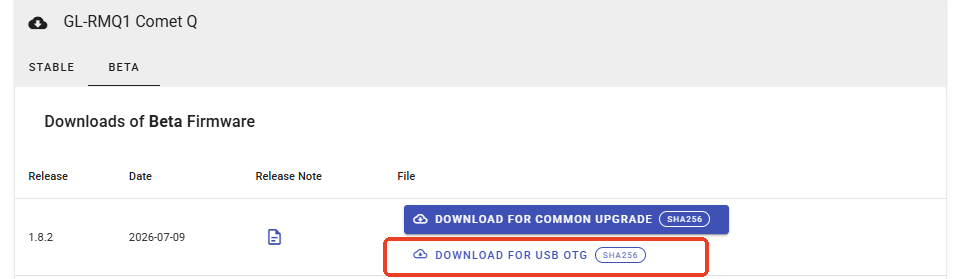
Download the U-Boot firmware for your RMQ1 device to your computer from here (select DOWNLOAD FOR USB OTG).
-
Install the USB drivers:
-
Download the driver package to your computer from here and extract it to any directory.
-
Double click the
DriverSetup.exefile to run the installer.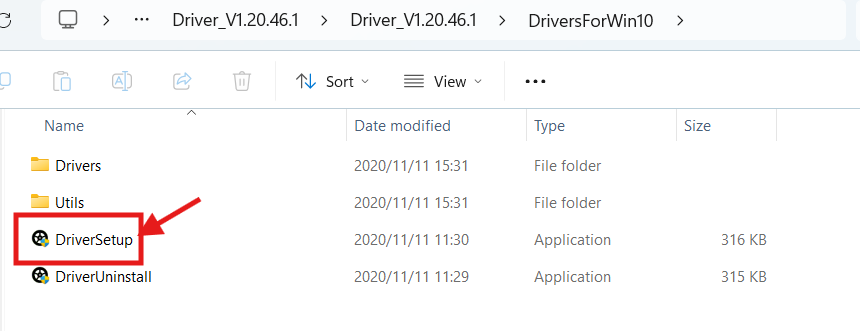
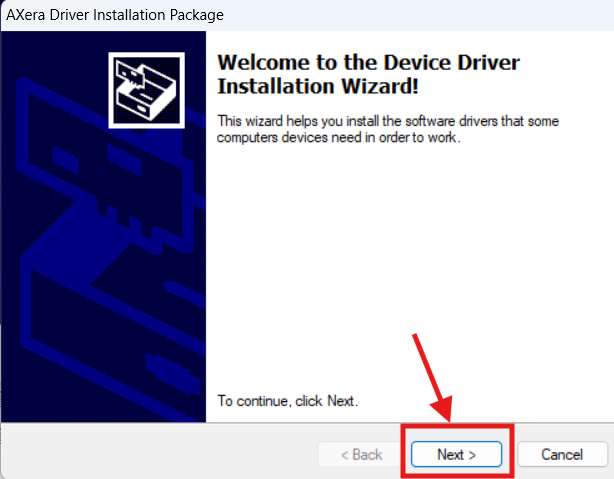
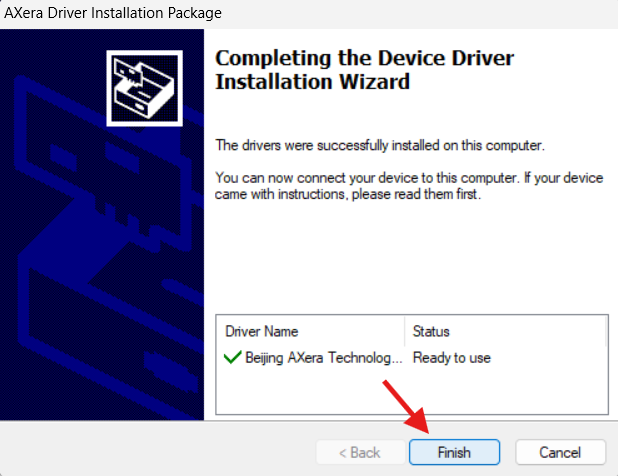
-
-
Install the AXDL Tool.
-
Download AXDL to your computer from here and extract it to an easily accessible directory.
-
Double click the
AXDL.exefile to run the flashing tool.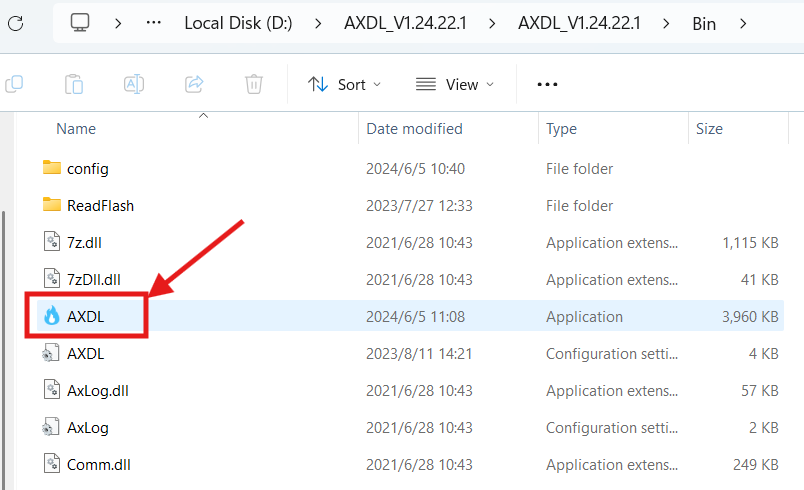
-
-
Open the AXDL panel, click
load.axp, and select the firmware downloaded in Step 1 to upload it.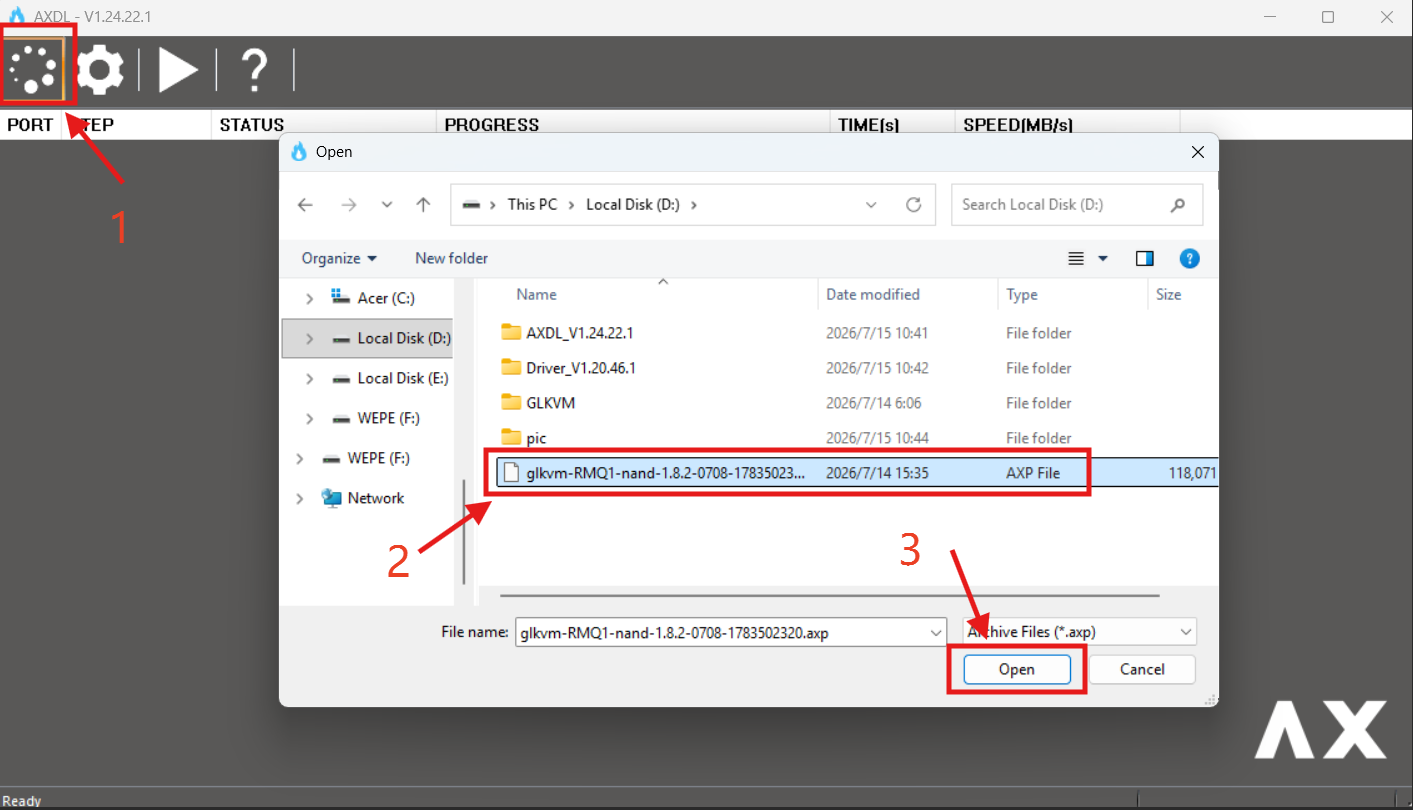
Click
Start downloading.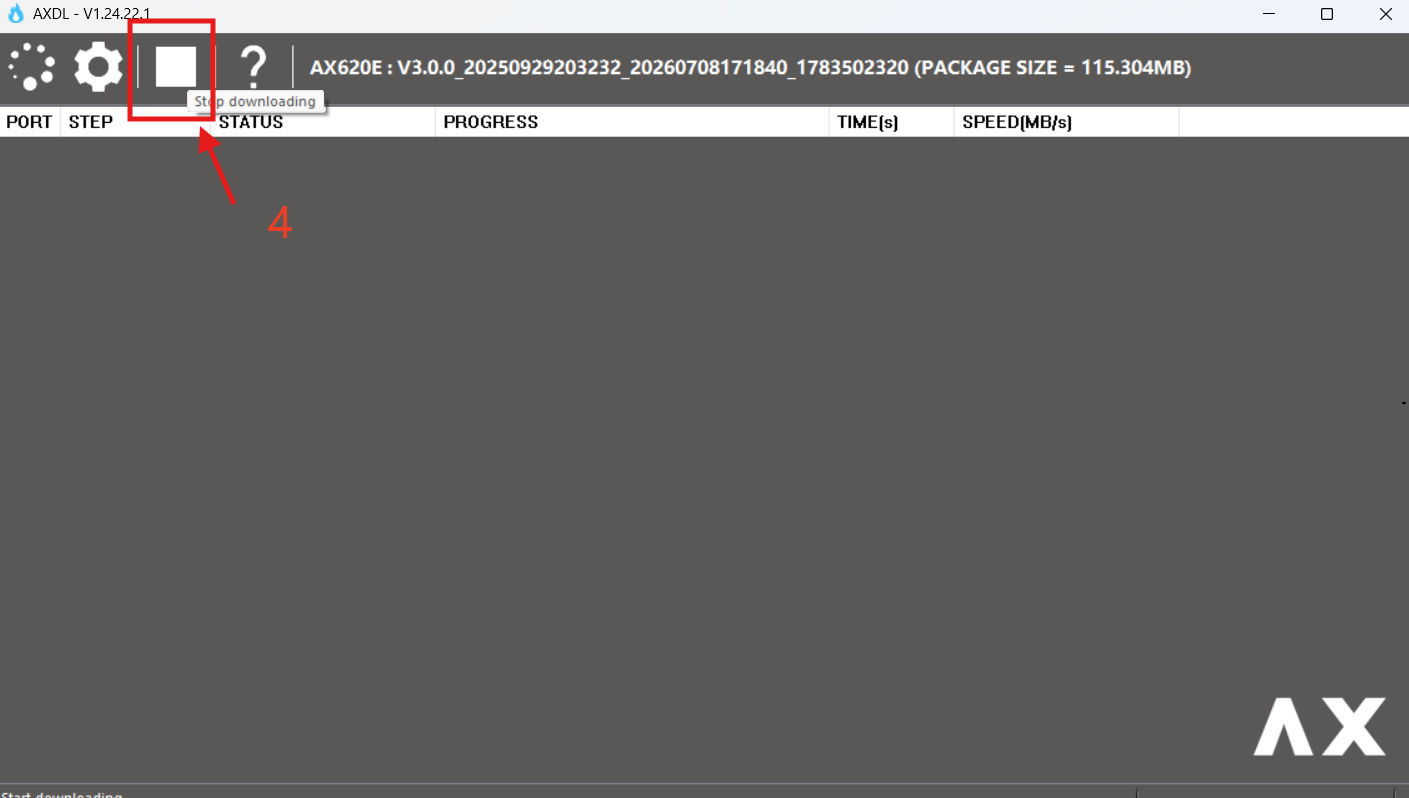
-
Power off your KVM device. Press and hold the RESET button on the bottom of the RMQ1, connect the device to your computer using the included USB-C cable.
-
Upon seeing
Downloading...in the status column, release the RESET button.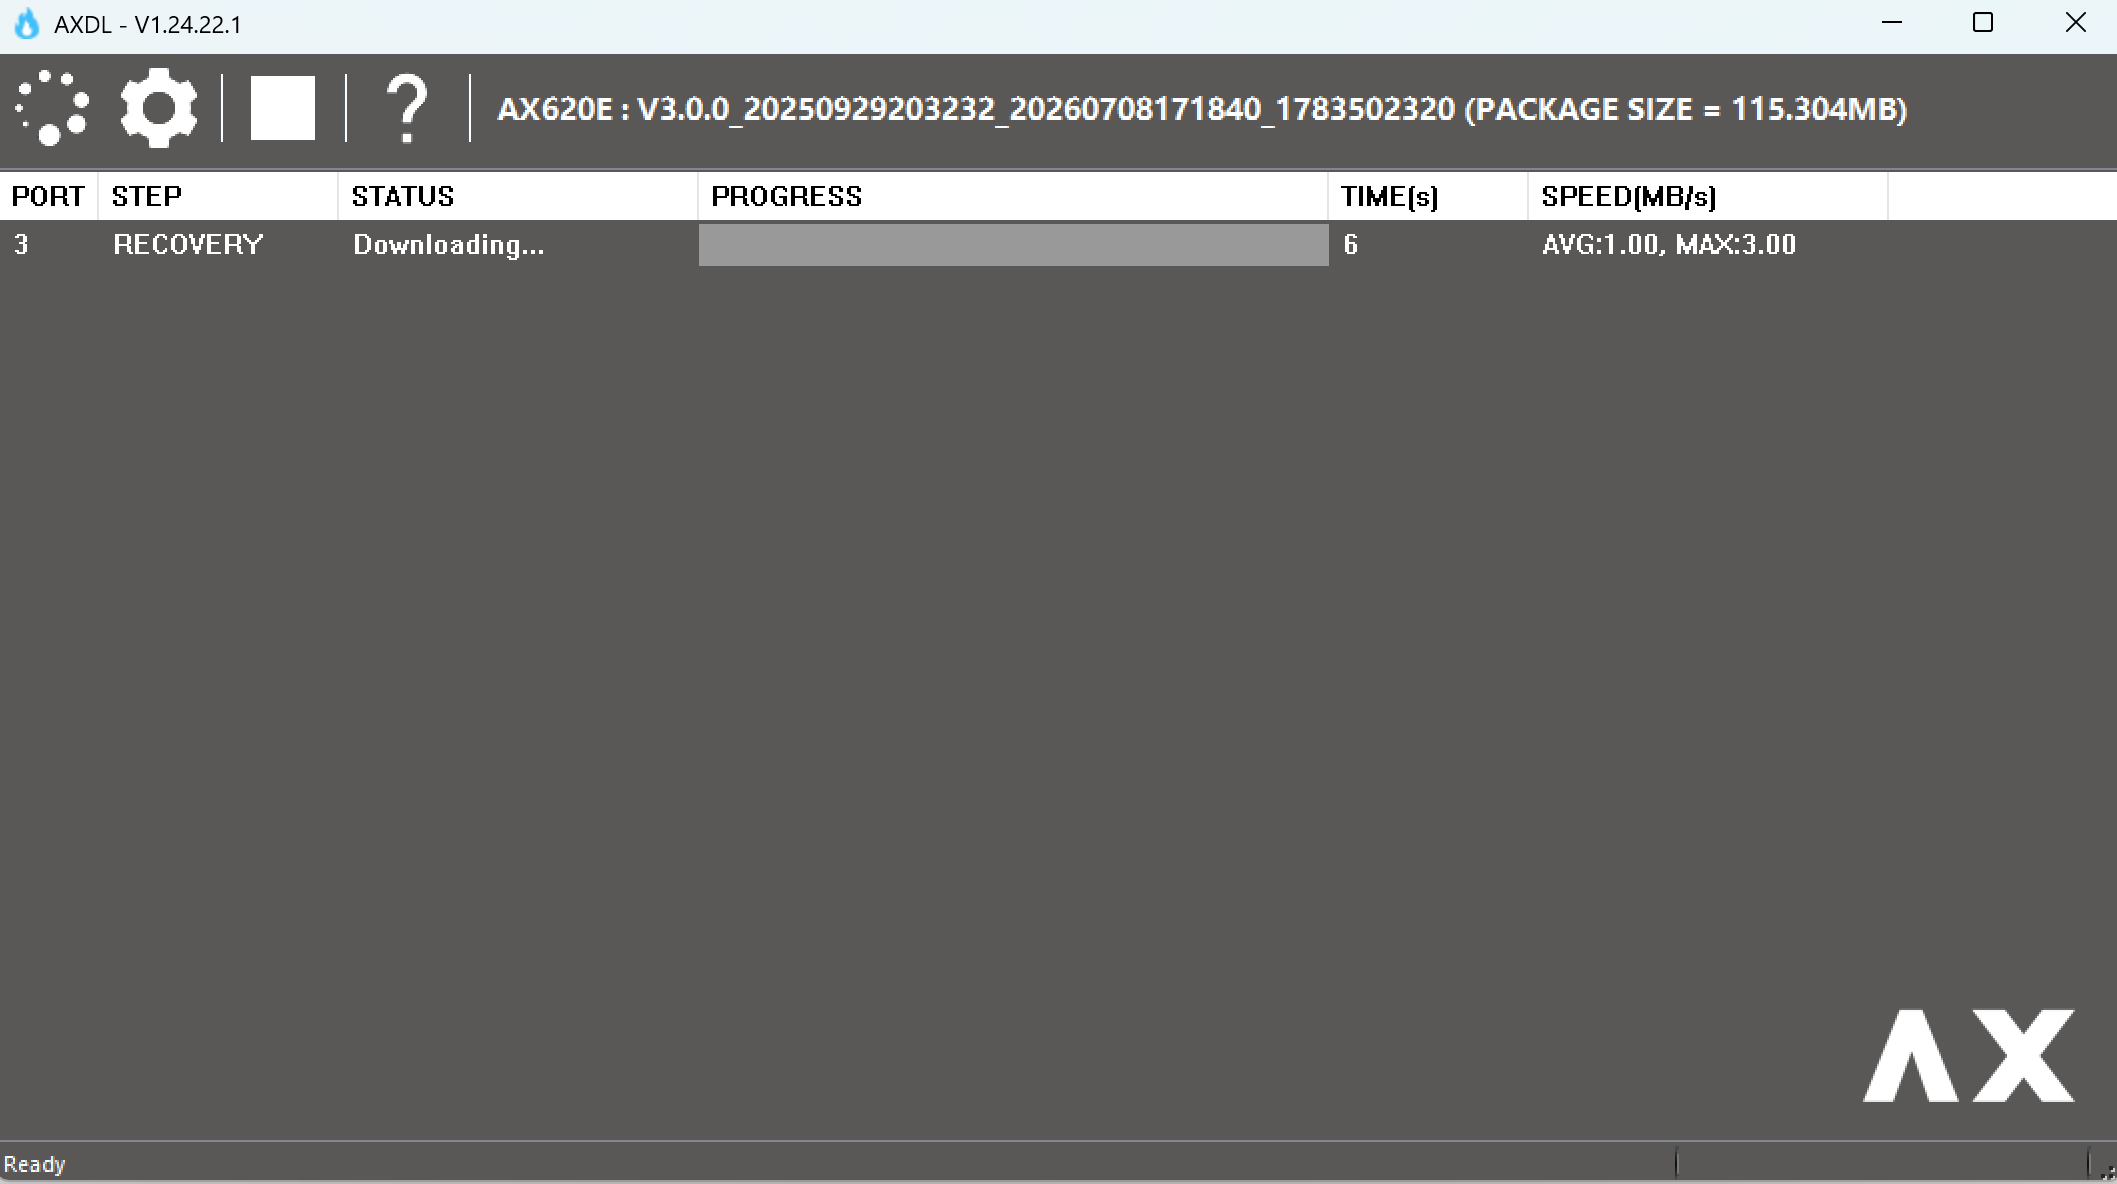
-
Wait until the AXDL tool displays
Passedto confirm that the flashing process is complete.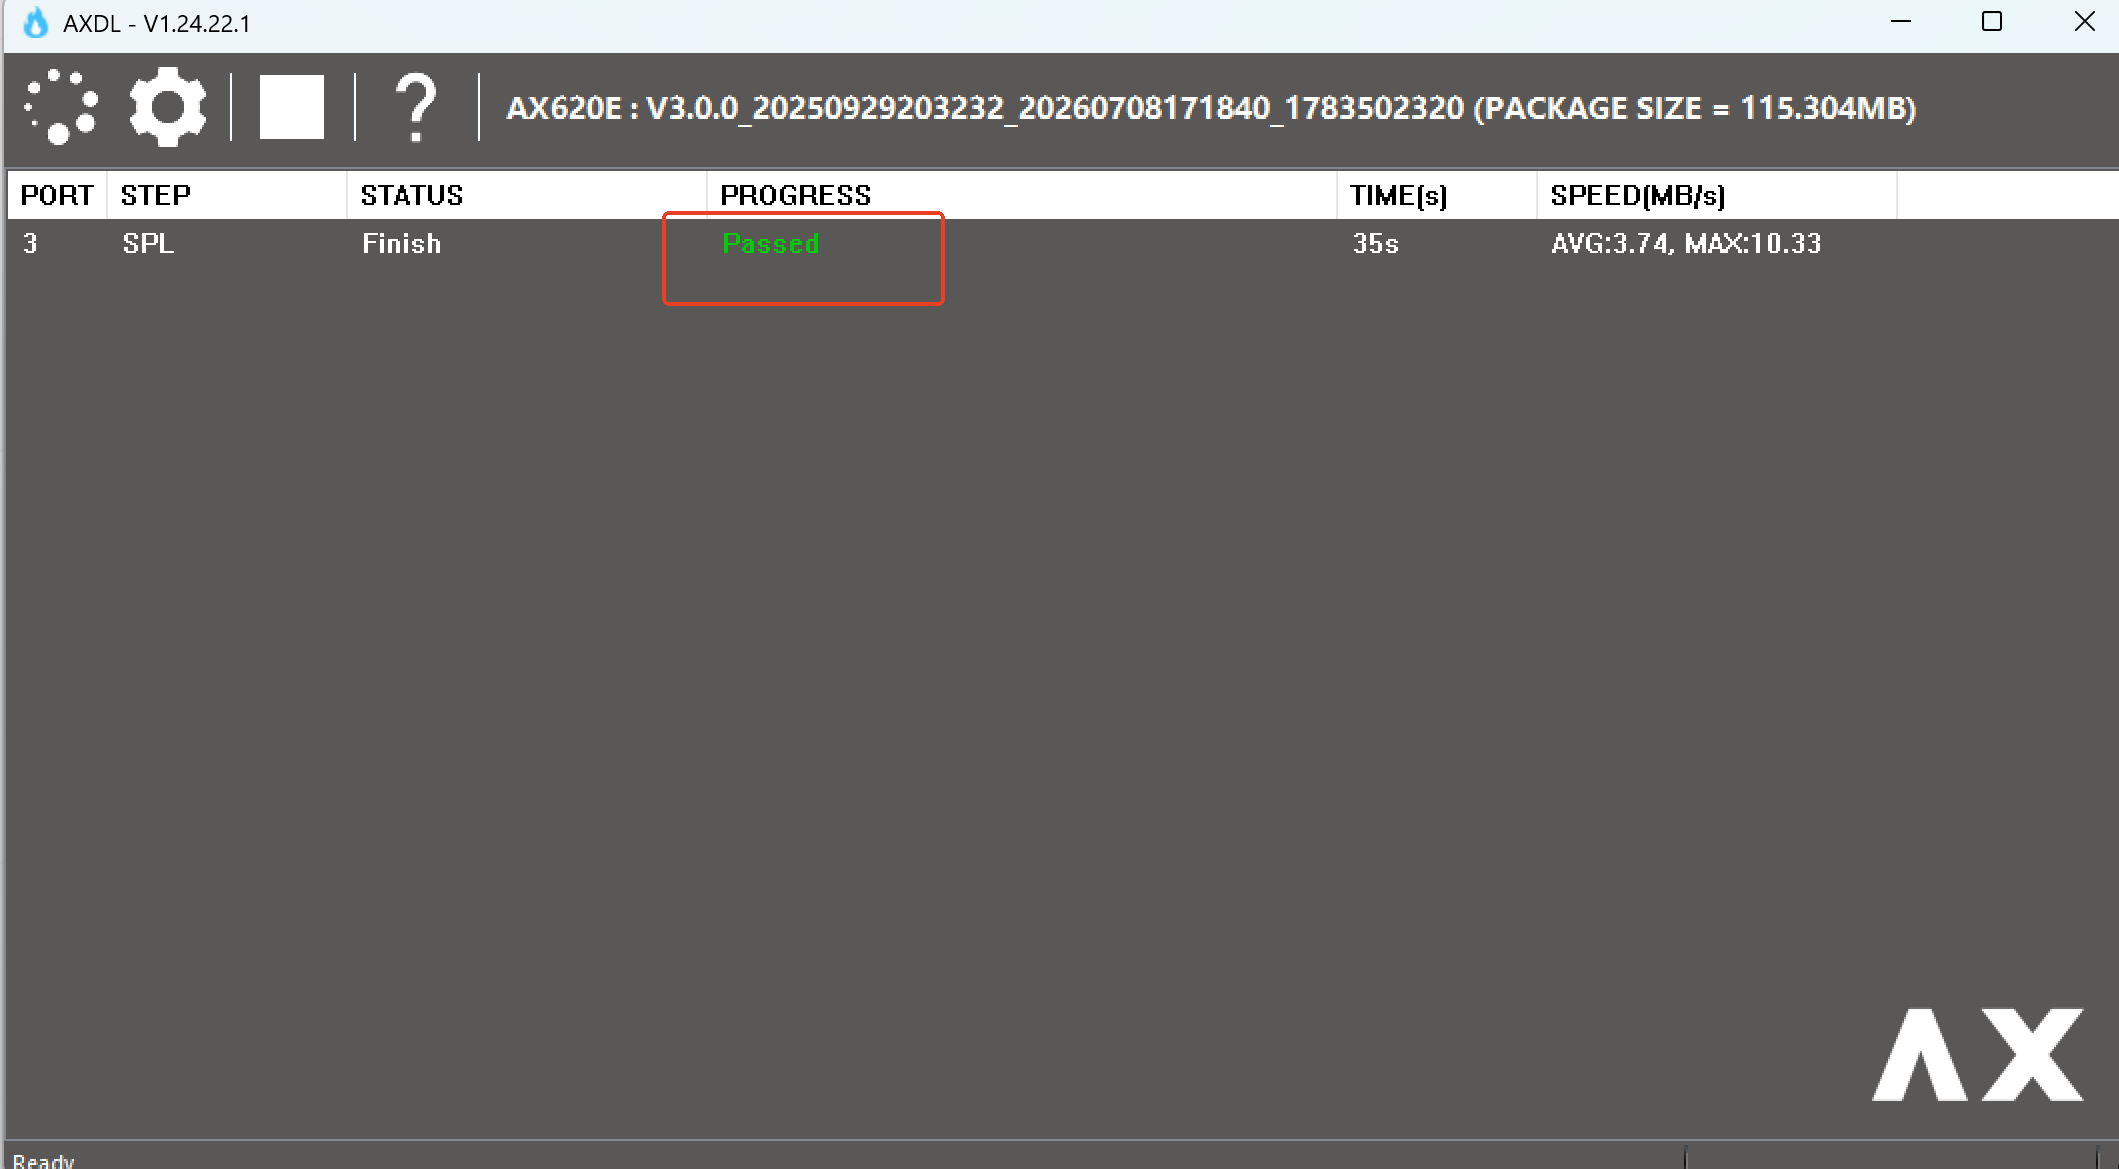
macOS / Linux
The official AXDL tool is Windows-only. For macOS and Linux, you can use axdl-rs—an open-source, unofficial Axera image downloader written in Rust.
-
Install the Rust toolchain via rustup
-
Download the U-Boot firmware for your RMQ1 device to your computer from here (select DOWNLOAD FOR USB OTG).
-
Install platform-specific dependencies:
-
Linux (Debian-based)
Configure udev rules to allow regular users to access the device:sudo apt install -y libudev-dev libusb-1.0-0-dev# Clone the repository git clone https://github.com/gl-inet/axdl-rs.git # Change directory cd axdl-rs # Copy the udev rule file to the system directory sudo cp 99-axdl.rules /etc/udev/rules.d/ # Reload udev rules to apply changes sudo udevadm control --reloadIf the user is not in the
plugdevgroup, please add them to the group, then re-log in for the changes to take effect.sudo usermod -a -G plugdev $USER -
macOS
Install
libusbviabrewto enable USB communication with KVM devices:brew install libusbBuild the
axdl-clitoolcargo build --bin axdl-cli --package axdl-cli
-
-
Enter the following command to flash the firmware. Please replace the
/path/to/firmware.axpwith the actual path to your downloaded firmware file.cargo run --bin axdl-cli --package axdl-cli -- --file /path/to/firmware.axp --wait-for-deviceThe tool will display
Waiting for device to be readyand enter a waiting state. -
Power off your KVM device. Press and hold the RESET button on the bottom of the RMQ1, connect the device to your computer using the included USB-C cable.
-
Wait until the flashing process is complete.
Note: Once flashing is complete, the device may not reboot automatically. Manually power cycle (power off and on) the RMQ1 to activate the new firmware.
Expected Output
After a successful flash, the terminal will display the output below.
Note: compiler warnings can be safely ignored
$ cargo run --bin axdl-cli --package axdl-cli -- --file glkvm-RMQ1-nand-1.8.1-0518-1779101289.axp --wait-for-device
warning: `axdl` (lib) generated 6 warnings
   Finished `dev` profile [unoptimized + debuginfo] target(s) in 0.07s
   Running `target/debug/axdl-cli --file glkvm-RMQ1-nand-1.8.1-0518-1779101289.axp --wait-for-device`
Waiting for the device to be ready
Loading the AXP image configuration
Start download
Handshaking with the device
Downloading the flash downloaders
[00:00:03] [############################################################################]
Downloading the partition table
Skipping partition: FACTORY (excluded by default)
Downloading image DDRINIT
Downloading image UBOOT
Downloading image LOGO
Downloading image DTB
Downloading image KERNEL
Downloading image RECOVERY
Downloading image MEDIA
Downloading image ROOTFS
[00:00:26] [############################################################################]
Downloading image SPL
Done
Still have questions? Visit our Community Forum or Contact us.