First time setup
The first-time setup of the GL.iNet router is very similar. Most models have a Wi-Fi module, while some do not.
Therefore, the following guidance is divided into two cases based on the presence of a Wi-Fi module.
For models that have Wi-Fi
The following steps use the GL-MT3000 (Beryl AX) as an example.
Please prepare the following items included in the package.
- A router GL-MT3000 (Beryl AX)
- A power adapter
- An Ethernet cable
Watch this video guide or follow the steps below.
-
Power on
Plug one end of the power adapter into the router and the other end into an outlet. It will automatically power on.
Some models (such as Slate AX) are equipped with a TF card slot. If you need to use a TF card, insert the card before powering on the router. Hot-swapping TF cards is not supported.
-
Connect to the router
Connect a device (e.g., smartphone, laptop, or computer) to the router via an Ethernet cable or via Wi-Fi.
-
Connect via Ethernet: Connect a device to the LAN port of the router via an Ethernet cable.
-
Connect via Wi-Fi: Find the Wi-Fi SSID and Wi-Fi key on the router's bottom label. Search for the router's SSID on your device, then enter the Wi-Fi key.
Tip
- The QR code on the bottom label contains the default Wi-Fi information. You can connect quickly by scanning it with a QR code scanner.
- For some older models, if the Wi-Fi key is not found on the label, try "goodlife".
After connecting to the Wi-Fi, you may not have immediate Internet access. Please follow the next step to configure your network first before accessing the Internet.
-
-
Log in to the web Admin Panel
Open a web browser (Chrome, Edge, and Safari are recommended for better compatibility) and visit http://192.168.8.1. You will be directed to the GL.iNet login page. If you cannot access the web Admin Panel, click here for troubleshooting.
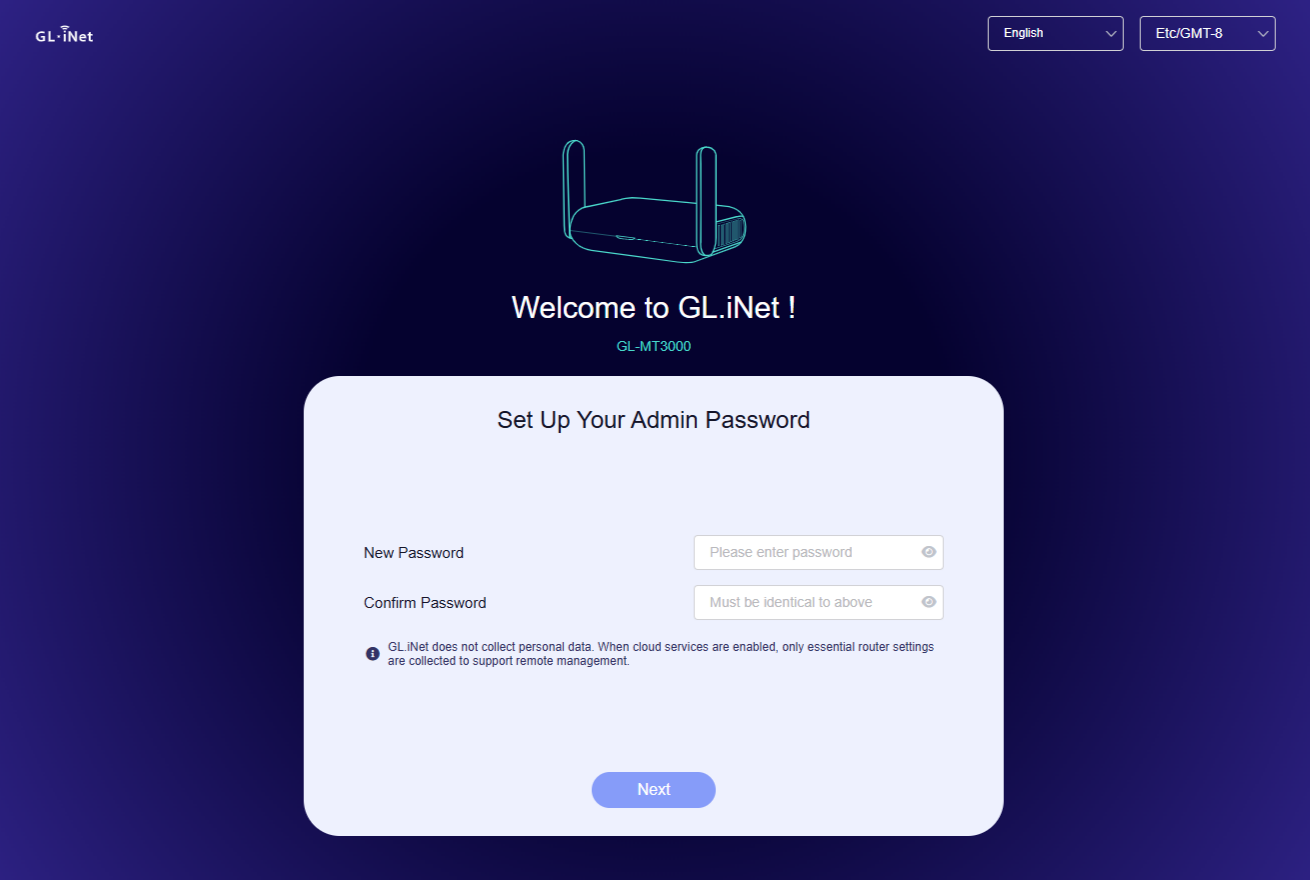
Set up your admin password, then click Next.
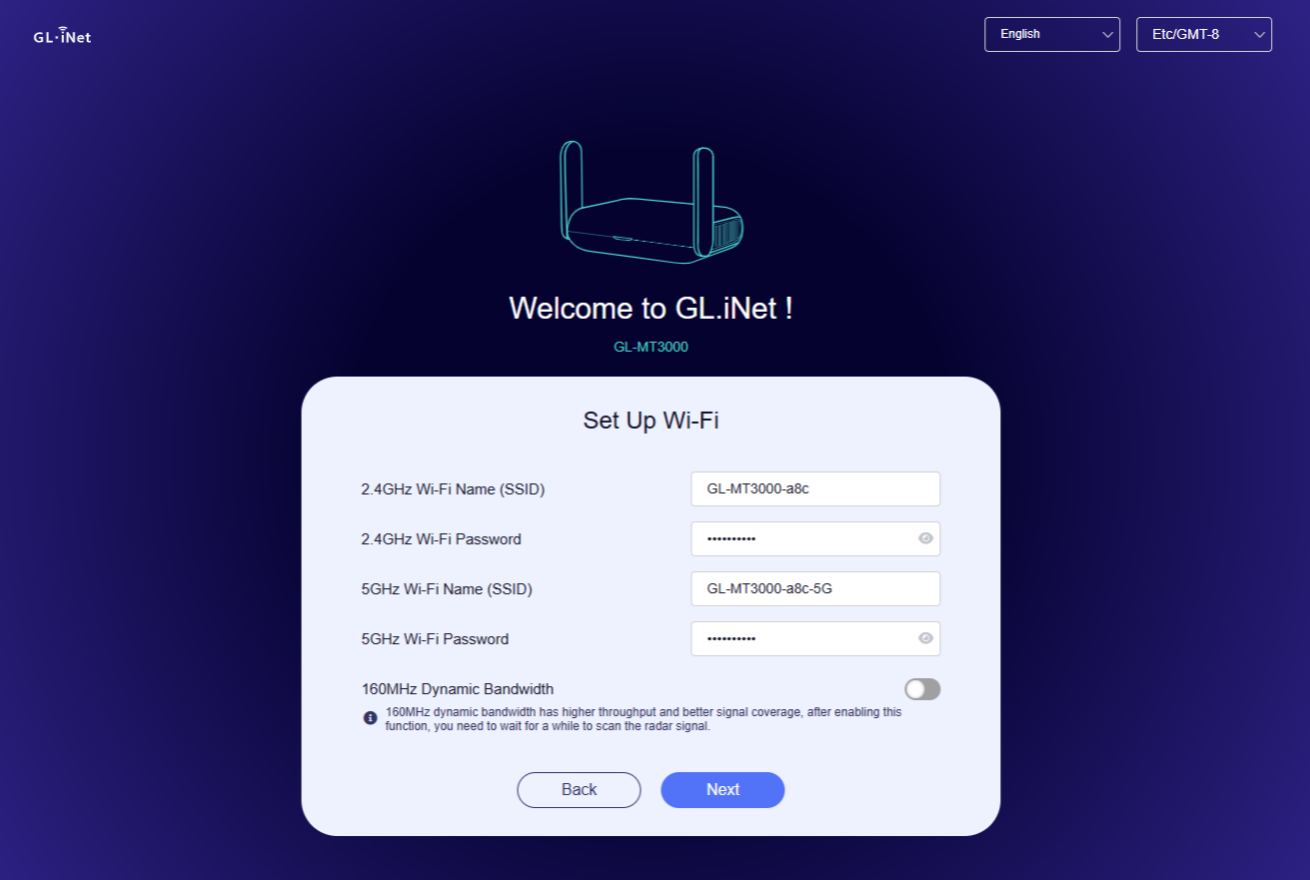
Set up your Wi-Fi. If you update the Wi-Fi information, make sure to reconnect to the updated one, then click Next
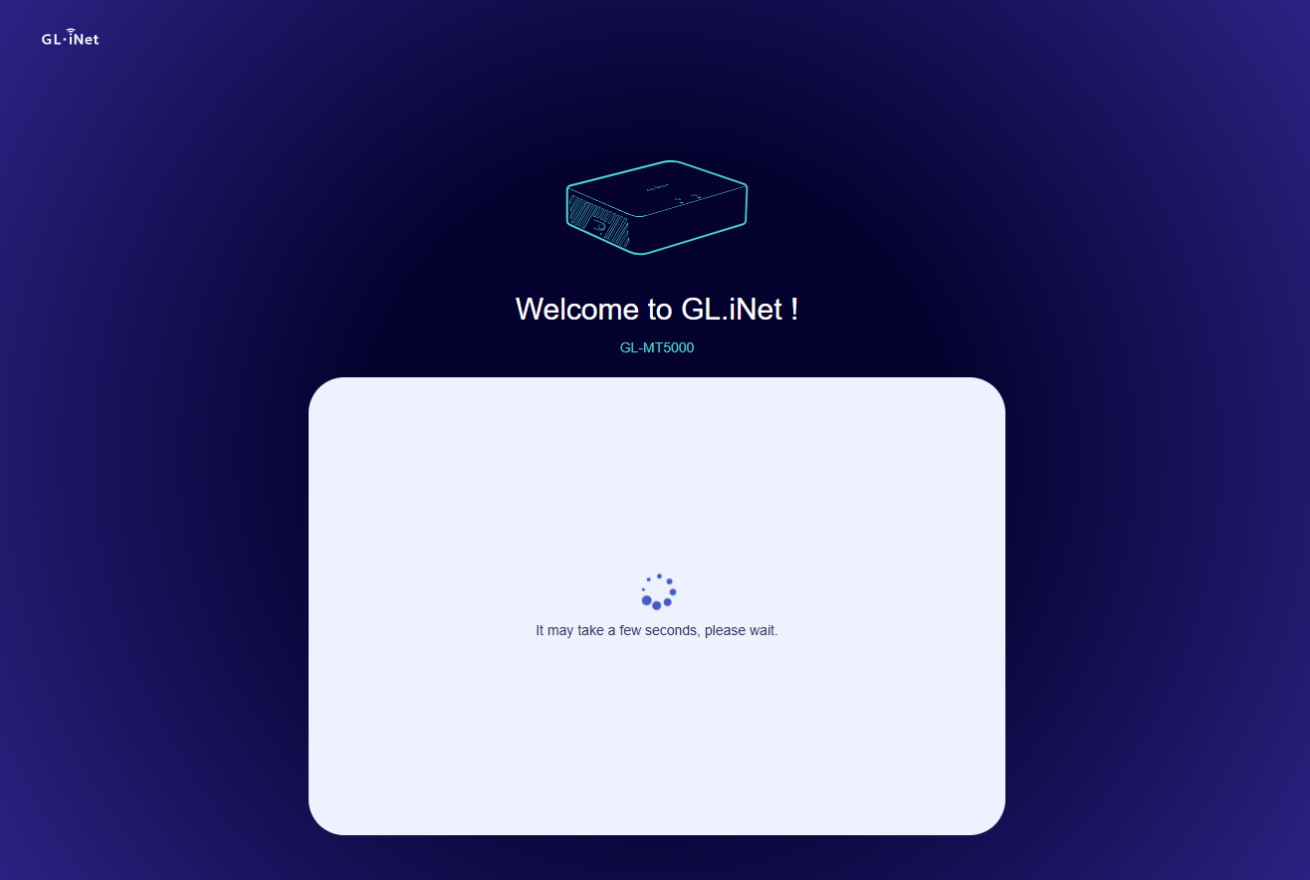
Wait for the router to finish initializing.

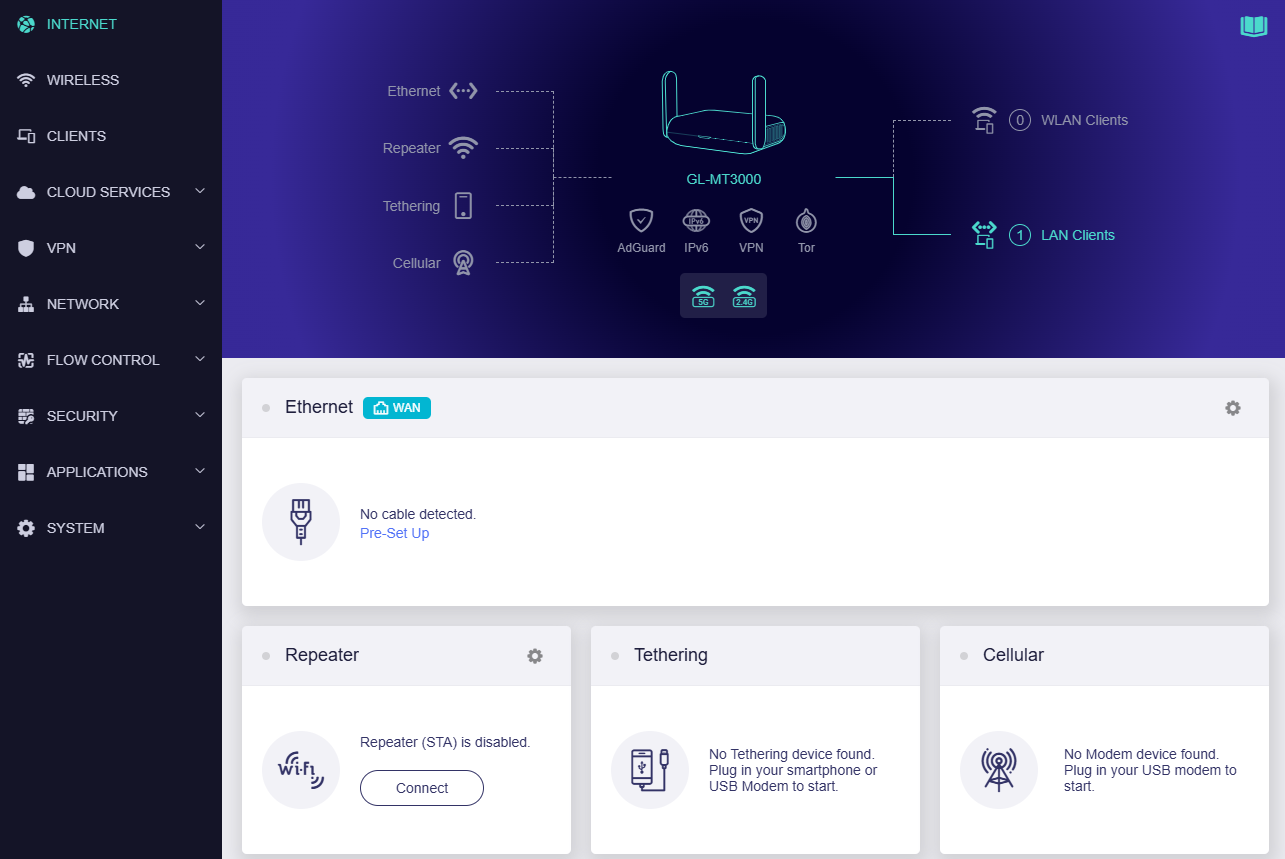
You will then access the web Admin Panel of your router.
-
Connect to the Internet
For models that don't have Wi-Fi
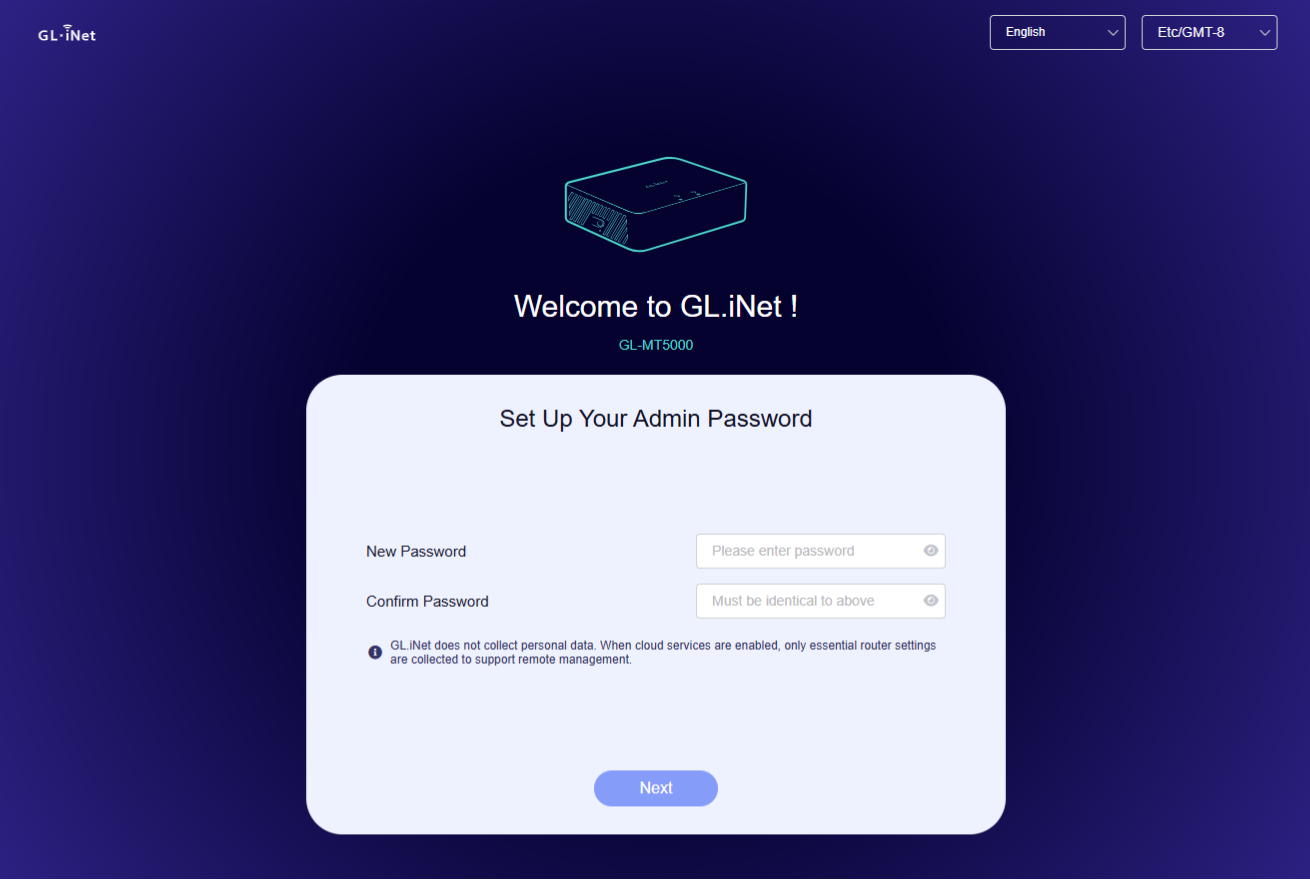
The following steps use the GL-MT5000 (Brume 3) as an example.
-
Power on
Plug one end of the power adapter into the router and the other end into an outlet. The router will power on automatically.
-
Connect to the router
Connect a device (e.g., laptop, computer) to the LAN port of the router via an Ethernet cable.
-
Log in to the web Admin Panel
Open a web browser (Chrome, Edge, and Safari are recommended for better compatibility) and visit http://192.168.8.1. You will be directed to the GL.iNet login page. If you cannot access the web Admin Panel, click here for troubleshooting.
Set up your admin password, then click Next.
Wait for the router to finish initializing.
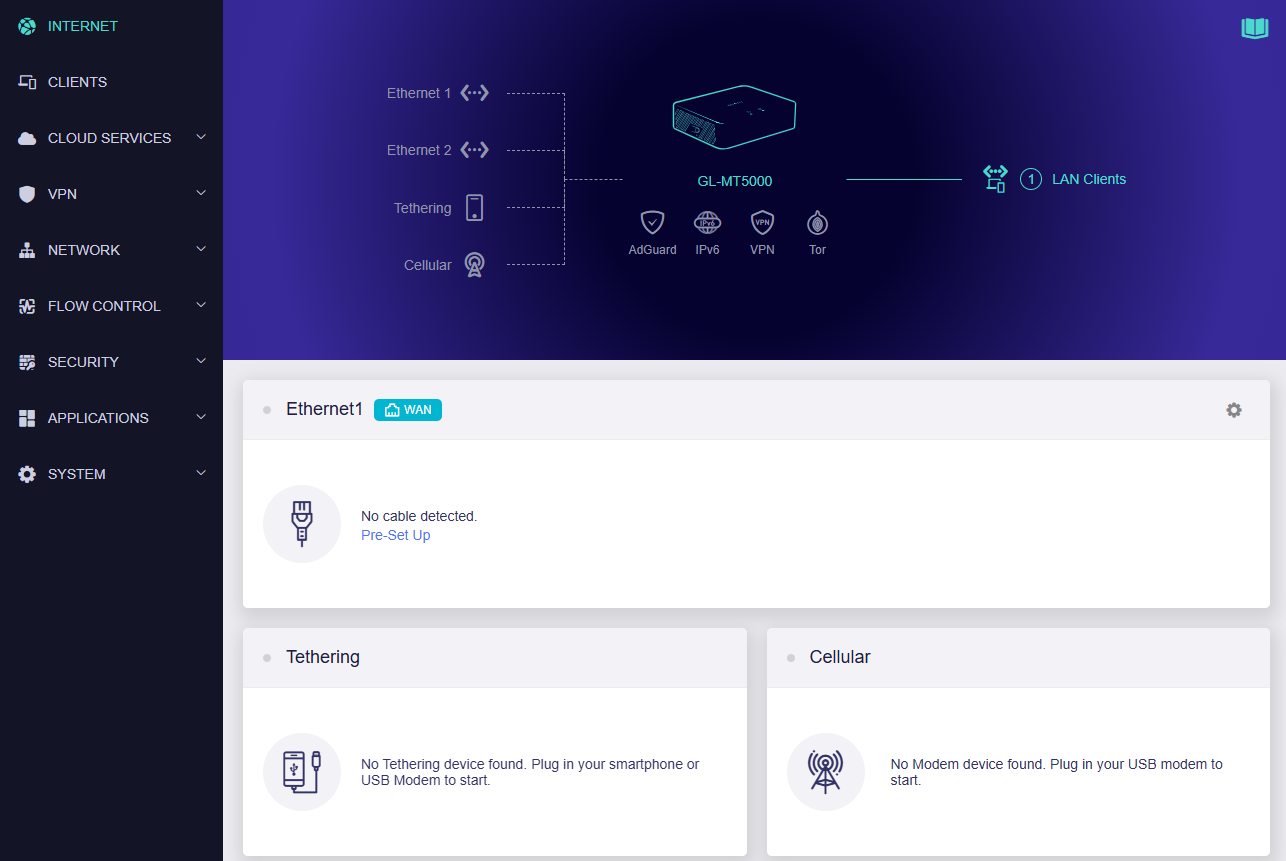
You will then access the web Admin Panel of your router.
-
Connect to the Internet
Still have questions? Visit our Community Forum or Contact us.