AstroMesh
This feature is introduced in firmware v4.10.
AstroMesh is GL.iNet's proprietary global mesh technology based on EasyMesh. Unlike conventional wireless mesh systems that only work within a single local network, AstroMesh eliminates geographical restrictions to connect you to your home network anywhere.
At home, your travel router acts as a regular Mesh Node to extend household Wi-Fi coverage with seamless device roaming. When you head out, it can be automatically switched to Astro Node mode and sync all your home Wi-Fi settings via cloud, letting you access your home LAN devices remotely while routing traffic through your home network exit. Plug-and-play with zero complicated configuration, AstroMesh delivers a seamless internet experience whether you are relaxing at home or traveling on the road.
Quick Setup
In the following example, we'll use Flint 3 (GL-BE9300) and Slate 7 (GL-BE3600) to build an AstroMesh network.
-
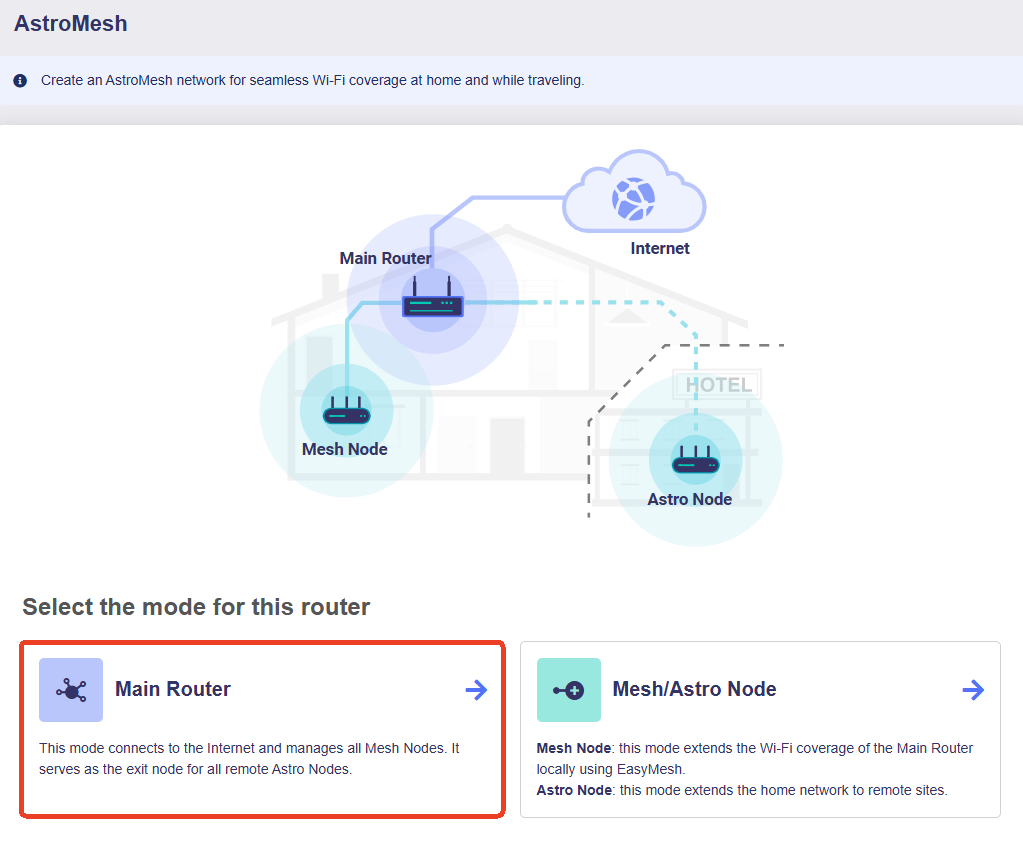
Flint 3: serves as the Main Router that connects to the Internet and manages all Mesh Nodes. It also acts as the network exit for all remote Astro Nodes.
-
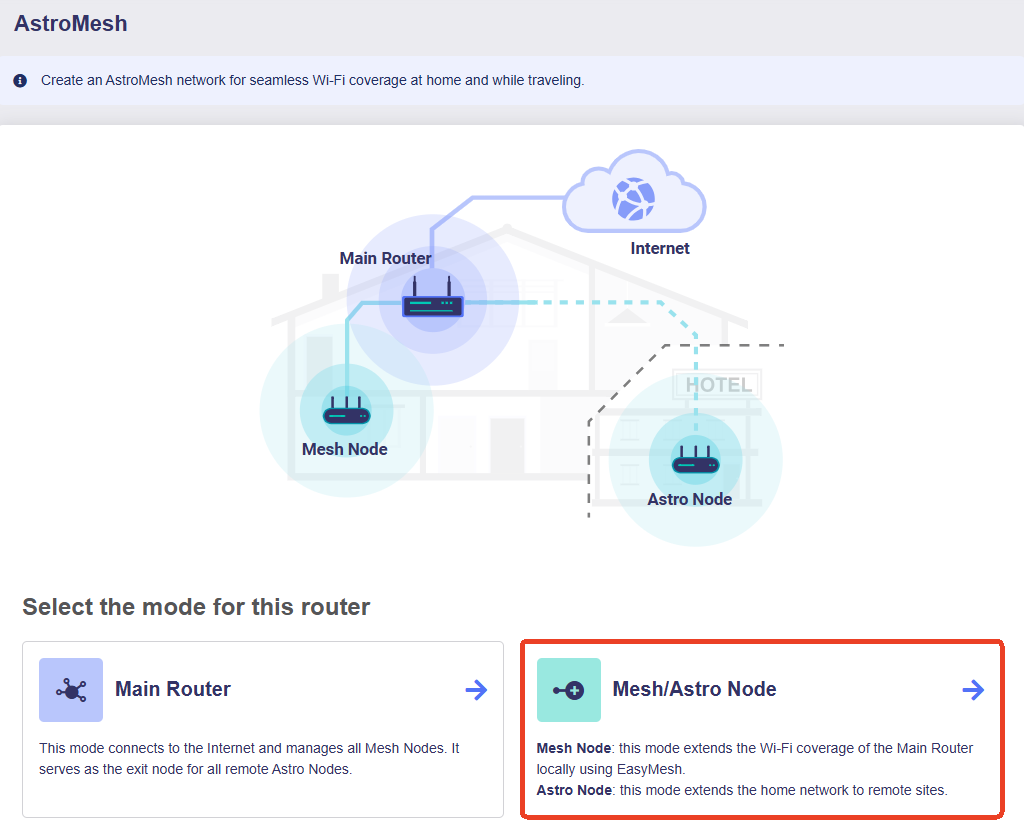
Slate 7: functions as the Mesh Node that extends the Main Router's Wi-Fi coverage locally, or extends the home network to remote sites.
Follow the steps below to complete setup.
Set up Main Router
-
Log in to Flint 3's web Admin Panel and go to INTERNET. Connect it to the Internet via any supported connection type: Ethernet, Repeater, Tethering, and Cellular.
-
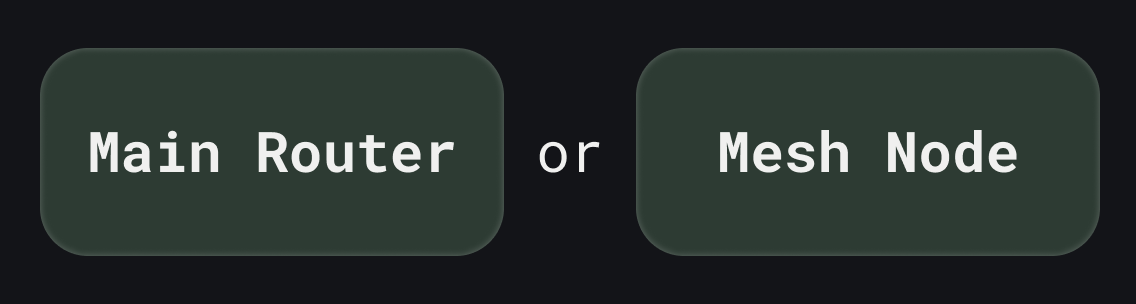
Go to ASTROMESH and click Main Router.
Set up Mesh Node
Log in to Slate 7's web Admin Panel. Go to ASTROMESH and click Mesh/Astro Node.
Pairing
Add Mesh Nodes into your AstroMesh network via Wi-Fi Scan or Pairing Code.
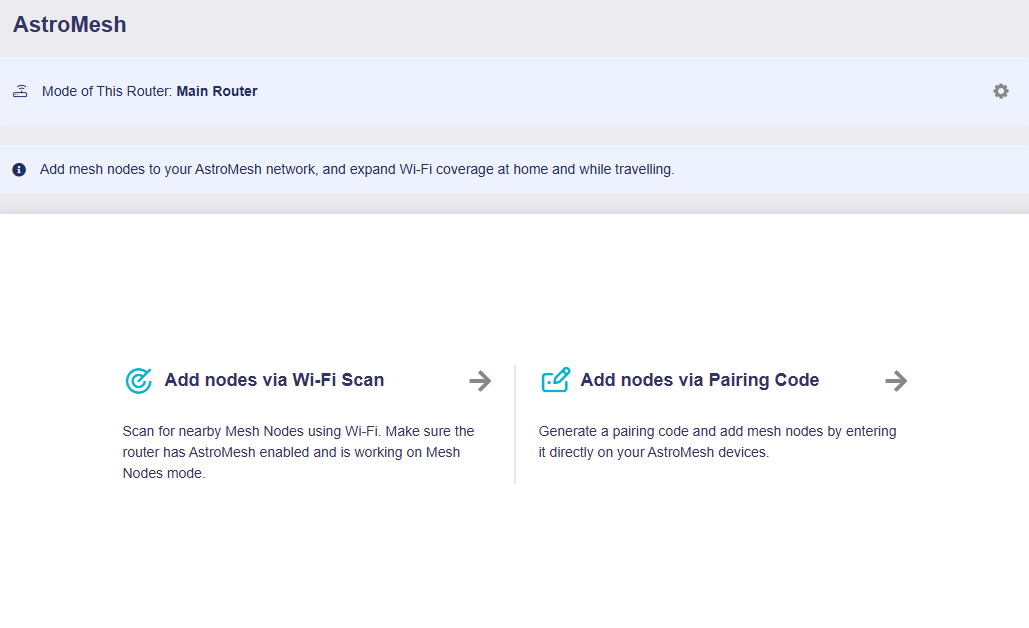
Refer to the corresponding instructions below.
Wi-Fi Scan
Before scanning, make sure that:
- The Mesh Node is powered on and near the Main router.
- The Mesh Node has AstroMesh enabled and is working on Mesh Node mode.
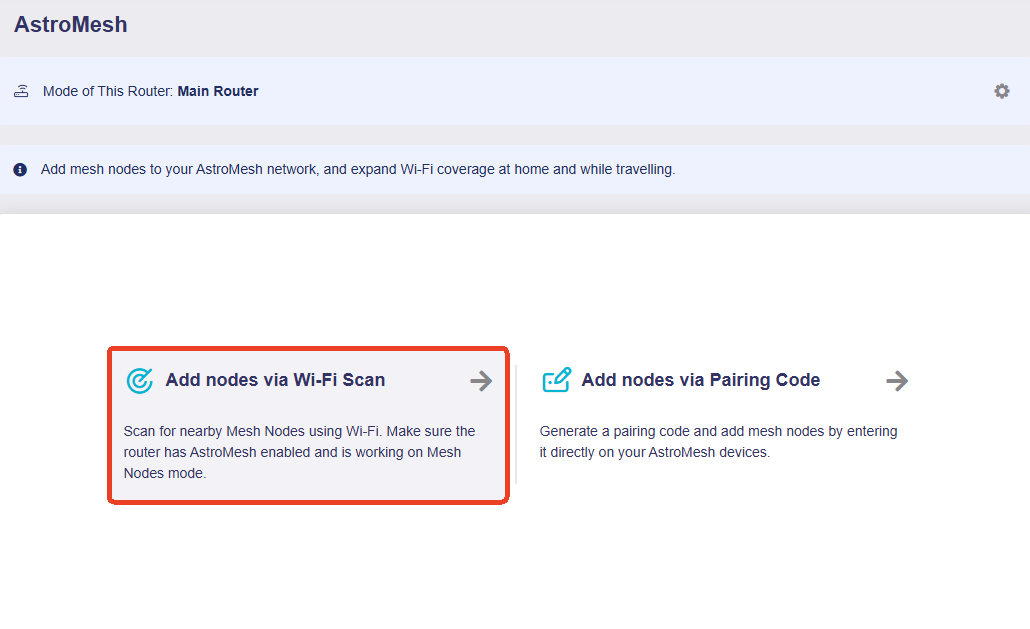
Log in to Flint 3's web Admin Panel and go to ASTROMESH. Click Add nodes via Wi-Fi Scan.
In the pop-up window, click Scan.
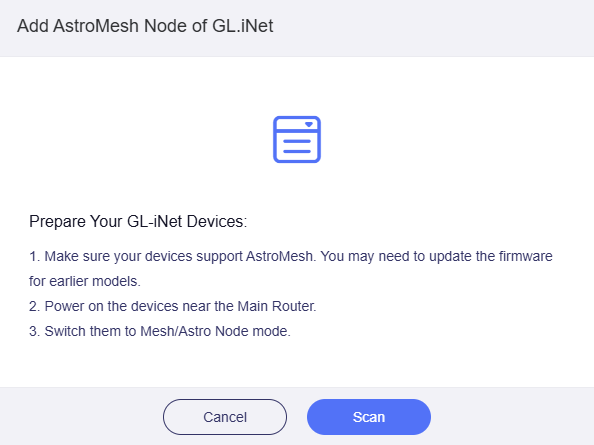
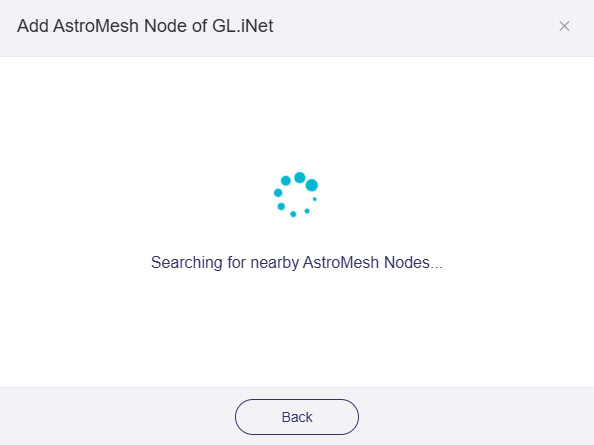
It will start scanning for nearby Mesh Nodes using Wi-Fi.
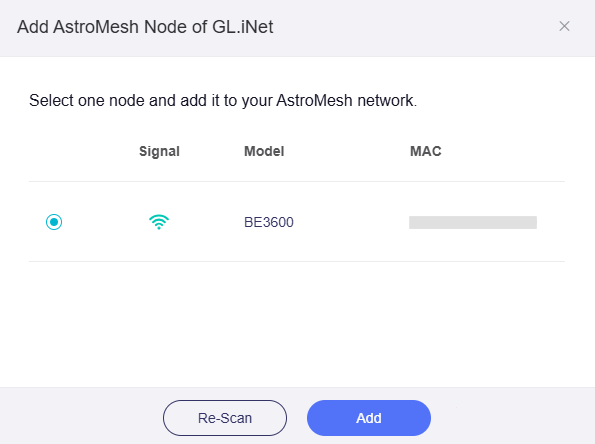
Select one node and click Add.
The Mesh Node will then be added to your AstroMesh network. Click Finish.
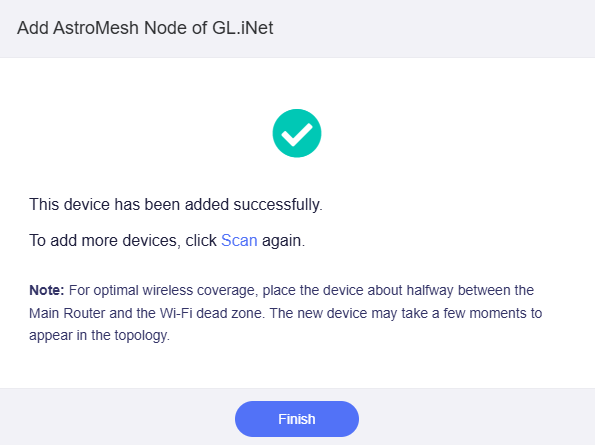
Note: Once a node joins the AstroMesh network, it will no longer be accessible via its original IP address. All nodes can be managed via the Main Router's Admin Panel. See Manage Mesh Nodes for details.
Pairing Code
Log in to Flint 3's web Admin Panel and go to ASTROMESH. Click Add nodes via Pairing Code.
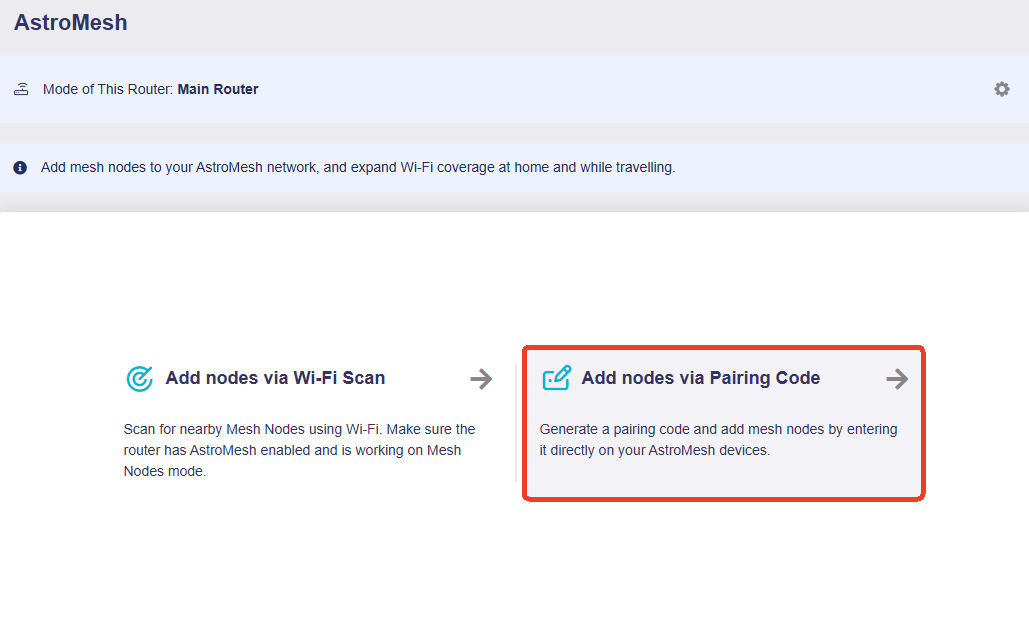
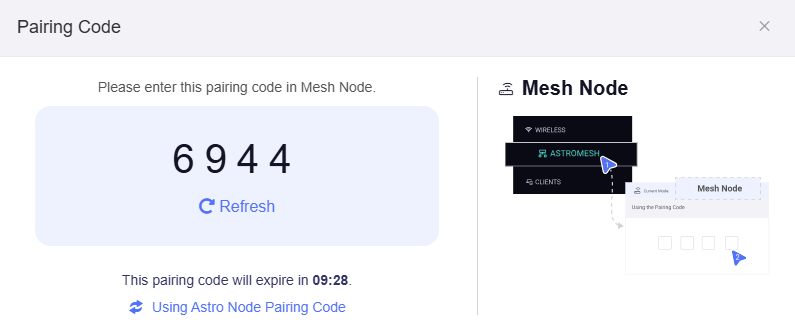
The Main Router will generate a pairing code. Copy this code.
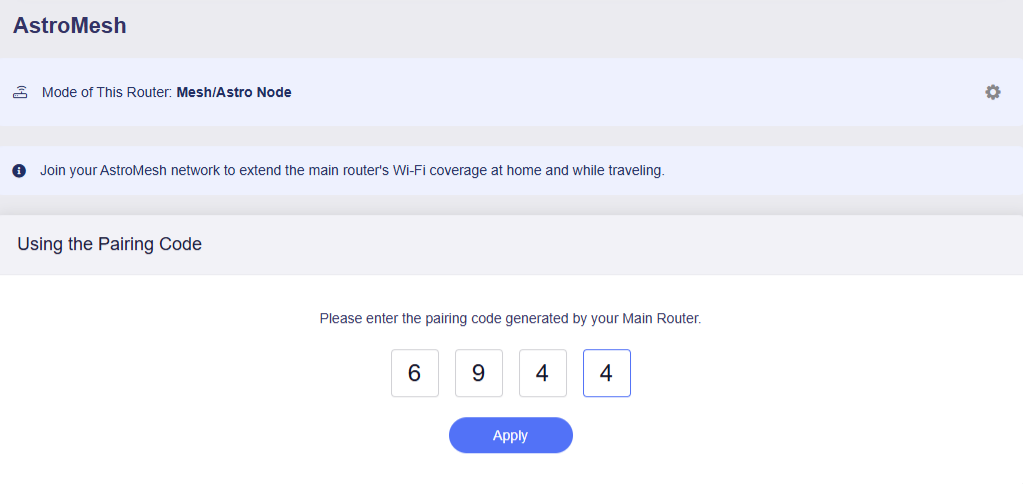
Log in to Slate 7's web Admin Panel and go to ASTROMESH. Enter the copied pairing code and click Apply.
Note: The pairing code is time-limited. Please enter it before it expires.
The Mesh Node will starting connecting to the Main Router. Click Done.
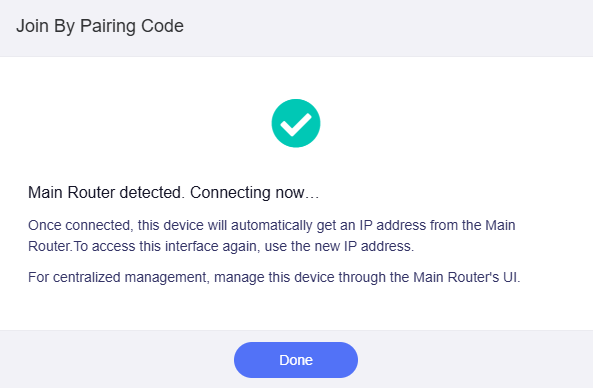
Note: Once a node joins the AstroMesh network, it will no longer be accessible via its original IP address. All nodes can be managed via the Main Router's Admin Panel. See Manage Mesh Nodes for details.
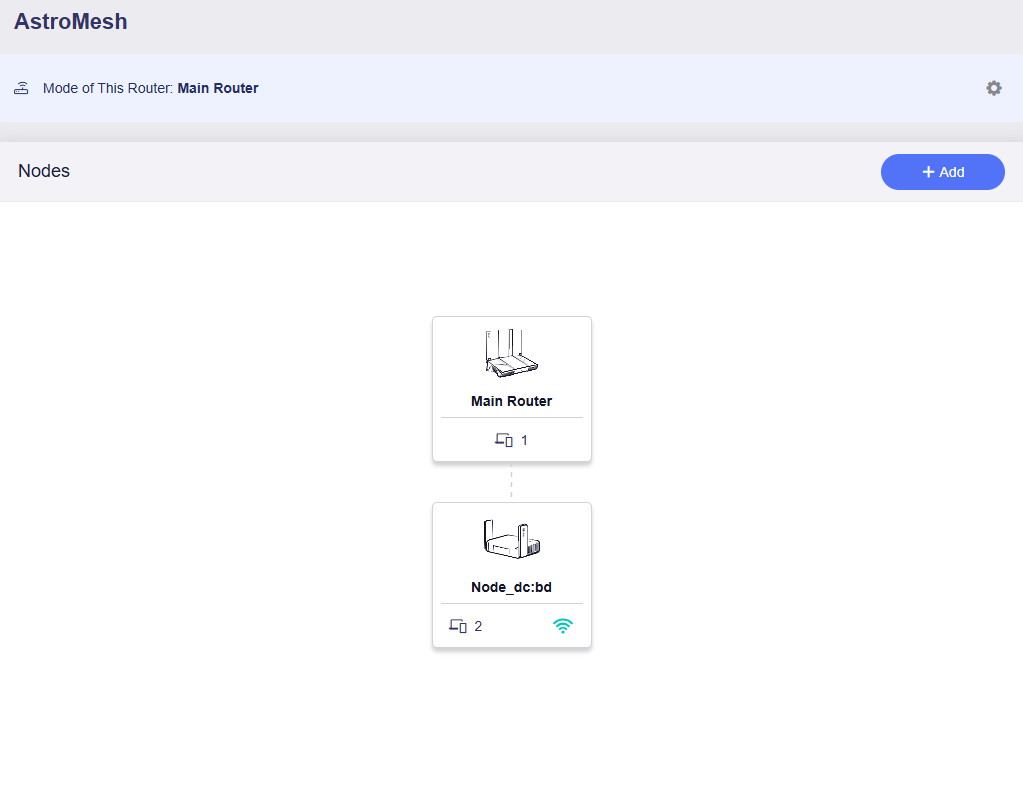
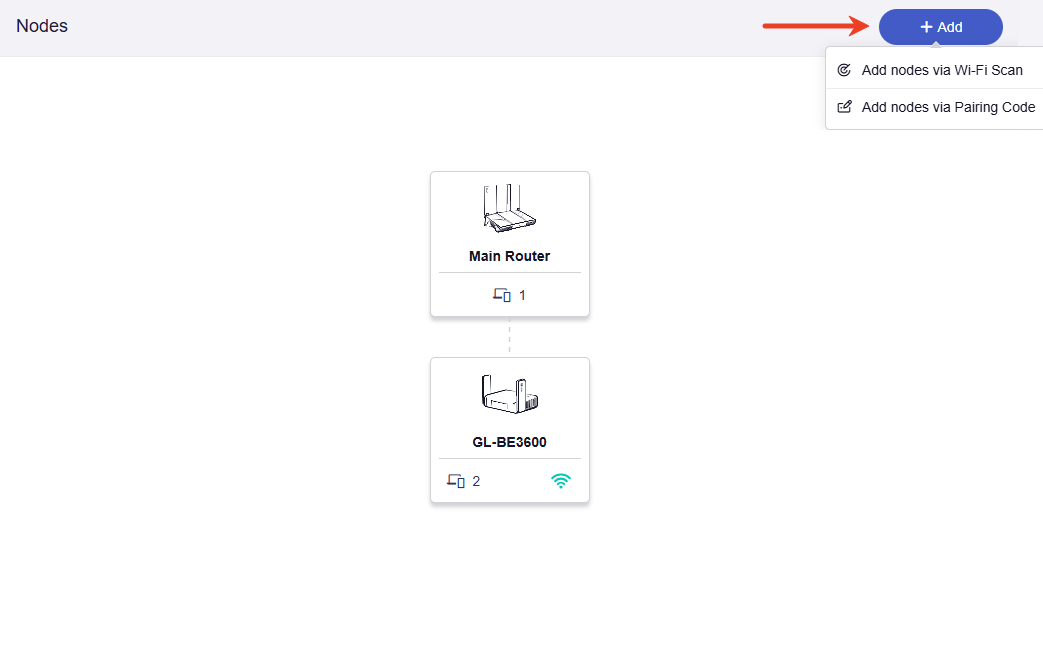
Once nodes have been successfully added to AstroMesh, a topology will appear on the Main Router's Admin Panel, as shown below.
Manage Mesh Nodes
Manage your Mesh Nodes on the Main Router's Admin Panel.
View Node Information
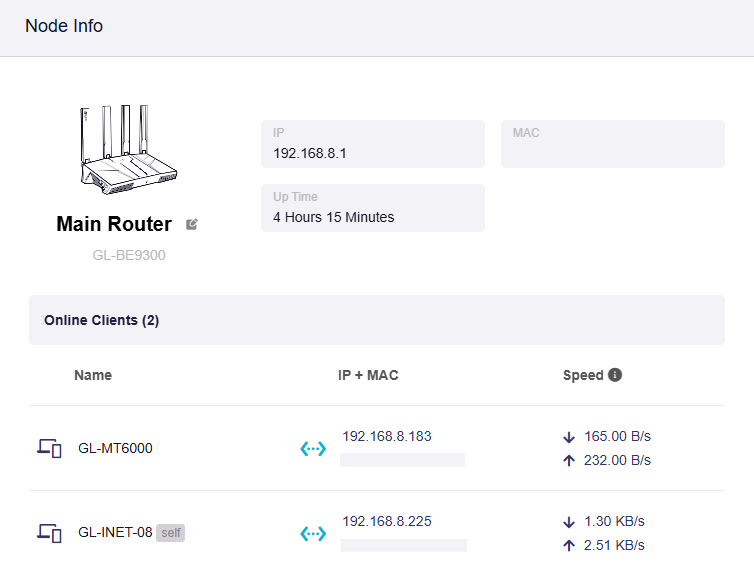
On the Main Router's Admin Panel, go to ASTROMESH and click the Main Router on the AstroMesh topology.
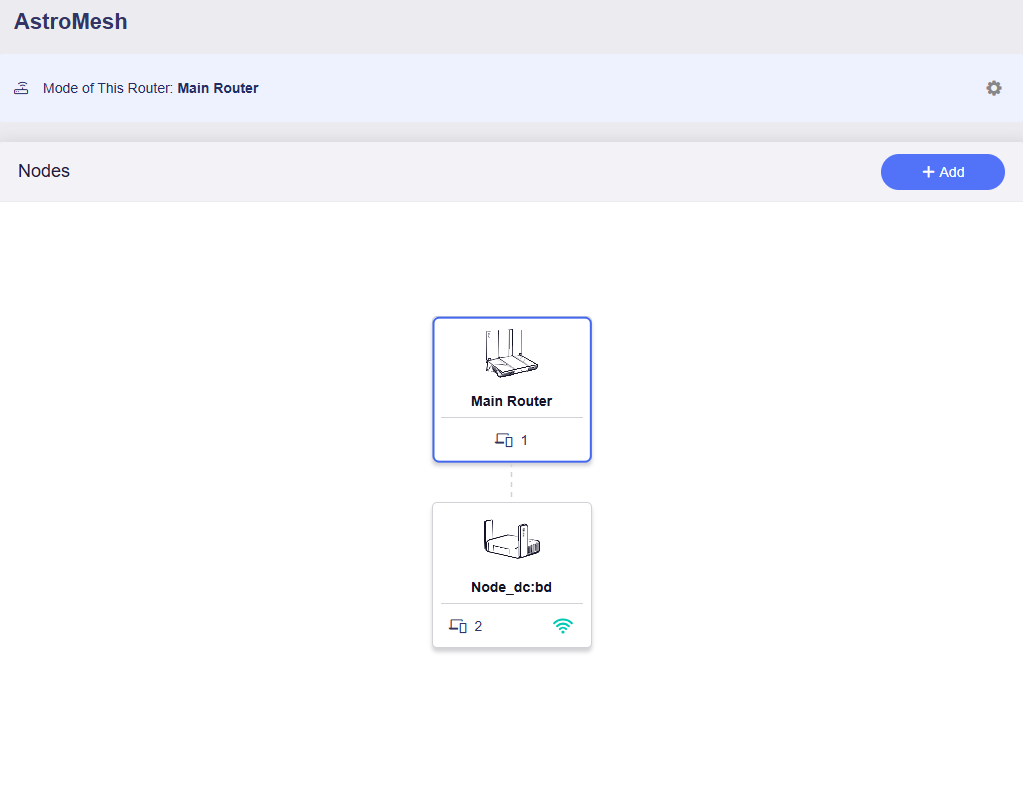
You can view the Main Router details, including model, IP & MAC address, up time, and connected clients.
Click the Mesh Node on the AstroMesh topology.
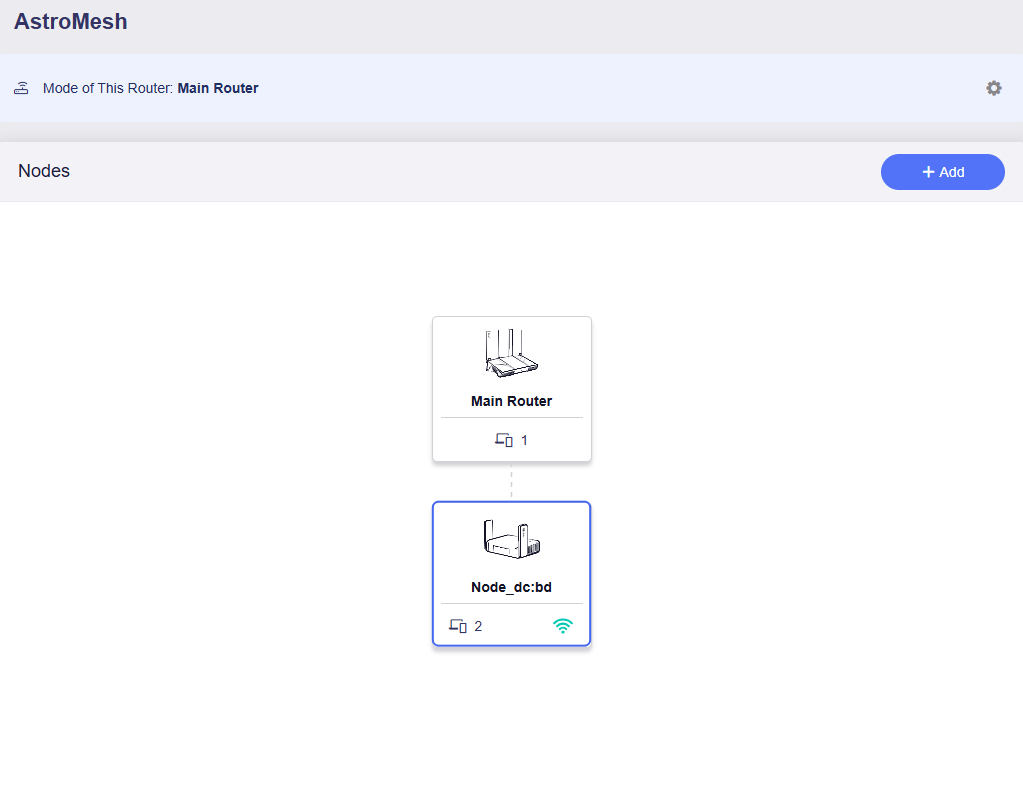
You can view the Mesh Node details, including model, IP & MAC address, firmware version, up time, and connected clients.
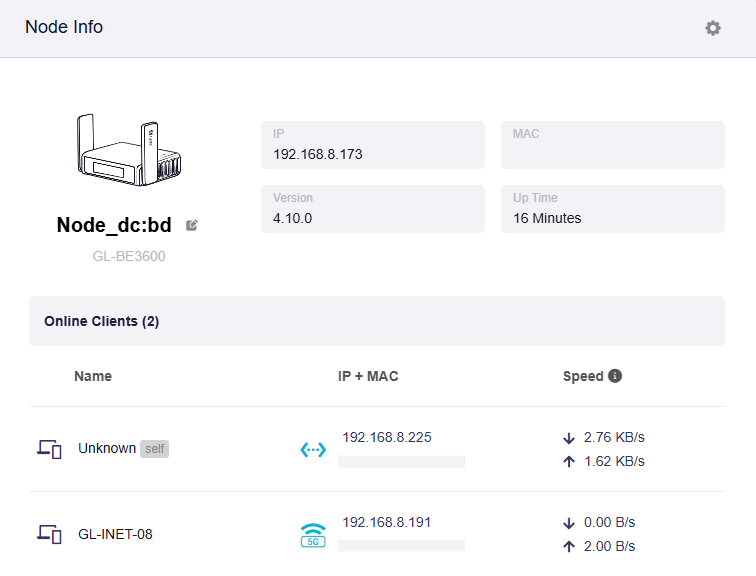
Edit Mesh Node
On the Main Router's Admin Panel, go to ASTROMESH and click the Mesh Node on the AstroMesh topology.
Each Mesh Node is named "Node" followed by the last four digits of its MAC address by default. Click the edit icon to rename your Mesh Node.
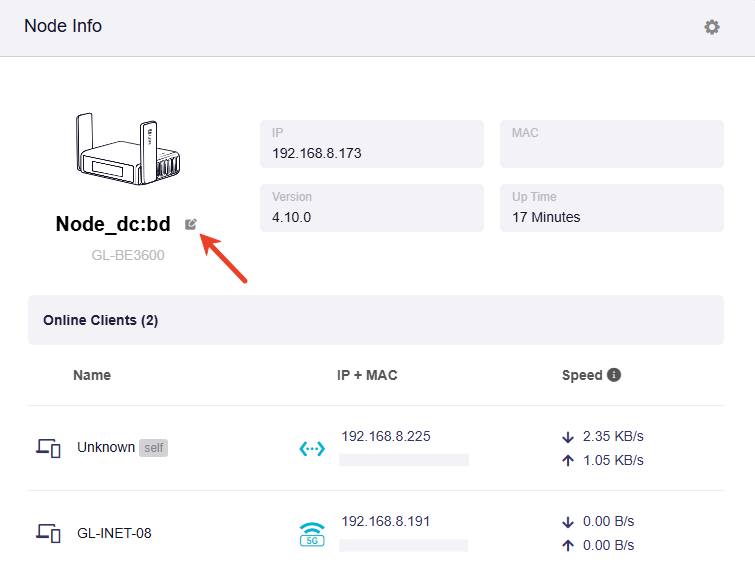
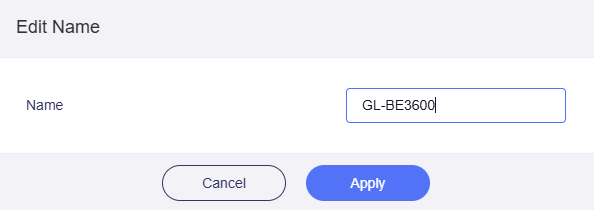
Access Mesh Node
On the Main Router's Admin Panel, go to ASTROMESH and click the Mesh Node on the AstroMesh topology.
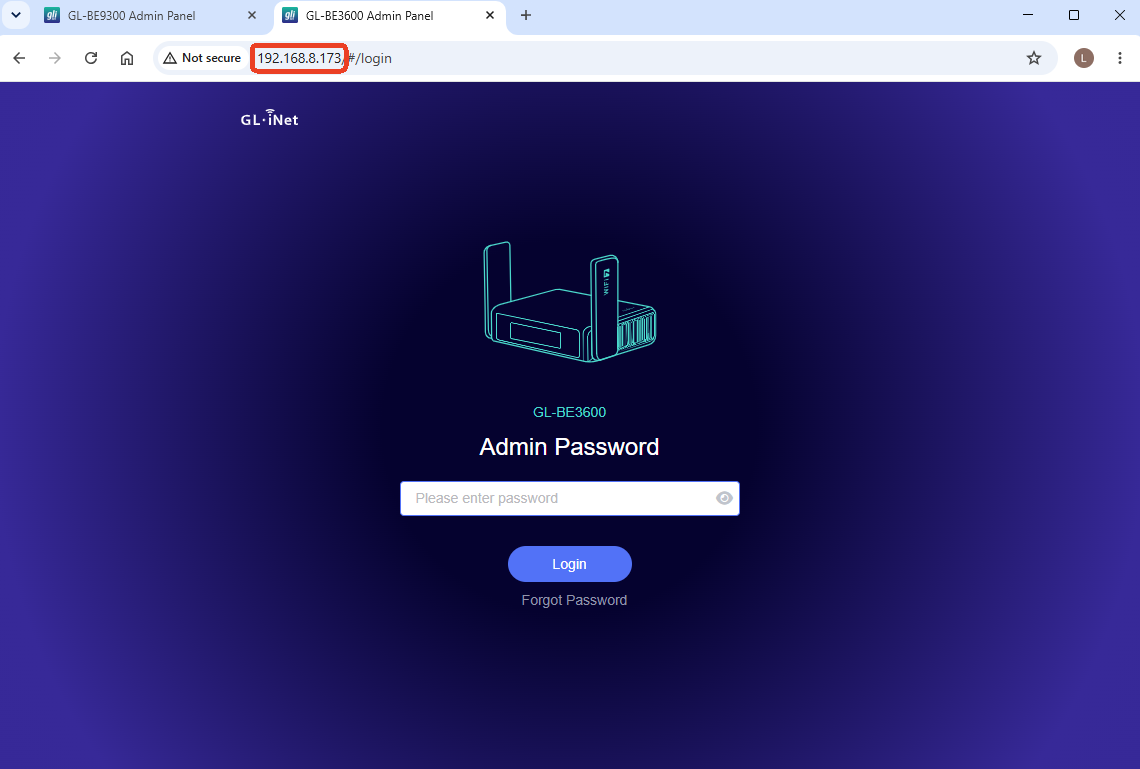
Click the gear icon in the upper-right corner and select Open Admin Panel.
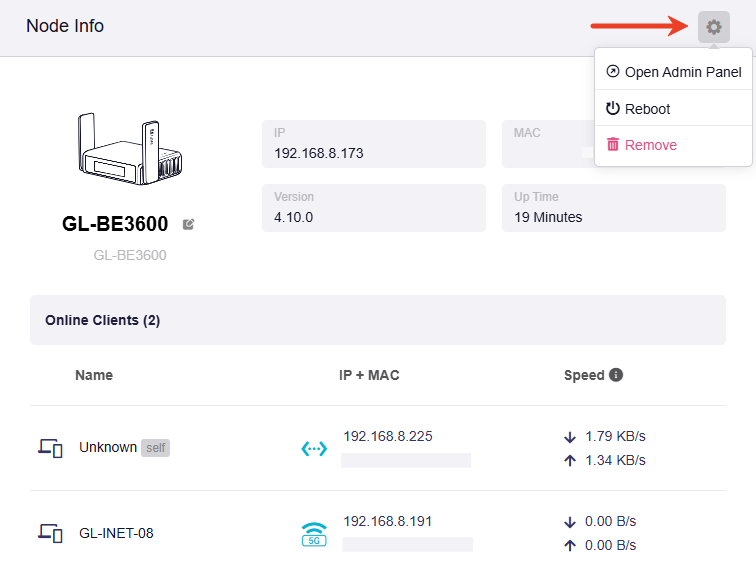
You will be redirected to the Mesh Node login page at the IP address assigned by the Main Router. Enter your admin password to log in.
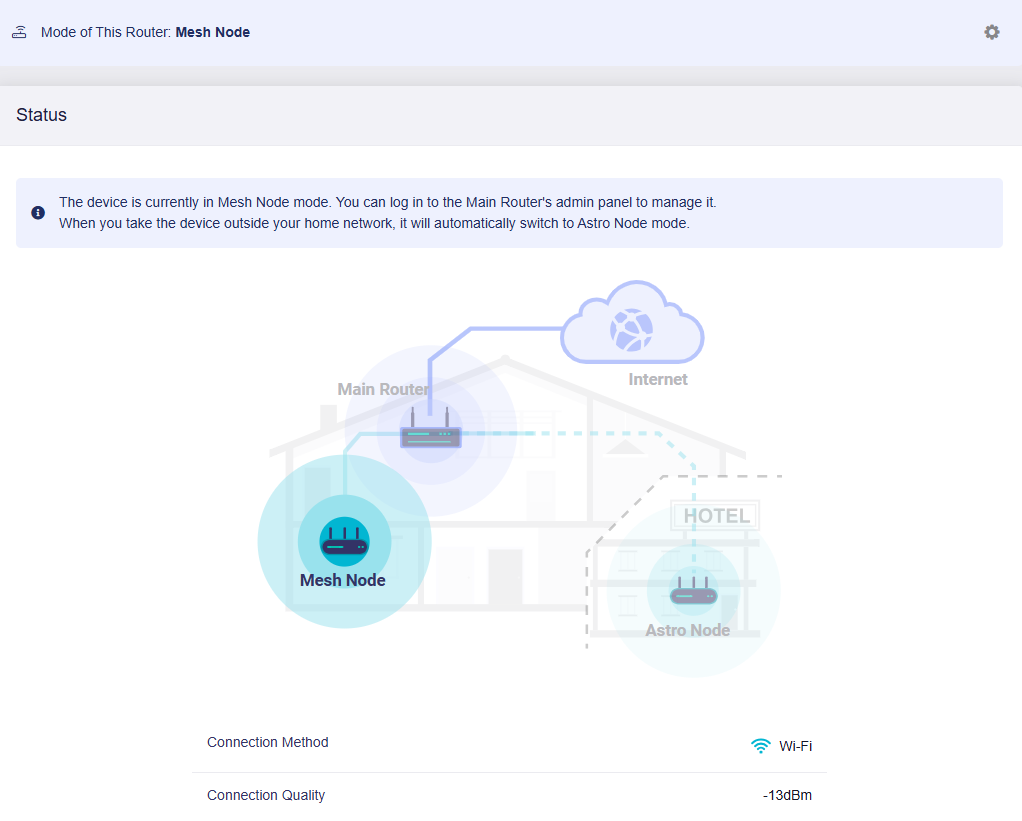
After logging in, go to ASTROMESH to view connection status.
Add More Nodes
To add more nodes, click Add in the upper-right corner of the AstroMesh topology.
Manage Astro Nodes
When you move a Mesh Node away from your home network, it will automatically switch to Astro Node mode.
For example, bring the Slate 7 to another location. Power it on and select Mesh Node Mode on the touchscreen.
It will detect the current network environment, switch to Astro Node mode automatically, and initiate the connection.

Once connected, it will show its original IP address, which can be used to access its web Admin Panel.
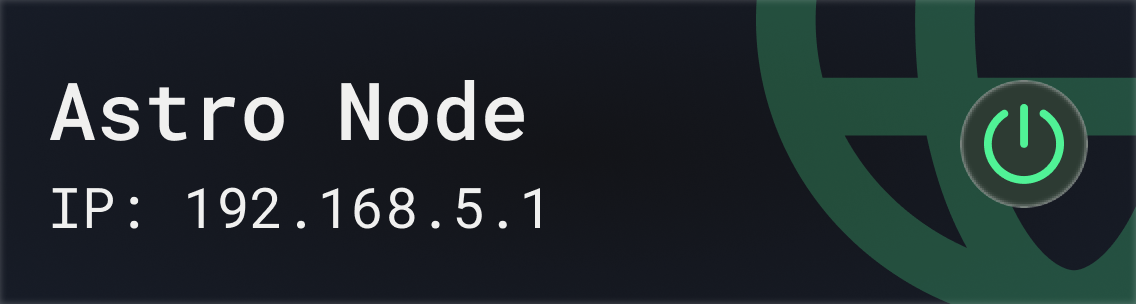
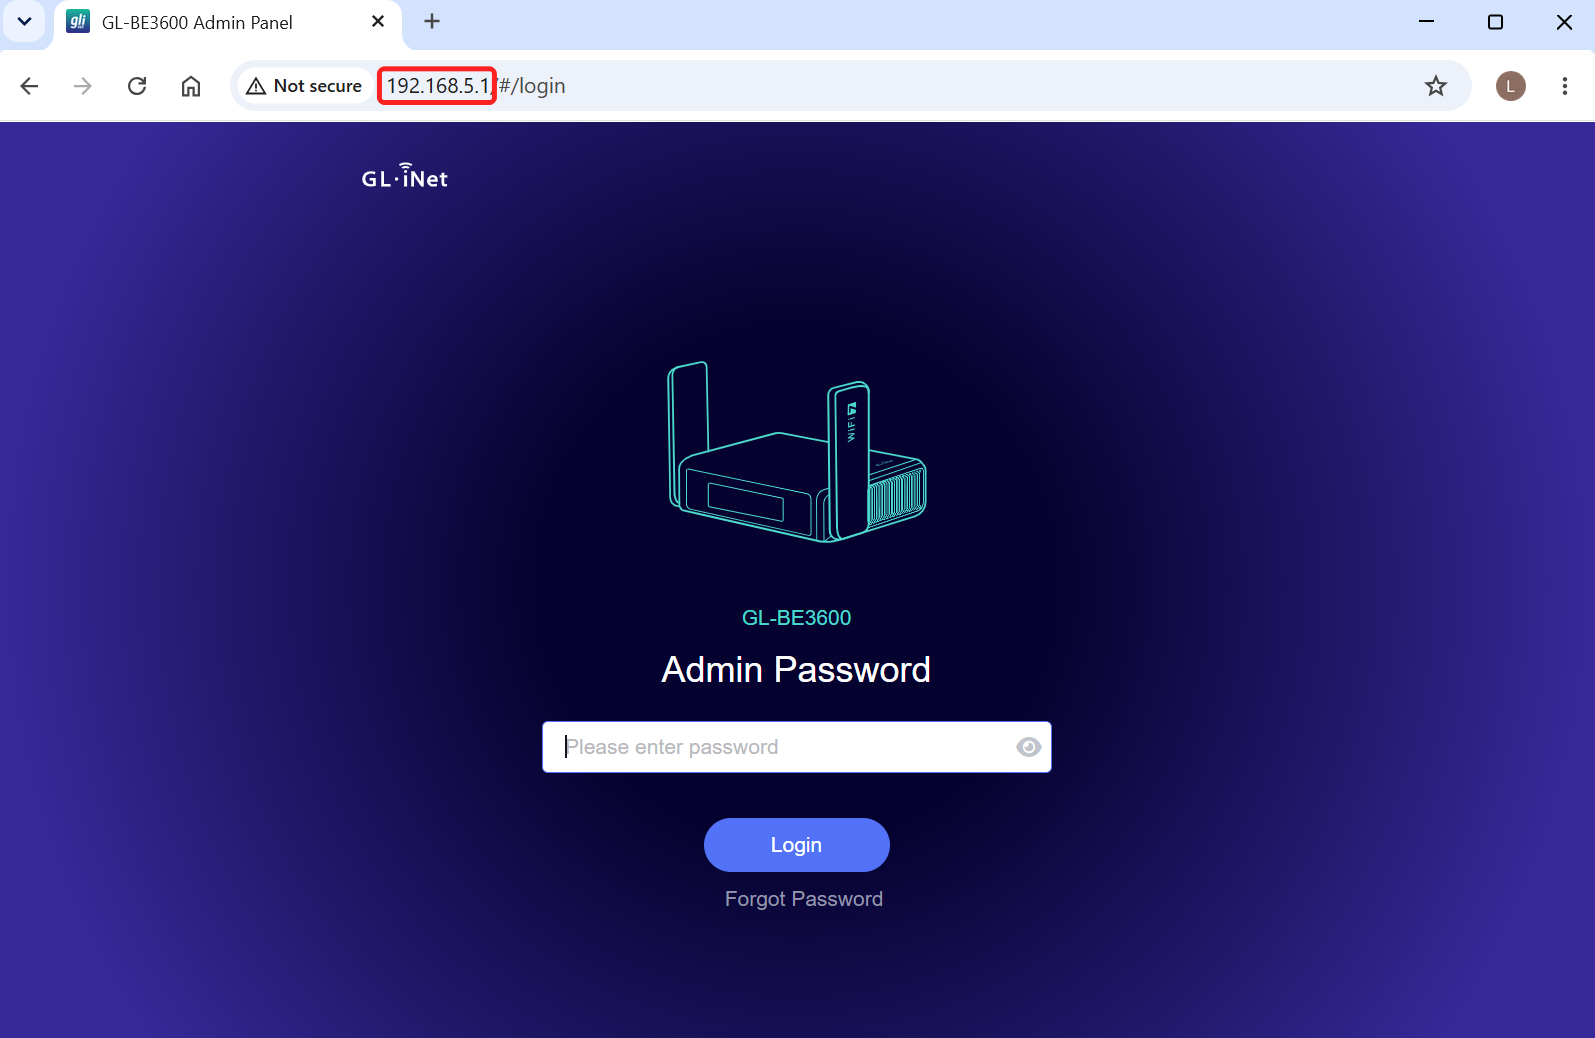
Use this IP address to log in to your Astro Node.
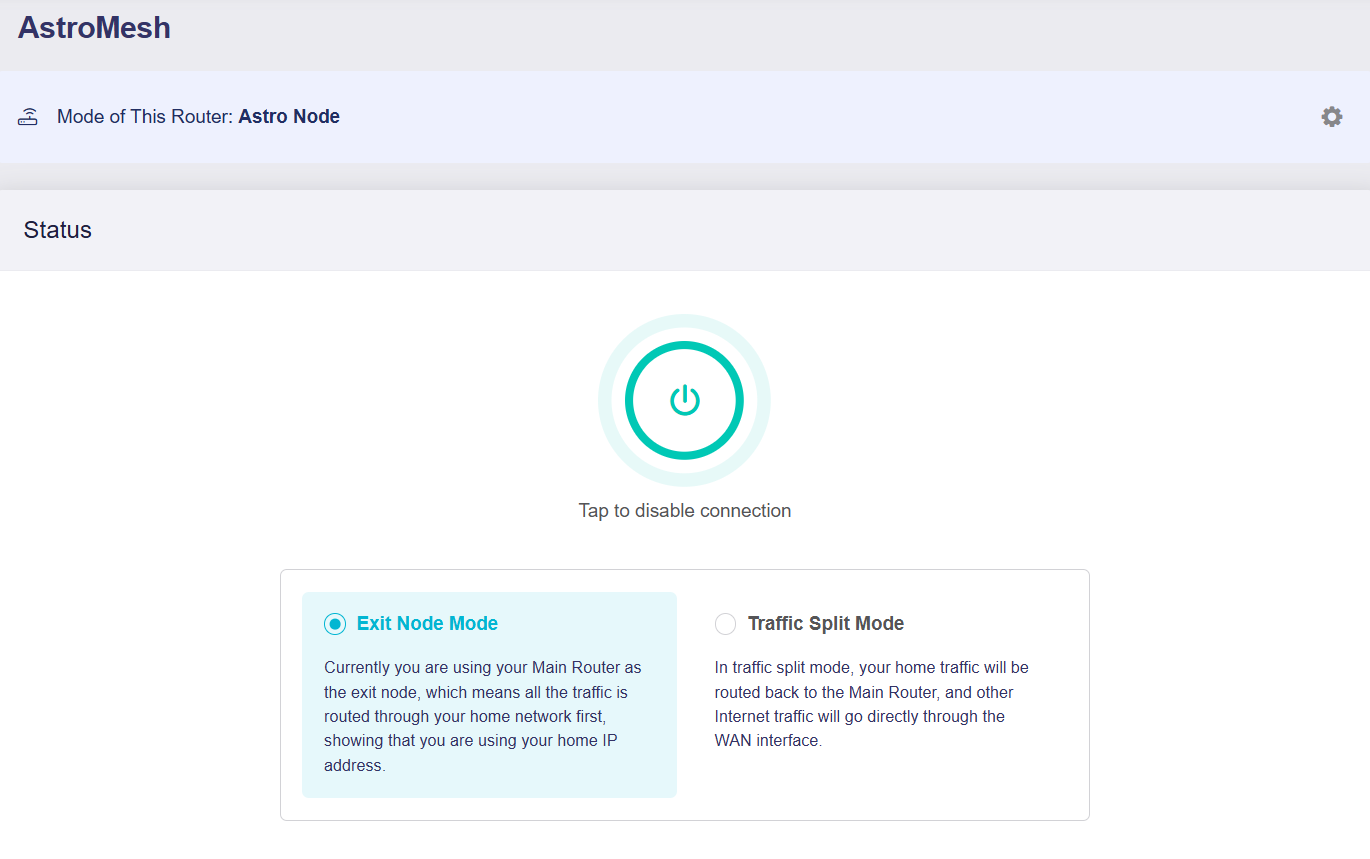
After logging in, go to ASTROMESH to view connection status. The default connection mode is Exit Node Mode. You may switch to Traffic Split Mode as needed.
-
Exit Node Mode: In this mode, all traffic from the Astro Node will be routed through your home network to access the internet. The Astro Node's public IP will match your home network's public IP address.
-
Traffic Split Mode: In this mode, only traffic heading to your home network is forwarded back to the Main Router, while other internet traffic passes directly through the Astro Node's local WAN. Ensure the Astro Node is connected to a local internet network.
Still have questions? Visit our Community Forum or Contact us.